

7 Unforgettable Hikes in the Dolomites
The Dolomites are absolutely breathtaking, filled with unique and dramatic peaks that feel straight out of a postcard. With endless hiking options, it can be tough to know where to start – so I’ve rounded up the 7 best hikes in the Dolomites that you’ll definitely want on your itinerary. Keep reading to learn more about them, and don’t forget to save this for later!
Disclaimer: We use affiliate links and may receive a small commission on purchases at no extra cost to you. Thank you for your support!
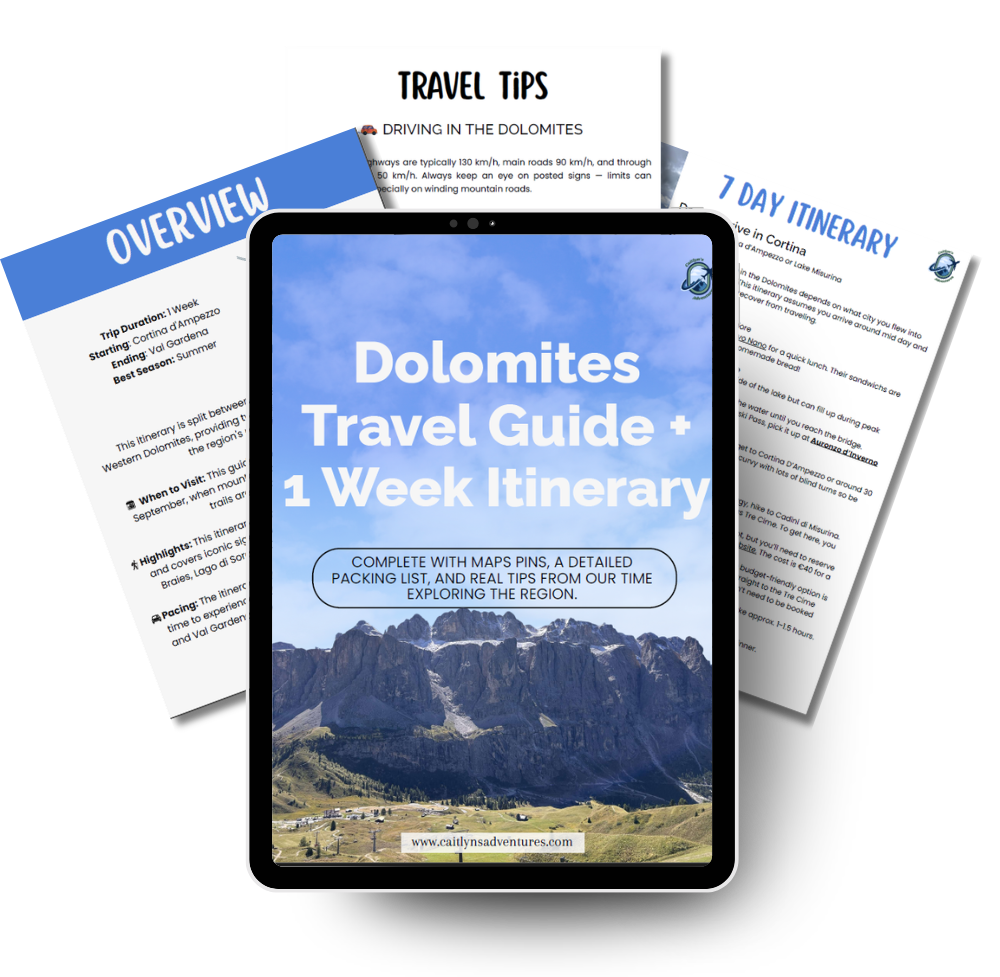
Dolomites Travel Guide + 7 Day Itinerary
A complete 7 day Dolomites travel guide split into 4 days in the east and 3 days in the west, designed to help you explore must-see viewpoints, hikes, and hidden gems without the stress of trip planning. Includes a custom map, packing tips, accommodation suggestions, and a detailed day-by-day itinerary.
Planning Your Hikes in the Dolomites
Getting there:
The closet airports to the Dolomites are Venice, Milan or Innsbruck (Austria). You can rent a car near any of these airports then drive to the Dolomites. From Venice you can also take the FlixBus or ATVO to Cortina then use local public transportation to get around.
Where to stay:
If you’re staying in the Dolomites for more than a couple of days, I recommend splitting your time between Cortina/Lake Misurina and Ortisei or Selva di Val Gardena. The drive between Cortina and Val Gardena takes about two hours, so dividing your stay between the two areas will save you a lot of time on the road.
Lift passes:
There are hundreds of lifts and cable cars in the Dolomites that make it easy to skip long uphill climbs and head straight to the views. Ticket prices vary, but a round trip usually costs between €20–50. If you’re planning to use several lifts, it’s definitely worth looking into the Dolomiti SuperSummer Pass. They offer a few options, like 3-day or 5-day passes, which give you unlimited rides. We went with the 5-day pass and definitely got our money’s worth!

What to pack:
- Hiking Boots: Trails in the Dolomites are often rocky, uneven, and sometimes wet or slippery, so a sturdy pair of hiking boots with good grip is a must.
- Hiking Poles: Super helpful on trails with a lot of elevation gain or downhill sections. They save your knees and give extra stability.
- Hiking Backpack: A comfortable backpack is key for carrying water, snacks, and an extra layer since the weather can change quickly in the mountains.
- Water Reservoir: Optional, but I love it for convenience. Being able to sip water without constantly pulling out a bottle makes a big difference on longer hikes.
- Layers/rain jacket: Weather can shift fast in the Dolomites, so pack a light rain jacket or warm layer.
- Sun protection: Sunglasses, sunscreen, and a hat (you’re at higher altitude, so the sun is stronger).
- Trail snacks: Energy bars, fruit, or nuts for quick fuel.
- Cash: Some mountain huts (rifugio) don’t take cards.
Tre Cime


Starting point / How to get there:
Tre Cime is about a 40-minute drive from Cortina d’Ampezzo, and the hike starts from Rifugio Auronzo.
There’s a large parking lot, but you’ll need to reserve your spot and time in advance on their website. It is 40 euros for a regular sized car. If you want an easier option, I recommend taking the Dolomiti Bus from the Lake Misurina stop straight to the Tre Cime parking area. This is only 10 euros round trip and does not need to be purchased ahead of time.
Distance / Difficulty:
The main loop is 5.5 miles but can be longer if you add on a few detours. We added on the hike to Refugio Locatelli which adds on an additional 0.6 miles. The trail is rated moderated and gains around 1,400 feet. I didn’t find it too challenging, as most of the uphill sections are short and manageable.
Why it’s worth it:
Tre Cime, which means “Three Peaks,” is one of the most iconic spots in the Dolomites! The trail loops around the peaks, giving you incredible close-up views of all three. Along the way, you’ll also be treated to stunning panoramas of the surrounding mountains, and you can stop at four different rifugios if you want to take a break or grab a bite.
For a detailed guide about the Tre Cime Loop, check out this article!
Cadini di Misurina
Starting point / How to get there:
The Cadini di Misurina trail starts at the same parking lot as the Tre Cime hike. To get here f0llow the directions listed for the Tre Cime Loop trail.
Distance / Difficulty:
Around 2.5 miles round trip and is considered easy to moderate.
Why it’s worth it:
This trail leads to an incredible viewpoint of the Cadini di Misurina peaks. If you’re short on time and can’t do the full Tre Cime loop, it’s a great alternative. If you do hike Tre Cime, it’s not necessary to do this trail too, as you will get beautiful views of the peaks at the end of the loop.
Lago di Braies Loop


Starting point / How to get there:
Lago Di Braies is located around 1 hour from Cortina d’Ampezzo, close to Toblach. There is an option to take the public bus, but you will need to change buses and it takes twice as much time to get there. In the summer, there are restrictions to driving to the lake. Between the hours of 9-5, you’ll need a permit which you can purchase online in advance.
Distance / Difficulty:
The path around the lake is 2.3 miles and is rated easy. There are some small inclines, but nothing to crazy.
Note: as of September 2025 you cannot do the full loop. A portion of the trail is closed due to a rock slide. You can still walk all the way to the other side of the lake, however, you will just need to return the way you came.
Why it’s worth it:
Lago di Braies is one of the most famous and beautiful lakes in the Dolomites, known for its striking turquoise water set against towering mountain peaks. Walking the loop around the lake gives you slightly higher vantage points, making the water appear even more vibrant and magical.
Lago di Sorapis


Starting point / How to get there:
The Lago di Sorapis trailhead is about 20 minutes from Cortina, just before you reach Lake Misurina.
There are a few parking options:
- Roadside parking at the trailhead: This is the closest option and the most convenient if you’re coming from Cortina since you’ll already be on that side of the road. But spots are super limited and usually gone by 8am in peak season.
- Small lot by B&B Hotel Passo Tre Croci Cortina: Just down the road from the trailhead, this lot fits maybe 20 cars and also fills up fast in the summer.
- Gravel lot marked “Parcheggio per Sorapis” on Google Maps: A little closer to Cortina, this bigger gravel area looks like it should fit plenty of cars, but when we went in September around 9:30am it was already packed. Since there aren’t marked spaces, people were parking all over the place – so please be considerate and don’t block anyone in. If you park here, just follow the big gravel trail uphill for about 5–10 minutes to connect with the main trailhead.
- Last option – Rio Gere (Jgor Ski & More): Keep heading back toward Cortina and you’ll find another large gravel lot near the ski area. Don’t park right by the lifts – look to the left where camper vans usually are. From here, you’ll walk up a steep gravel road until you reach the other parking lot, then join the trail. Parking here adds about 0.8 miles each way.
Distance / Difficulty:
You can hike Lago di Sorapis as either an out-and-back (7.2 miles) or a loop (7.9 miles). I chose the out-and-back since the loop adds more elevation and is quite a bit tougher. Along the way, you can also make a quick stop at Rifugio Vandelli, it’s just a short detour off the main trail and only adds about 0.2 miles.
The trail is rated moderate to hard and definitely feels more technical than your average hike. The first half isn’t too bad with some ups and downs, but the last mile is where it gets challenging. The path gets narrow and steep, with sections where you’ll scramble over rocks. There are even a few cables to hold onto with drop-offs on the other side. It sounds intense, but it’s really not as scary as it seems – just something to keep in mind before you go.
Why it’s worth it:
While this trail is definitely challenging, it’s so worth it for the incredible views of Lago di Sorapis and its stunning turquoise water. Along the way, you’ll also get amazing views of the surrounding mountains. I highly recommend stopping at Rifugio Vandelli – even if you don’t grab food, the views from there are absolutely amazing!
Be sure to checkout this article for everything you need to know before hiking to Lago di Sorapis!
Cinque Torri Loop


Starting point / How to get there:
This trail is about 40 minutes from Cortina, on the way to Val Gardena. There’s a large free lot right where the gondola starts. We got there around midday and still found a spot, but during busy times it can fill up quickly, and we saw plenty of cars parked along the gravel road.
To get to the starting point for this trail, you’ll need to ride the chairlift to Rifugio Scoiattoli. You can opt to walk up there, but the trail is steep with miminal views along the way.
Distance / Difficulty:
The loop is about 1.2 miles round trip and rated easy to moderate. If you want to keep it easy, you can just explore the World War I bunkers and then turn back. The challenging part of the loop comes after you cross to the other side of Cinque Torri, where you’ll need to hike uphill to get back to the starting point. The views from that section aren’t particularly spectacular, so if you decide to skip it, you’re really not missing much.
Why it’s worth it:
The rock formations and landscape of Cinque Torri are truly unique and so fun to explore. This area also has an important history – during World War I, it was the site of battles between the Italians and the Austro-Hungarians. Bunkers and trenches were built right among the towers, and many of those formations still remain today.
Alpe Di Suisi Paromic Loop


Starting point / How to get there:
The loop starts at the Compatsch (Compaccio) area on Alpe di Siusi. You can get here by taking the Ortisei–Alpe di Siusi cable car or driving to the plateau if you have a car. However if you plan to drive, you’ll need to arrive before 8am as they restricts private vehicle access from 9 am to 5 pm.
Distance / Difficulty:
The full loop is about 7–8 miles and is considered moderate. Most of the trail is well-marked and fairly gentle, with just a few gradual uphill sections. There are plenty of huts/Rifugis along the way, so you’ll have lots of options to stop for a snack or drink.
If you want to take it easy, you can also rent e-bikes at the AlpinSki Center and ride the loop instead. I recommend waiting until the day of, or the day before, to decide, just in case the weather isn’t ideal..
Why it’s worth it:
Alpe di Suisi is Europe’s largest alpine meadow so definitely worth visiting! This loop is stunning, you’ll see rolling alpine meadows and dramatic Dolomite peaks, You’ll also pass traditional huts where you can grab a snack or coffee. It’s a great way to experience the beauty of Alpe di Siusi without tackling anything too intense.
Seceda Loop

Starting point / How to get there:
The loop starts at Seceda, which you can reach by taking the Ortisei–Seceda cable car. You will first ride a gondola from Ortisei to Furnes and then a cable car to Seceda. There’s paid parking available at the lower station if you’re driving. If you are staying in Val Gardena, I recommend taking the bus then walking around 5 minutes from the Ortisei, Piazza S. Antonio bus stop.
Distance / Difficulty:
The loop is about 0.8 miles, though the exact distance can vary since there are a few different trails you can take. Even though it’s short, the trail is moderately difficult because it goes straight uphill to the viewpoint.
One thing to note: as you start looping back down, there’s a station where you’ll be asked to pay 5 euros per person to continue on the path that connects to another viewpoint. You don’t need to go through here unless you want a shortcut. Instead you can just follow the trail down, keep left, and it will loop back up to the same area the paid trail leads to.
Why it’s worth it:
Seceda is one of the Dolomites’ most famous viewpoints. From the top, you get incredible views of the jagged, angled peaks that make this spot so iconic. The best part is you do not have to do a long hike to see these views, so its perfect if you are short on time.
Tips for Hiking in the Dolomites
- Weather changes fast: bring layers.
- Many trails connect to rifugio (mountain huts) which great for meals or even overnight stays. If you want to do an overnight stay, you will need to book it in advance. Most of the rifugios only take cash so be sure to keep some on hand.
- Start early to avoid crowds, especially on famous routes.
- Trail markers (red/white paint and numbered routes).
- Some cable cars may close in the off-season (spring/fall) so you should check the websites if you plan on traveling in the shoulder season.


