

Lago di Sorapis: The Ultimate Guide to Hiking Italy’s Most Stunning Turquoise Lake
Lago di Sorapis (or Lake Sorapis) is one of the most popular hikes in the Dolomites, and it’s easy to see why. The lake’s stunning turquoise color is unforgettable. Over the years, the trail has gotten busier, which leads many people to ask, “Is this hike really worth it with all the crowds?”
Having done it myself, yes – even in the crowds, I’d still say it’s worth it! The views from the lake are simply unmatched, and you also get incredible perspectives from the Rifugio, which is a huge bonus.
In this guide, I’ll break down all the specifics of the trail, including how to beat the crowds (as best you can) and what to expect along the way.
At a Glance
Location: Around 15 minutes from Cortina d’Ampezzo
Distance: ~12 km / 7.5 miles round trip (varies depending on where you park, more on this below)
Difficulty: Moderate (trail is well-marked but has some narrow ledges, and rocky path)
Elevation Gain:~400 m / 1,300 ft
Disclaimer: We use affiliate links and may receive a small commission on purchases at no extra cost to you. Thank you for your support!
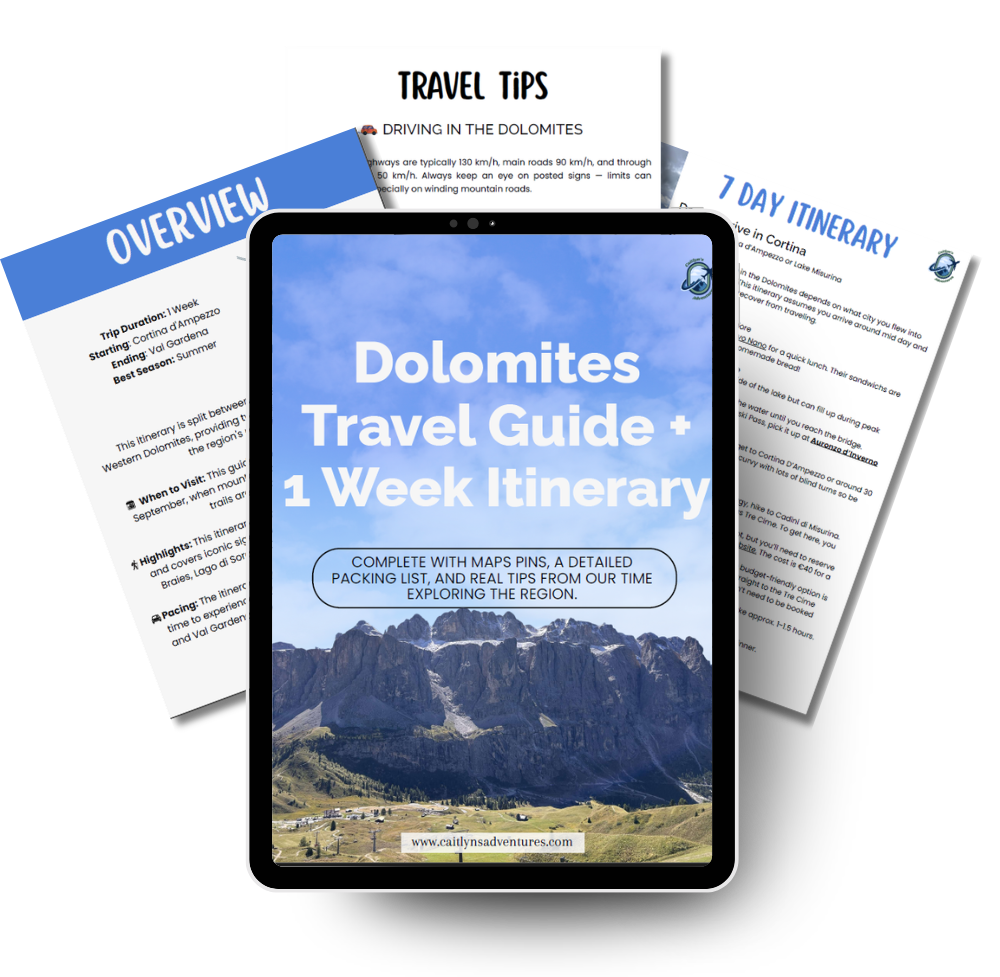
Dolomites Travel Guide + 7 Day Itinerary
A complete 7 day Dolomites travel guide split into 4 days in the east and 3 days in the west, designed to help you explore must-see viewpoints, hikes, and hidden gems without the stress of trip planning. Includes a custom map, packing tips, accommodation suggestions, and a detailed day-by-day itinerary.
Where to Park for the Lago di Sorapis Hike
Since this hike has gotten extremely popular, there are four different parking areas for this trails.
- Roadside parking at the trailhead: This is the closest option and the most convenient if you’re coming from Cortina since you’ll already be on that side of the road. But spots are super limited and usually gone by 8am in peak season.
- Small lot by B&B Hotel Passo Tre Croci Cortina: Just down the road from the trailhead, this lot fits maybe 20 cars and also fills up fast in the summer.
- Gravel lot marked “Parcheggio per Sorapis” on Google Maps: A little closer to Cortina, this bigger gravel area looks like it should fit plenty of cars, but when we went in September around 9:30am it was already packed. Since there aren’t marked spaces, people were parking all over the place – so please be considerate and don’t block anyone in. If you park here, just follow the big gravel trail uphill for about 5–10 minutes to connect with the main trailhead.

- Last option – Rio Gere (Jgor Ski & More): Keep heading back toward Cortina and you’ll find another large gravel lot near the ski area. Don’t park right by the lifts – look to the left where camper vans usually are. From here, you’ll walk up a steep gravel road until you reach the other parking lot, then join the trail. Parking here adds about 0.8 miles each way.

Start Of the Trail
Most hikers start on Trail 215 (we’ll touch on Trail 216 a bit later), which is the easier of the two. The trail begins at a gate on private farmland, then winds into the woods.
As you walk, be sure to glance back to the left—there are some beautiful views of the surrounding mountains. You might encounter cows in the first section, but they’re usually harmless and won’t bother you as long as you give them space. Eventually, you’ll leave the cows behind by passing through a small gap in the electric fence.
The trail is gently rolling at first, wide enough for hikers to pass comfortably. Soon you’ll reach your first rocky section, where you may need to cross wet, slippery stones if it’s rained recently—or navigate a small stream from snowmelt.


Mid Section
A little over halfway, the trail narrows and starts climbing more steeply. The path is still mostly dirt with some rocks, and it can get pretty steep, so take your time and rest as needed. When you do take a break, try to stick to one side of the trail so others can pass comfortably.

Challenging part of the trail
The last hour is the most challenging part of the trail, with very narrow, steep, and rocky sections. It starts with a steep rocky stretch where a rope on the left helps you climb up, followed by a few flights of metal stairs. This part of the trail is only wide enough for people to go up or down one at a time, so be patient and wait your turn.
After that, you’ll encounter similar rocky areas—some with cables, some without. Eventually, you’ll reach the drop-off section that intimidates a lot of hikers. It’s not as bad as it looks. While there’s a steep drop on one side, steel cables on the other side give you something to hold onto. It can feel a bit scary when it’s busy, but be considerate and let people pass. This isn’t a section to rush or push.


Eventually, you’ll come to a fork in the trail. Take the left path to continue toward the lake and Rifugio. From here, the trail flattens out and becomes less rocky. At the next fork, you can go right to reach the lake or left to head to the Rifugio.
Rifugio Vandelli
I definitely recommend stopping at Rifugio Vandelli. Even if you don’t eat there, you can use the bathrooms and enjoy the views from the patio. The walk here adds only about 0.2 miles to your trip.
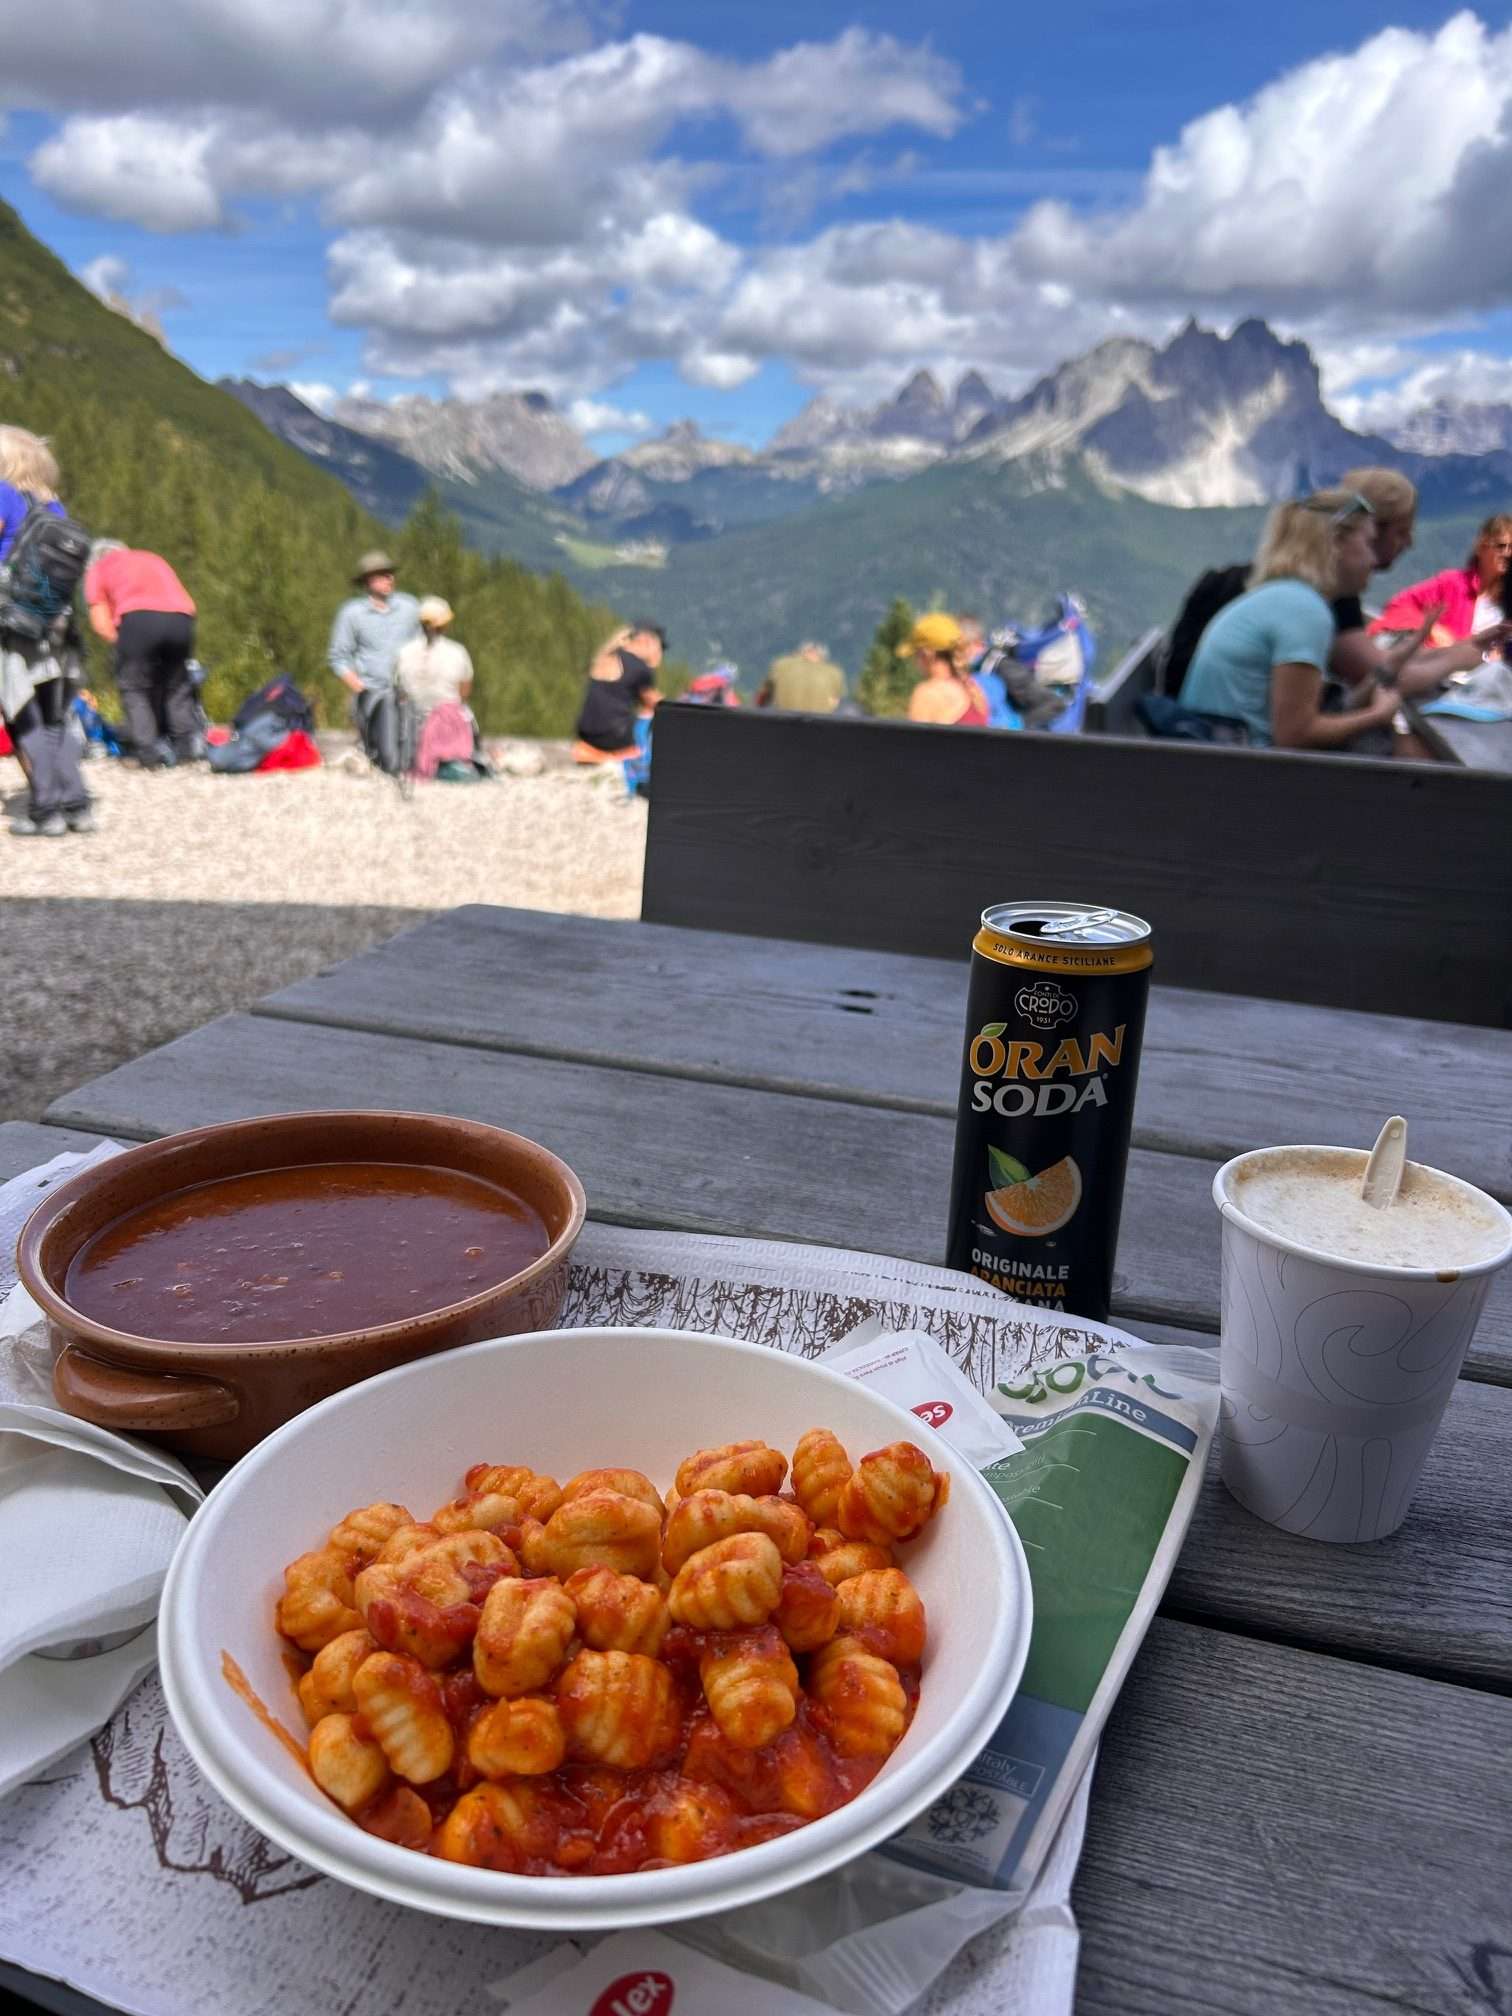
The bathrooms are free to use, though there’s usually a line since there are only two. There’s a bar outside, and inside you can order full meals. Seating is first-come, first-serve, but we were able to find a spot even though it was busy. The tables are large, so try to sit on one side to leave room for others on the opposite side.
We ordered gnocchi with tomato sauce and goulash, and both were delicious! This Rifugio did take card, but a lot of other ones only took cash so I would have some on hand just incase.
What to Expect at the Lake
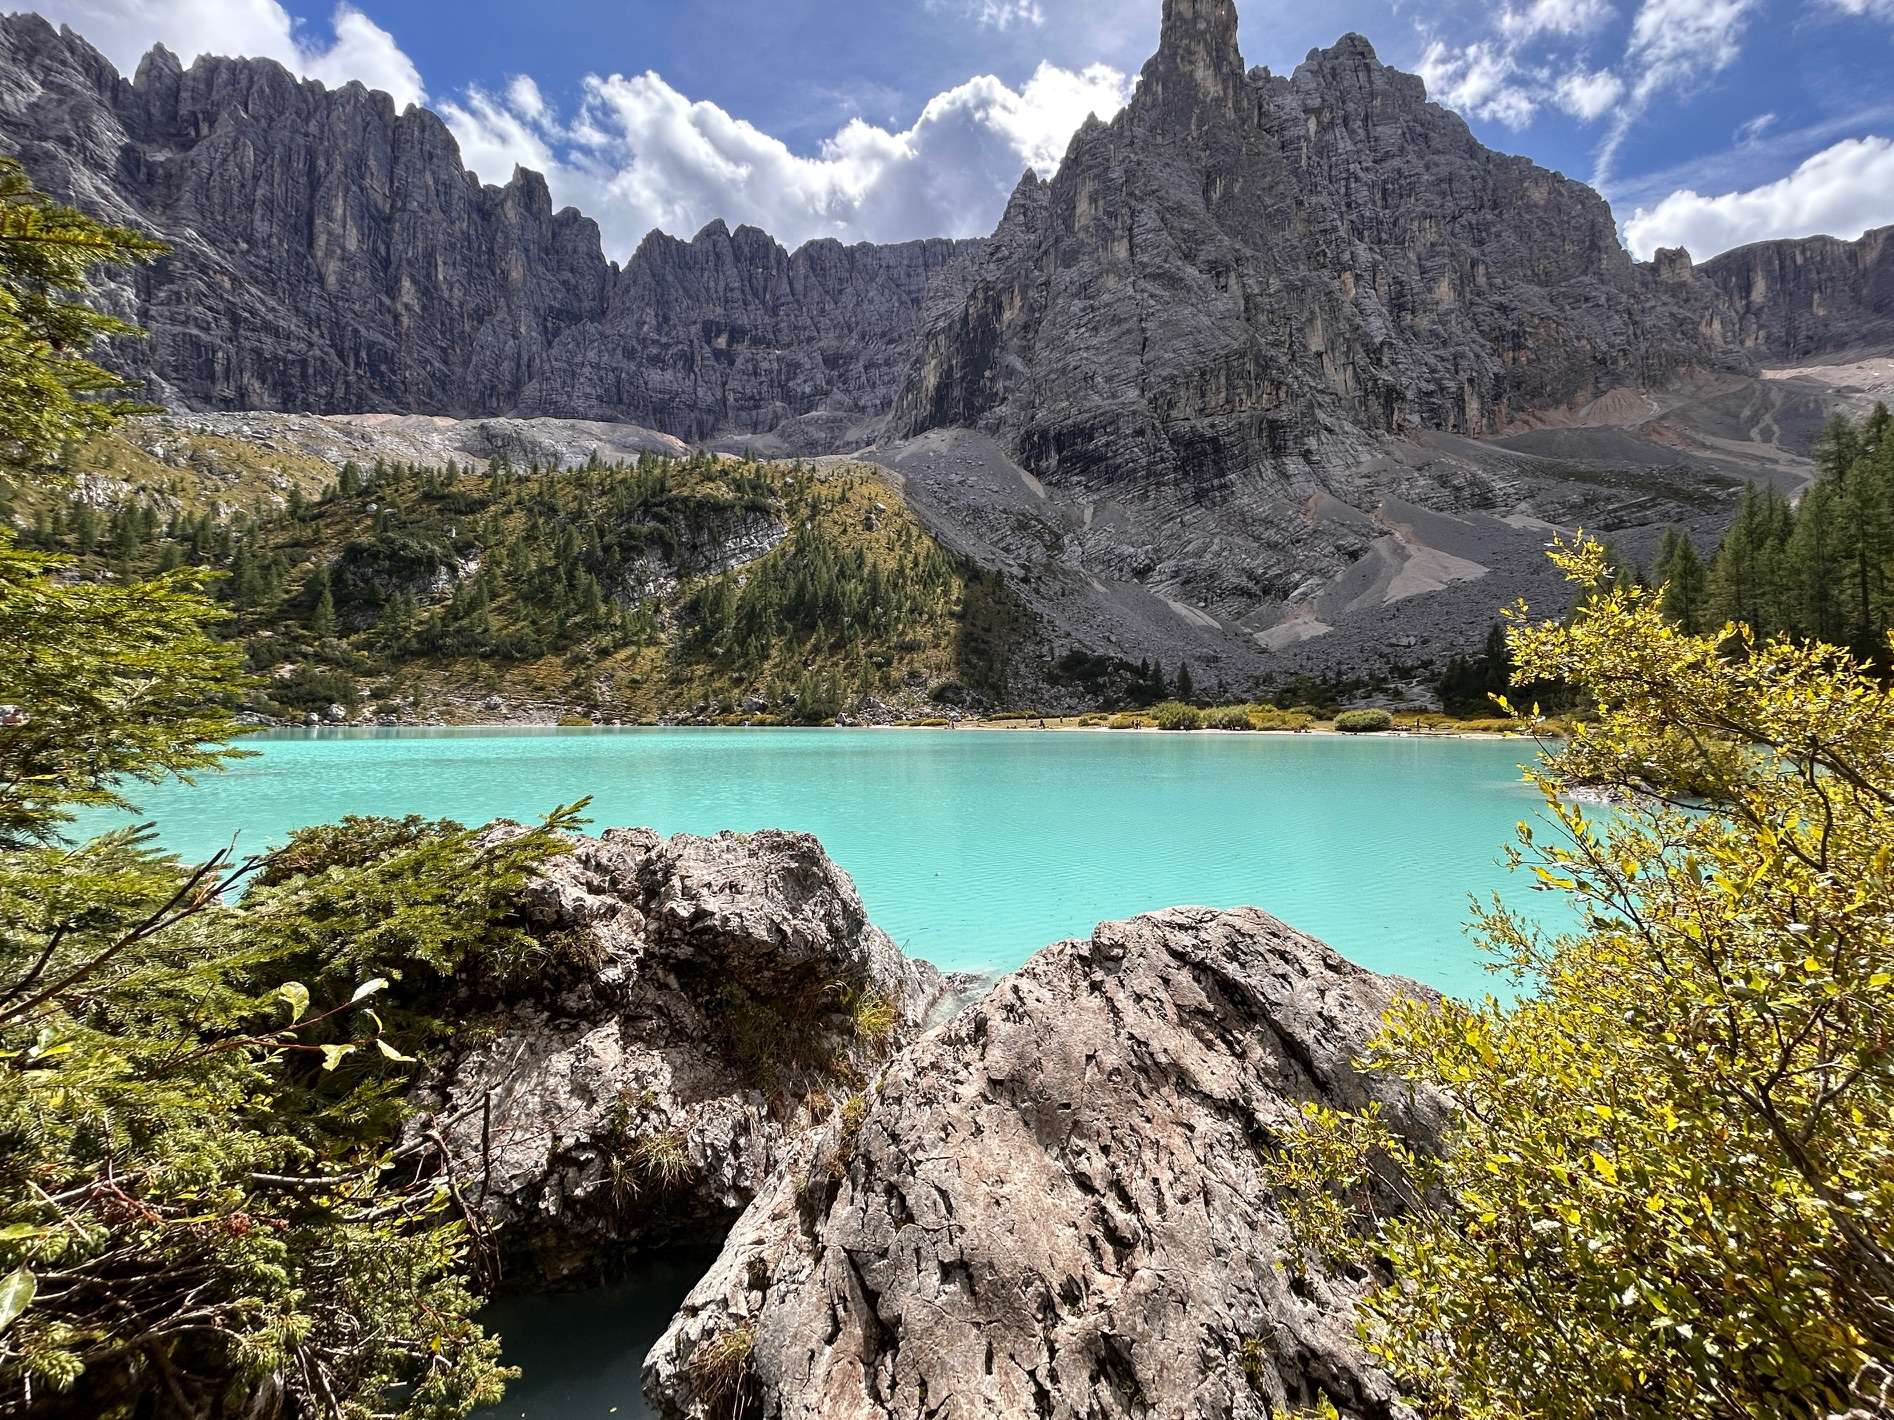
When you first arrive at the lake, the front area tends to be crowded with people taking pictures or resting. If you keep walking a little further around the lake, the crowds thin out, and you can find a quiet spot to take it all in without feeling on top of others.
If you head to the left, the trail gains some elevation, giving you a higher vantage point of the lake. Going to the right follows the shoreline more closely, with plenty of rocks to sit on or take photos from. The trail is supposed to form a loop, but when we went right, we lost the path at a steeper section and had to retrace our steps.
One thing to note is that the trail around the lake isn’t flat. You’ll be climbing over rocks and navigating uneven terrain until you reach the opposite side. There’s a nice beach area there where we spread out a blanket, relaxed for a bit, and rested before heading back on the hike.
While the lake is very beautiful and you may be tempted to go for a dip, swimming is off limits!


Return Back to the Car
You can either take the same trail back (215) or make it a loop with 216. The loop adds about 0.7 miles and ~1,000 feet of elevation gain. Personally, I went back on 215 since I was too tired to keep climbing.
If you choose 216, you’ll first follow the trail back to the fork. Instead of going straight, take the left toward 216 and follow the signs. This route involves quite a bit of rock scrambling, but the payoff is worth it – you’ll get incredible views of the Dolomites, the valleys below, and Lake Sorapis from above.
While the loop doesn’t add much extra mileage, it does involve significant elevation gain and is quite strenuous. I’d only recommend this option if you’re an experienced hiker and have plenty of water and energy for the return.
Packing List
Don’t start the trail without these must-have essentials!
- Hiking Boots: Trails in the Dolomites are often rocky, uneven, and sometimes wet or slippery, so a sturdy pair of hiking boots with good grip is a must.
- Hiking Poles: Super helpful on trails with a lot of elevation gain or downhill sections. They save your knees and give extra stability.
- Hiking Backpack: A comfortable backpack is key for carrying water, snacks, and an extra layer since the weather can change quickly in the mountains.
- Water Reservoir: Optional, but I love it for convenience. Being able to sip water without constantly pulling out a bottle makes a big difference on longer hikes.
- Layers/rain jacket: Weather can shift fast in the Dolomites, so pack a light rain jacket or warm layer.
- Sun protection: Sunglasses, sunscreen, and a hat (you’re at higher altitude, so the sun is stronger).
- Trail snacks: Energy bars, fruit, or nuts for quick fuel.
- Cash: Some mountain huts (rifugio) don’t take cards.
Safety Tips
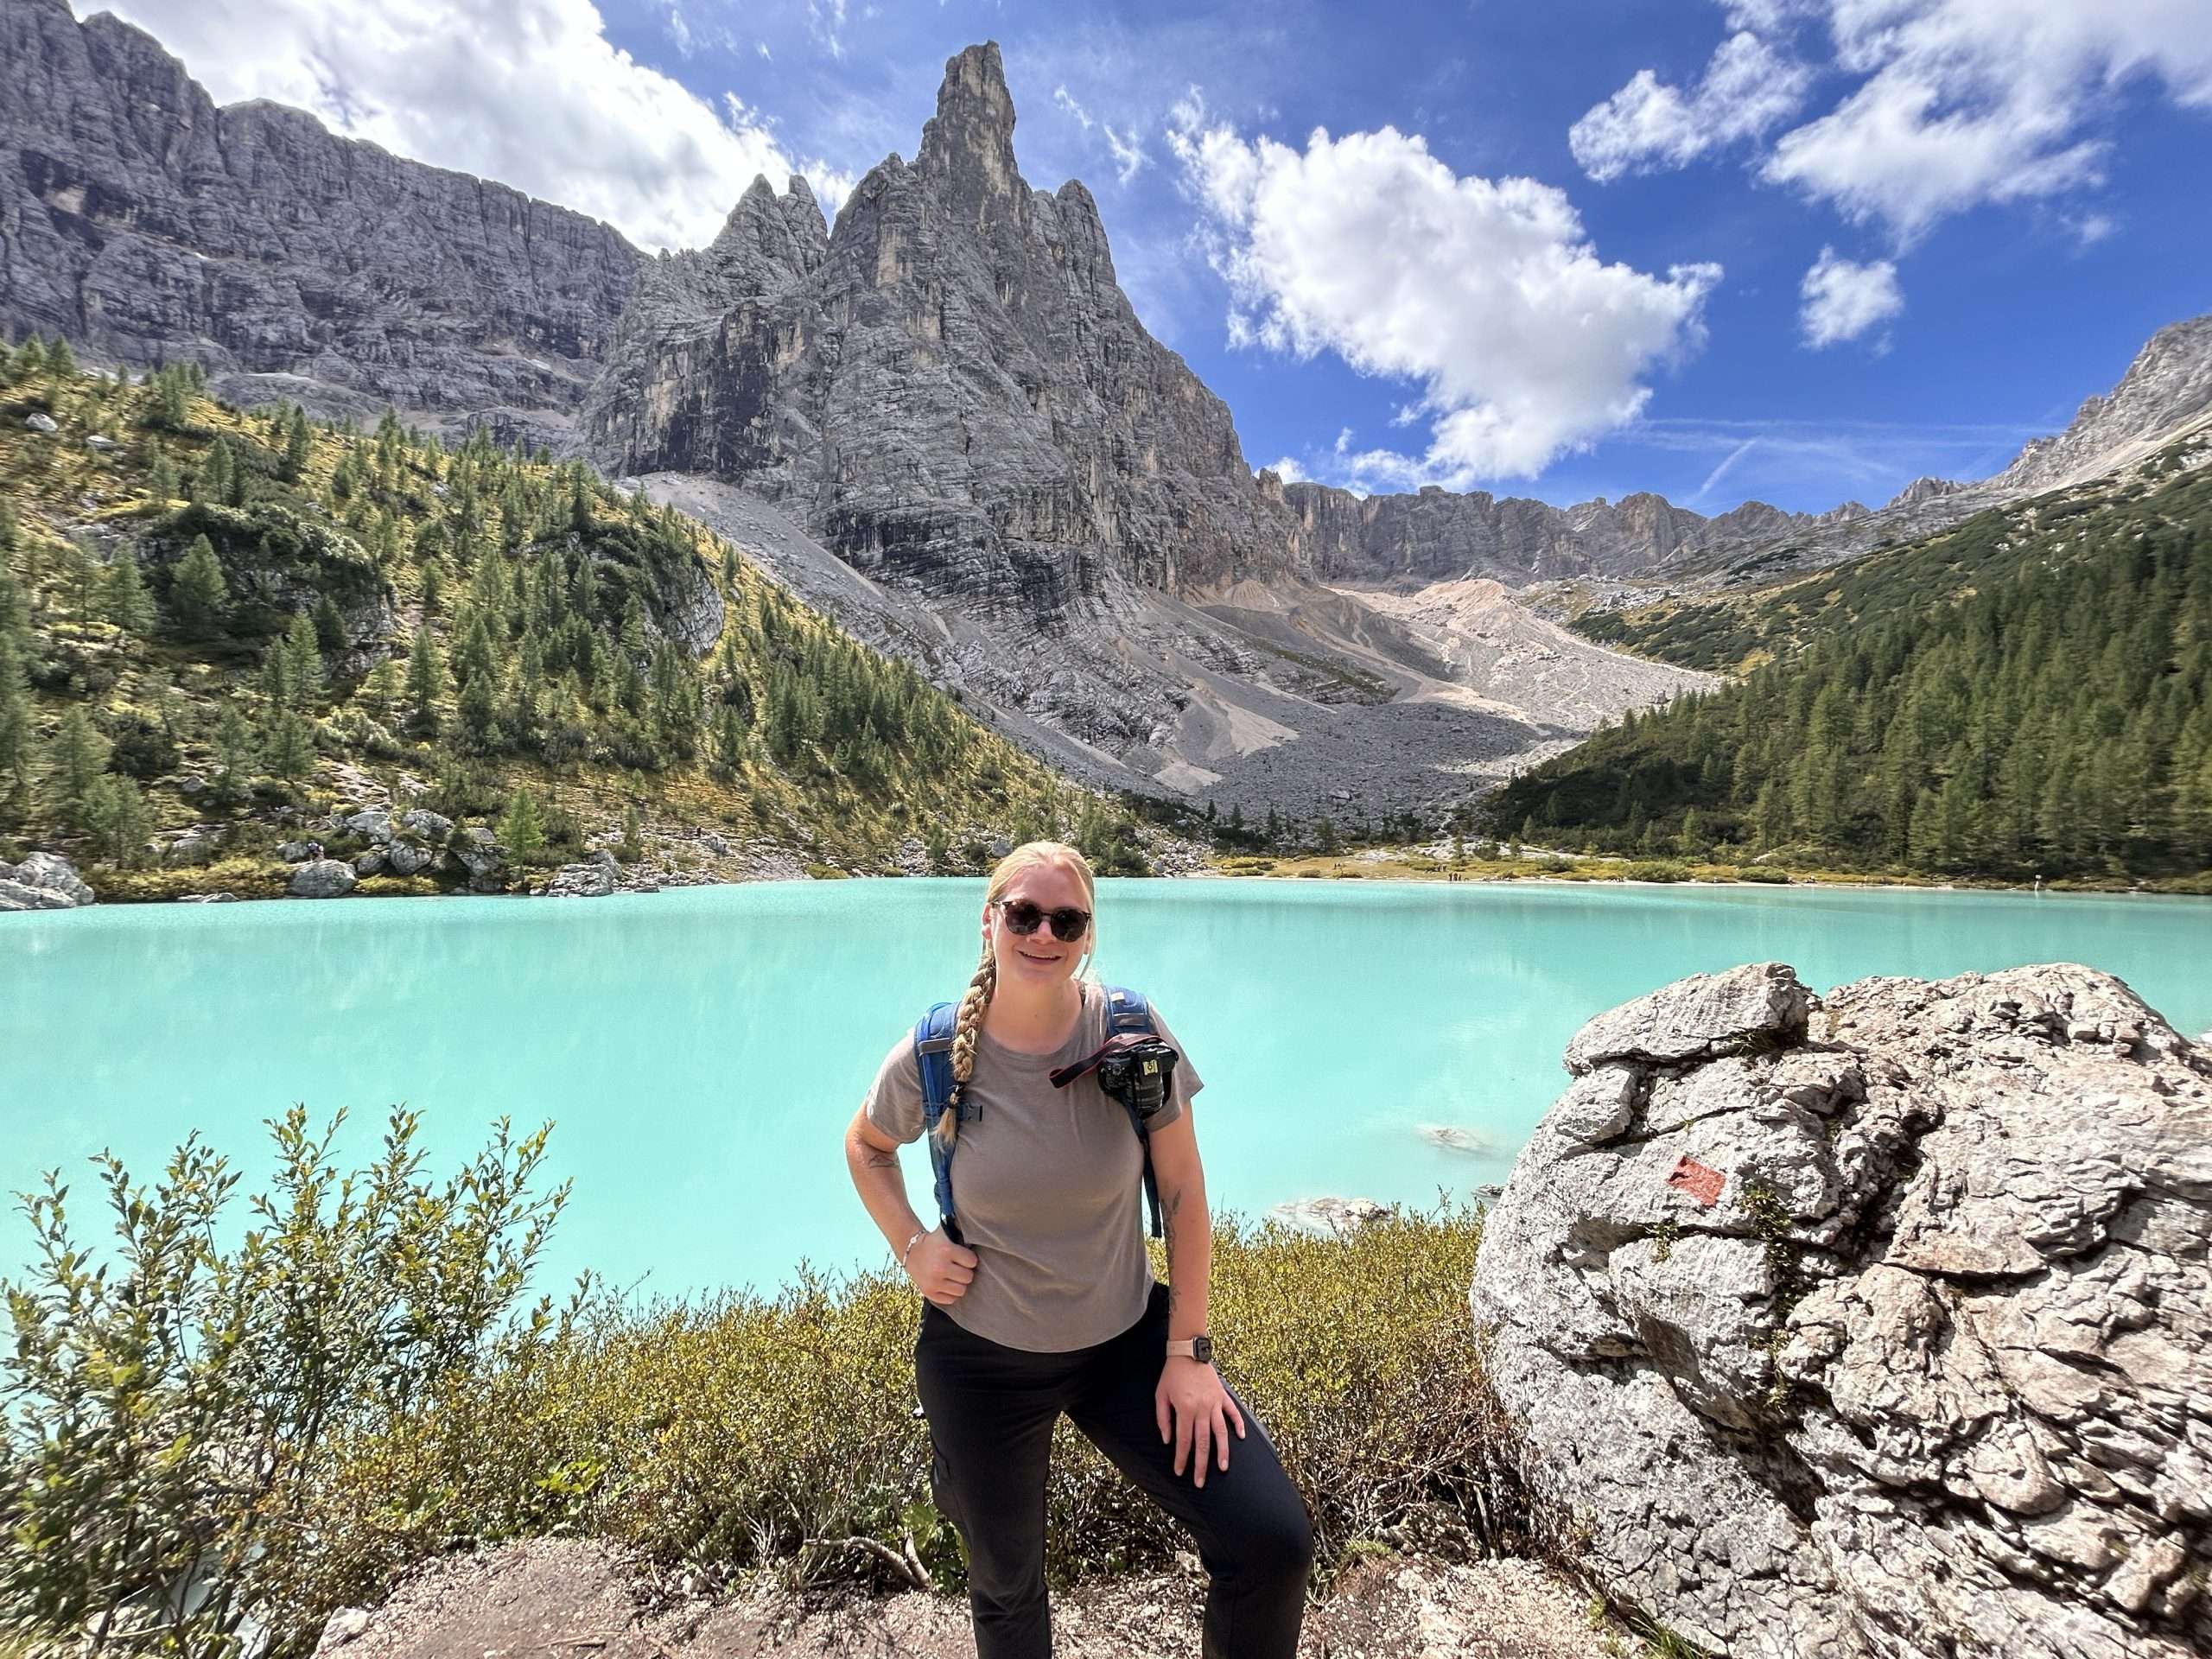
As with any hike, you’re safety should always be your first priority!
- Check the weather before hitting the trail. If there is a storm or even just rain in the forecast, it is best to skip this trail. The rocks will get very slippery when wet, making it dangerous to hike in the rain. We hiked the day after it rained and all the rocks were covered in slippery mud, making it harder.
- Start early: Begin your hike in the morning to ensure ample daylight for the return journey.
- Avoid sneakers: They lack the necessary grip and support for the rocky and sometimes wet trail conditions.
- Use handrails and cables: Some parts of the trail have steel cables and ladders for safety. Always use them when available.
- Don’t push past other hikers. It’s dangerous for both you and them. Wait until there’s enough space to pass safely – there’s no need to rush. Trust me, the lake isn’t going anywhere.
Is Lago di Sorapis: Worth it?
Hopefully this article has helped you answer the question for yourself, but speaking as someone who’s done this hike – even with the crowds – my answer is still a resounding yes! I’ve seen quite a few glacier lakes, but nothing compares to Lago di Sorapis. If you have the time and are up for the challenge, I definitely recommend adding it to your itinerary. And if you have any questions, feel free to drop them in the comments below!
If you looking for other day hikes to do while in the Dolomites, check out this article!


