

Hawaii in 7 Days: The Ultimate Oahu Itinerary for First-Time Visitors!
If it’s your first time this Oahu itinerary is perfect for you! It’s the perfect mix of beach relaxation and exploring the island’s must-see spots.
Oahu is the most visited Hawaiian island with so much to see and do! It’s debatable what’s the perfect amount of time to stay, but it seems like most agree a week is the ideal length. I’d have to agree, we stayed a week and it gave us plenty of time to explore and experience all the island had to offer.
Disclaimer: We use affiliate links and may receive a small commission on purchases at no extra cost to you.
Oahu Itinerary: Be Flexible!
Before we dive into the itinerary, remember this is a loose guide, not set in stone. It’s great to have a plan of what you want to see and do, but be open to going with the flow. For example, if you wake up to a rainy morning and had a hike planned, don’t be afraid to swap it for a delicious brunch and hit the trail when the clouds clear up.
Hawaii is a tropical area so it’s likely it’s going to rain at some point during your stay. Don’t let the rain dampen your spirits, it typically moves pretty quickly so you can be back outside in no time. It is worth keeping a rain jacket on you so if you do get caught in the rain, you’re prepared.
Day 1: Arrive in Hawaii
Your first day probably won’t be the most exciting, especially if you’ve had a long flight like we did.
Most flights arrive in the afternoon, and by the time we landed around 3:30 PM and made it to our hotel in Waikiki, it was already close to 5:00 PM. We kept it simple, relaxing at the beach for a bit and grabbing dinner before calling it an early night. After a 10-hour travel day, we were exhausted!
If you have more energy than we did, you could spend extra time at the beach or explore some of Waikiki’s shops before winding down for the night.
Where to Stay in Oahu
Hotels in Hawaii can range anywhere from $150 to over $1,000 per night, depending on location and amenities. If you want to stay right on the beach, you’ll definitely pay a higher price. Below are a few highly rated options for all budgets!
Wayfinder Waikiki
• 5 Minute walk to Waikiki Beach
•Restaurant and Cafe onsite
• Around $200 per night
Waikiki Resort Hotel
• 2 Minute walk to Waikiki Beach
• Breakfast Included
• Around $300 per night
Panoramic Oceanview Resort
• Full Kitchen in every room
• Located just steps away from the beach
• Around $500 per night
This Oahu itinerary is planned as Waikiki as its home base, however feel free to stay in another area and adjust the itinerary as needed!
Day 2: Spend Some Time in the Water
After some rest, get your first taste of the white sand beaches with the clearest water!
Snorkeling
You’ll likely be up early adjusting to the time change, making it perfect to catch an early snorkeling tour! There are a few different snorkeling options but we chose Kaneohe Sandbar Snorkeling Tour and had the BEST time!
Depending what hotel you’re staying at, pickup is between 8:00am-8:15am. Our pickup location was only a 3 minute walk from our hotel and they do have a few different pickup locations.
You’ll start the tour off with a short boat ride to the sandbar. From here you’ll have around an hour to enjoy the sandbar. They have a variety of floaties, water toys and paddle boards to keep you entertained. I tried out the paddle board (for the first time) and it was a lot hard that I imagined it would be!
After this, you’ll spend the next hour snorkeling around the reef! We saw soo many sea turtles and groups of fishes, it was so magical. Once you’re back on the boat, enjoy a drink and a snack while you head back to shore.
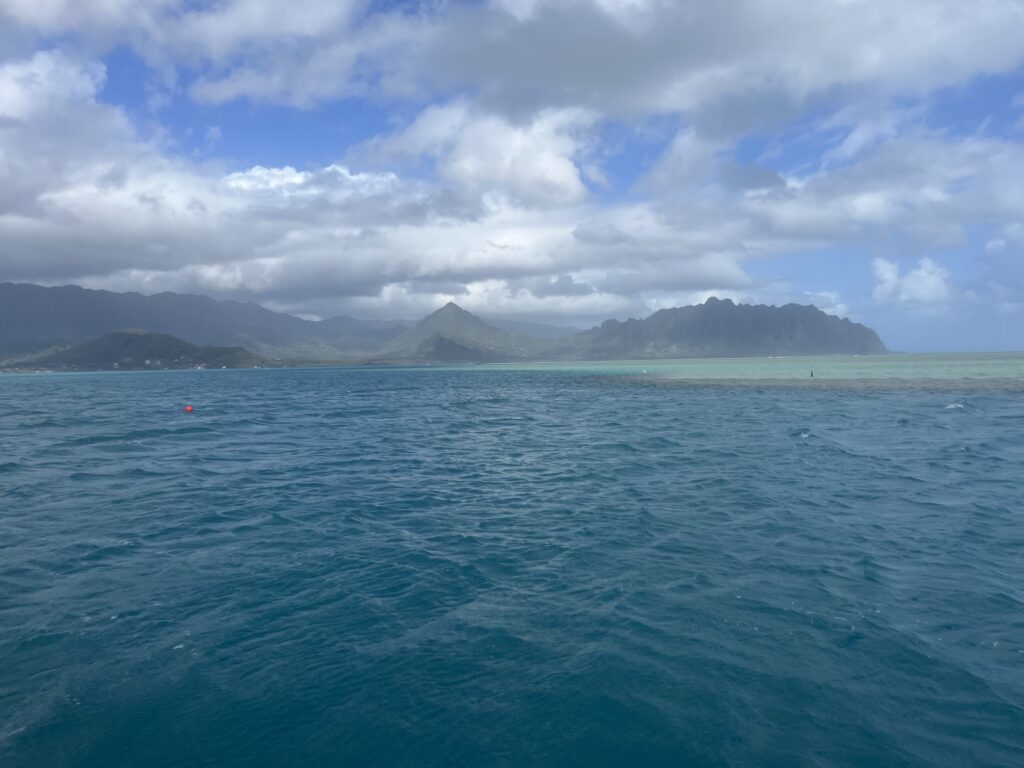
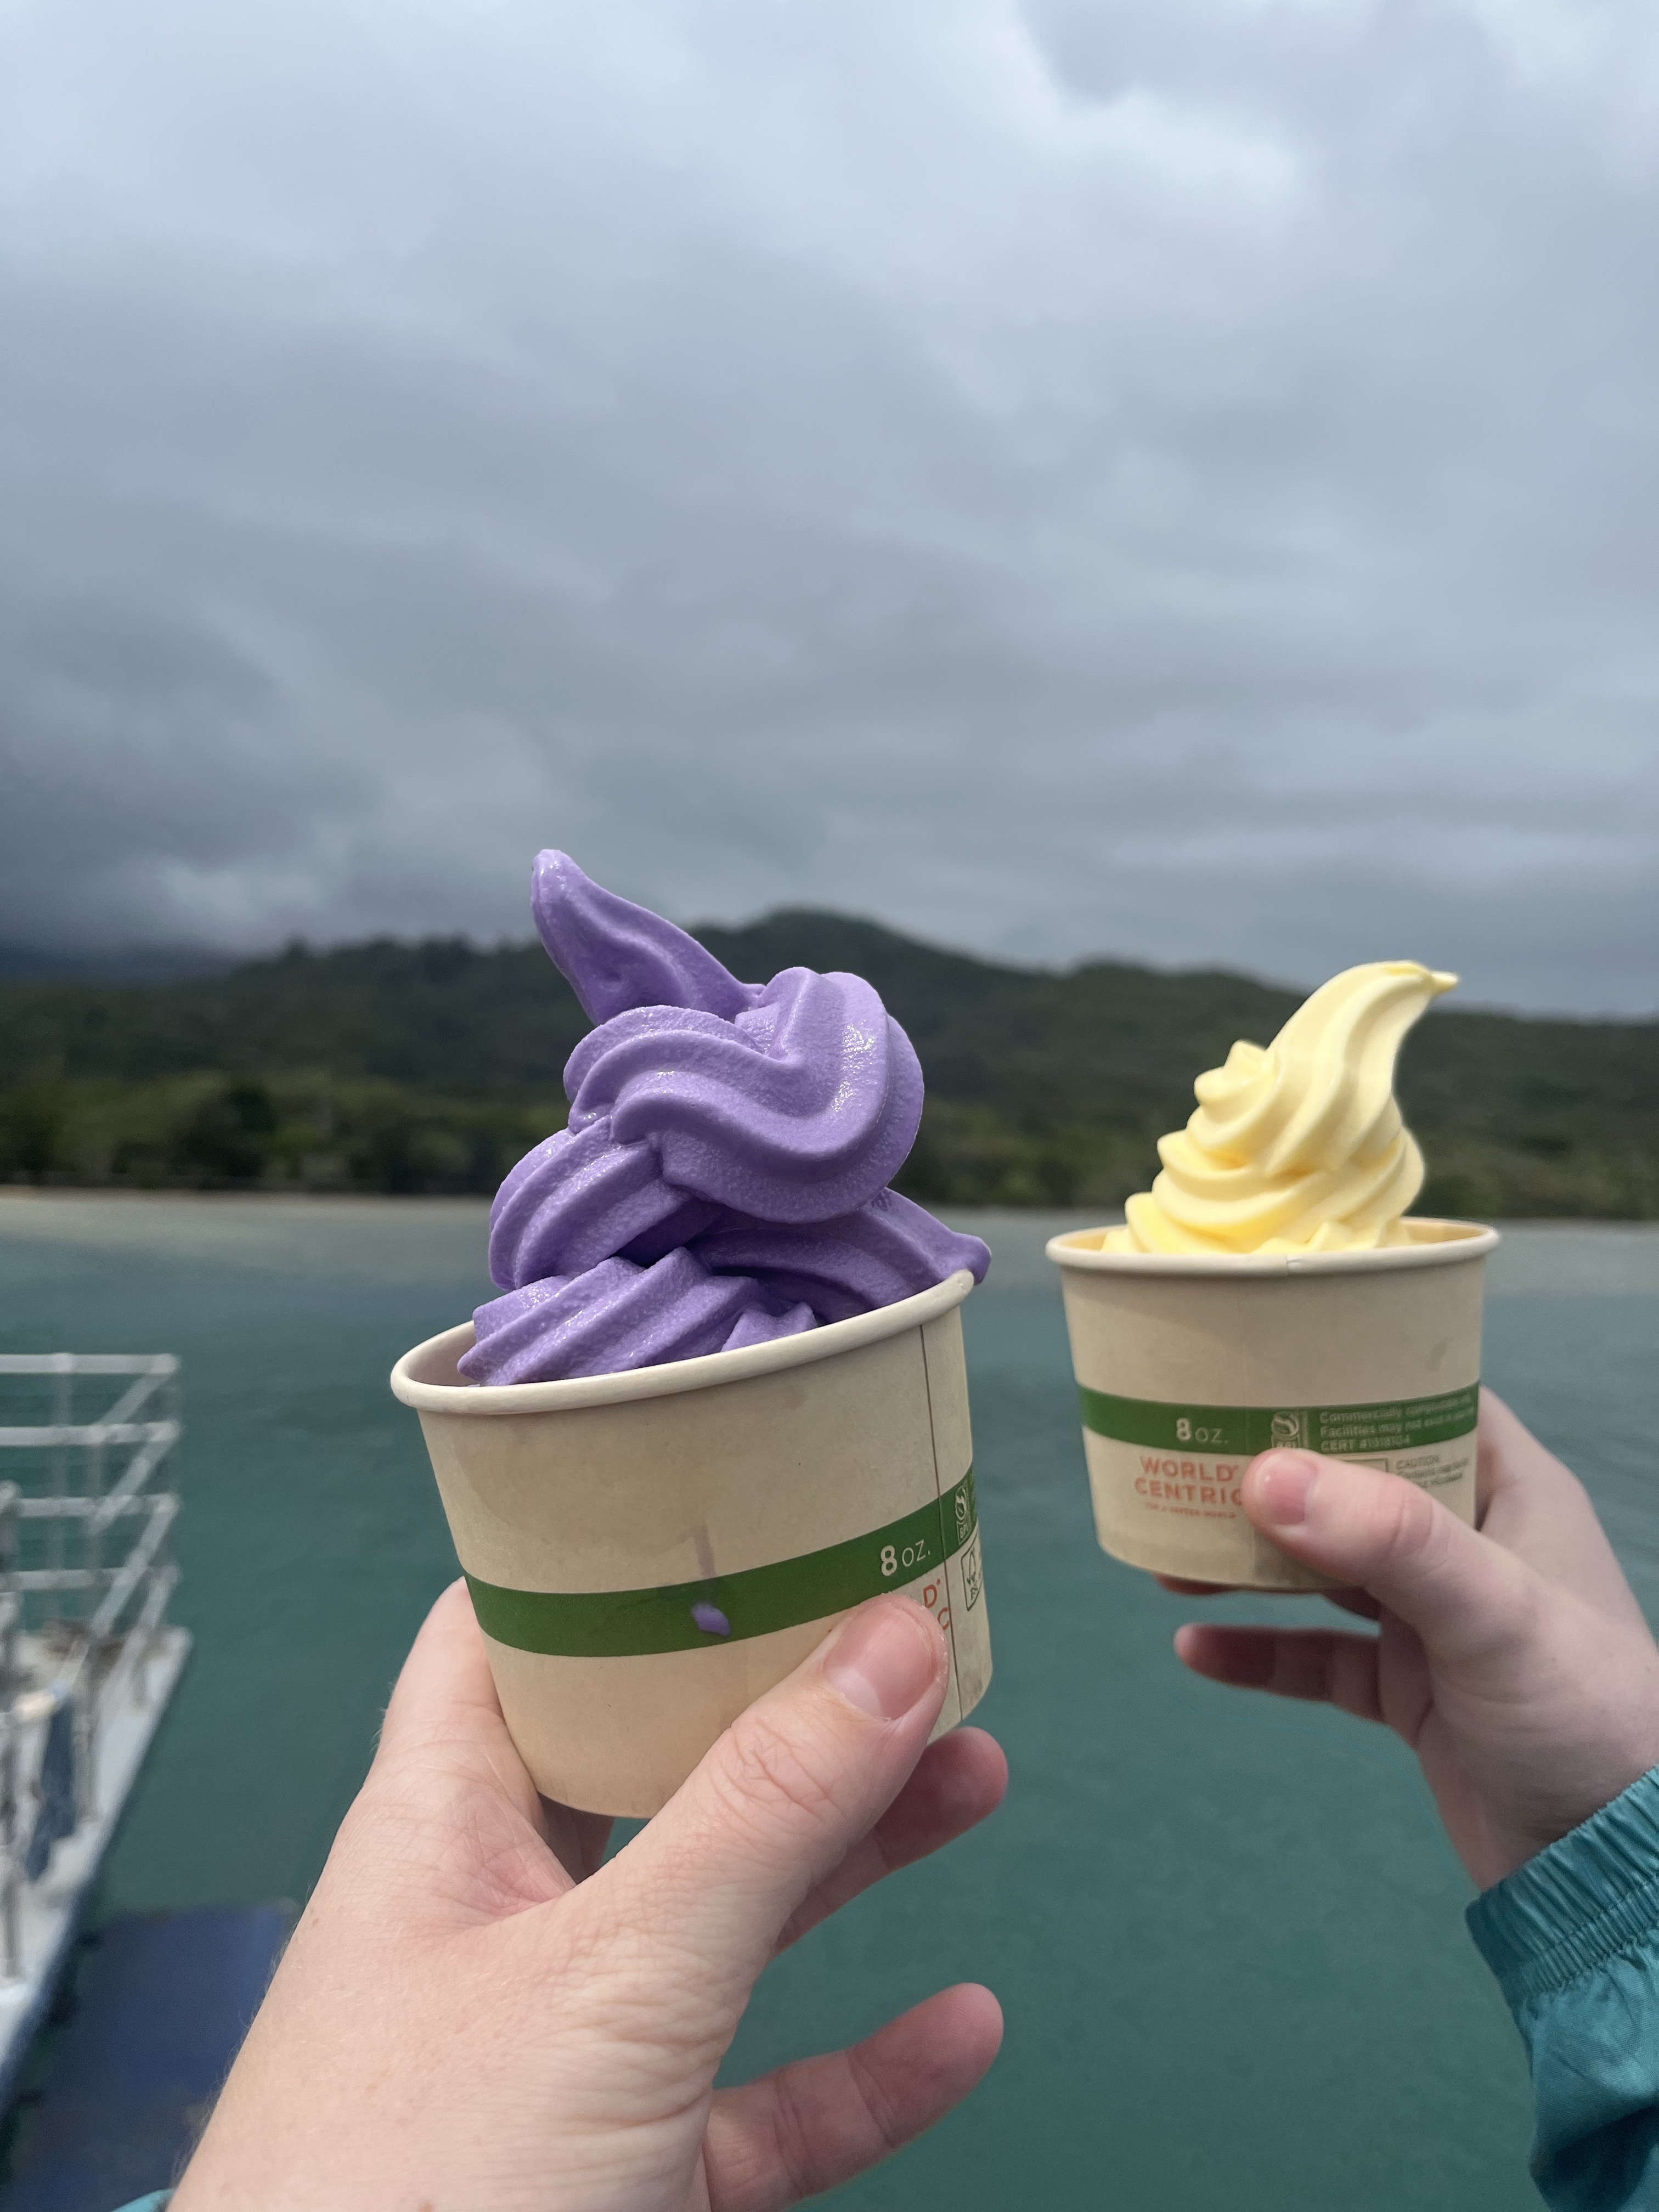
After the snorkeling cruise is over you’ll have about 20-30 minutes before the shuttles pick you up. I recommend using this time to get some soft serve ice cream at the snack shack by the bathrooms. We got the ube and pineapple flavors and they were soo good, I am still thinking about them!
Waikiki Beach
Once back in Waikiki, grab some lunch before spending the rest of the afternoon at Waikiki beach. Swim, read a book, watch the sunset; whatever you choose to do just relax and enjoy your vacation. I recommend grabbing lunch at the Steak Shack, and hanging out at the beach next to it.
Day 3: Windward Side
Spend day three exploring the Windward (east) side of Oahu. There’s so much to see and do over here, so get ready for a fun and adventure-filled day!
Byodo-In Temple
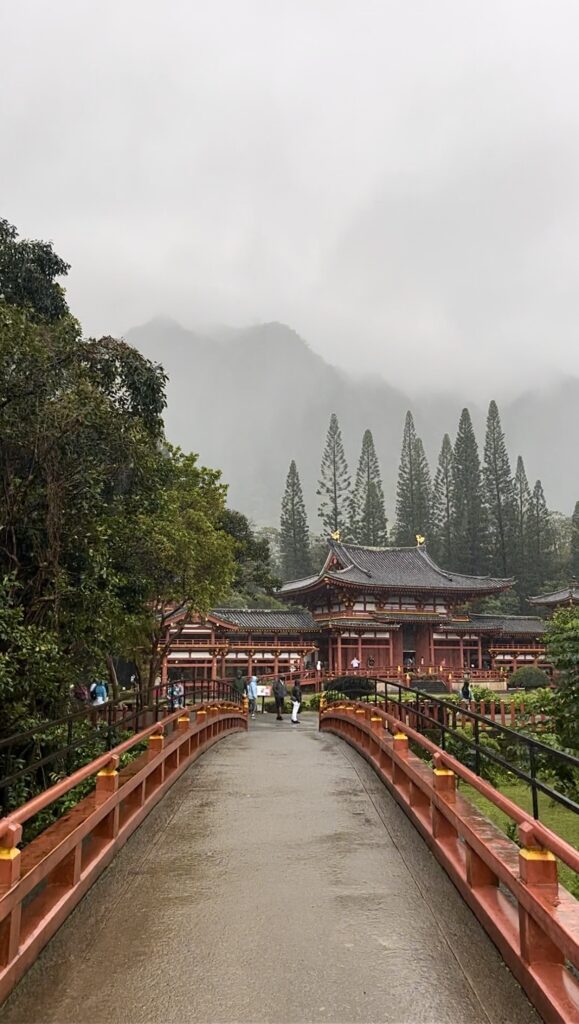
It’s time to rent a car and venture out of Waikiki. After grabbing breakfast & your rental car, head to the Byodo-In Temple, just 30 minutes outside of Waikiki. Passes for the temple are only $5 per person and can be purchased in person, or on there website ahead of time.
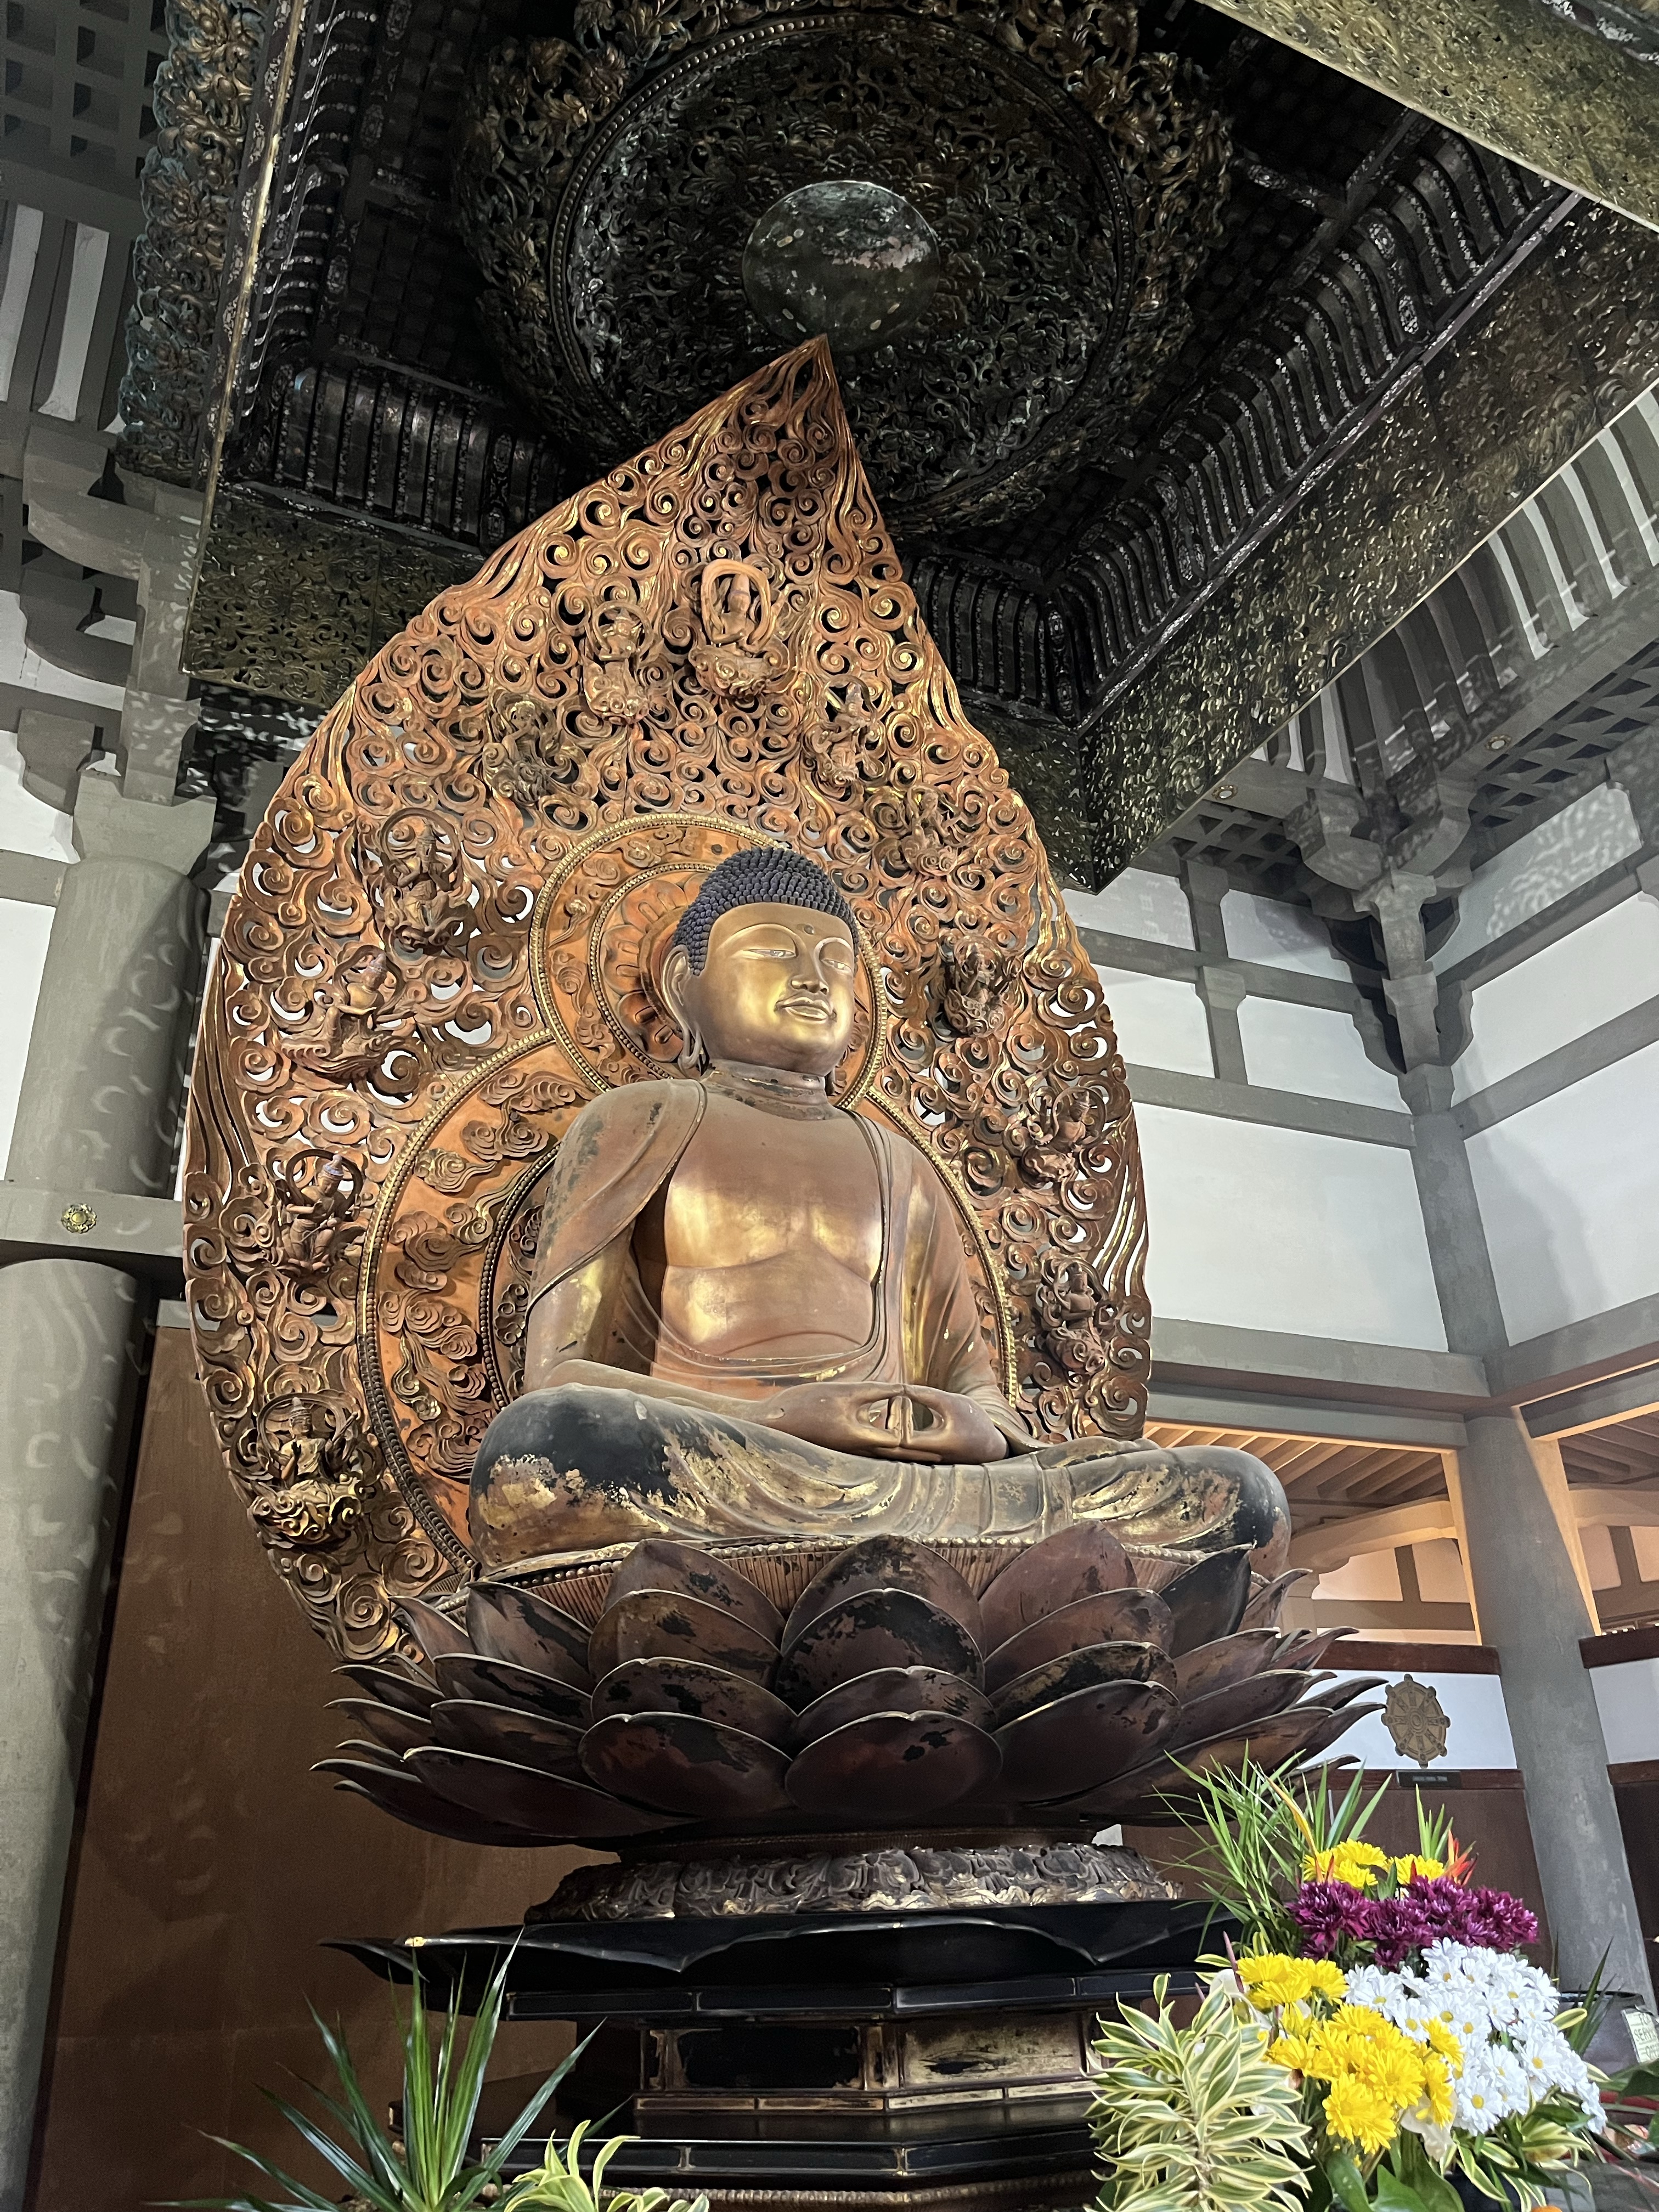
This Buddhist temple is no longer used for practicing so anyone is allowed to visit. Just remember, it’s still a sacred place, so make sure to dress appropriately and don’t wear swimwear. Spend some time walking around and taking in its beauty. Don’t forget to ring the gong outside – it’s said to take away any negativity you might be carrying!
Ho’omaluhia Botanical Garden
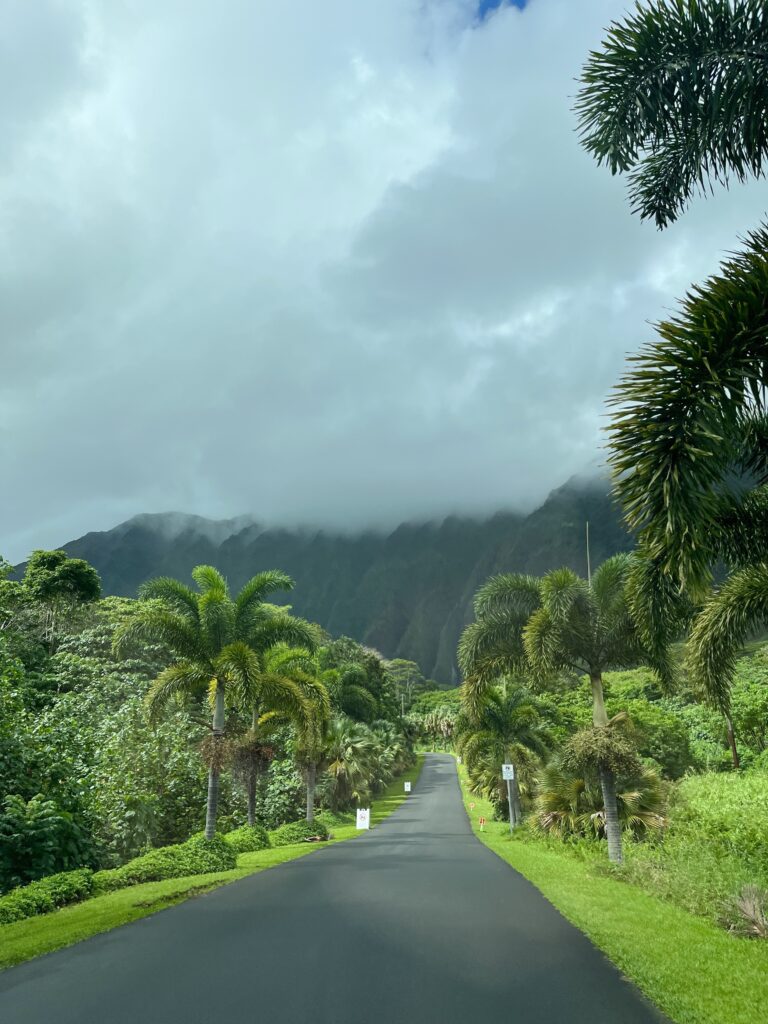
After spending time at the temple, head over to the Ho’omaluhia Botanical Garden, which is only a 20 minute drive away.
The Botanical Garden is free to visit. The gardens feature amazing views of the Koʻolau Mountain range, 100s of plant species and multiple walking trails. One thing to note is most of the trails are dirt paths and can be extremely muddy if it has rained recently.
Either wear hiking boots or tennis shoes you don’t mind getting dirty. As you make your way through the botanical gardens, be sure to stop at the overlook for some great views of the garden and mountains.
Koko Crater Botanical Garden
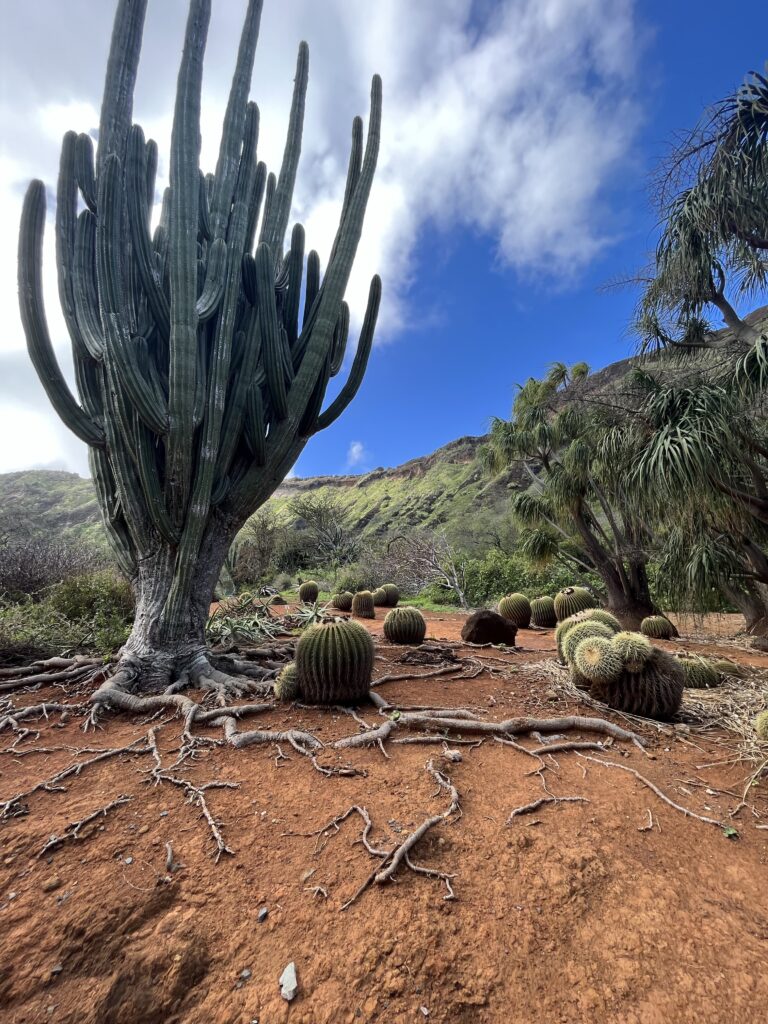
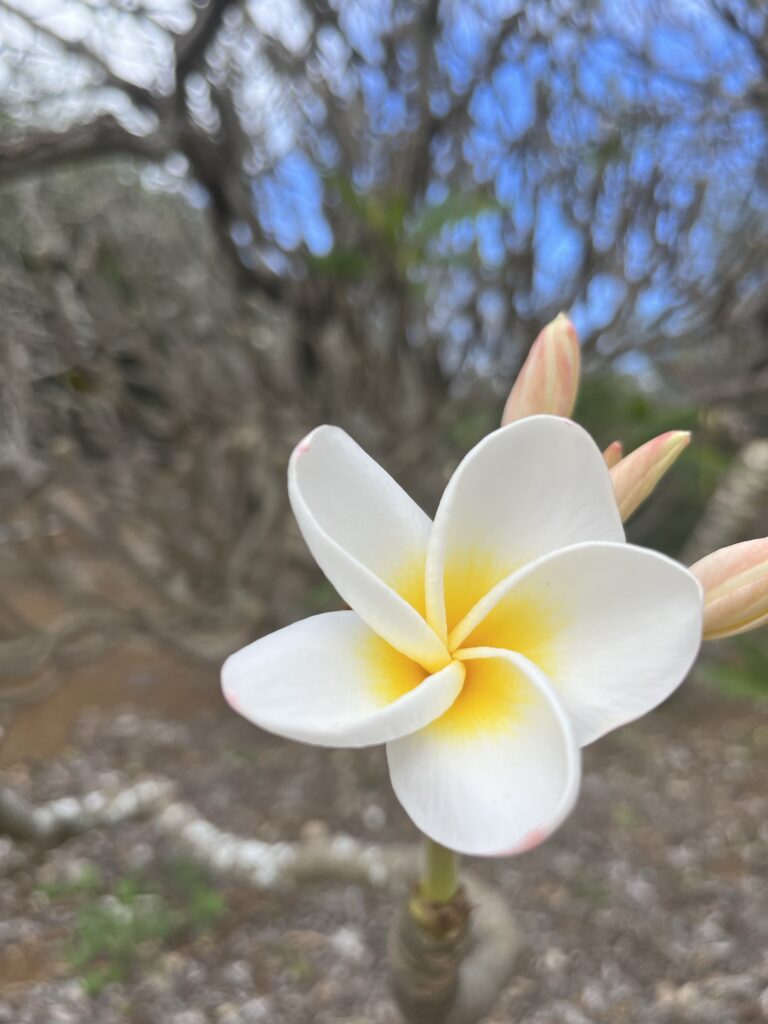
If this is enough for one day, you can obviously head back to Waikiki and spend the rest of the day on the beach. We had an early start to the day so we headed over to Koko Crater Botanical Garden and did the two mile loop around the gardens.
The garden is open from sunrise to sunset and is $5 per person to visit.
Windward Beaches
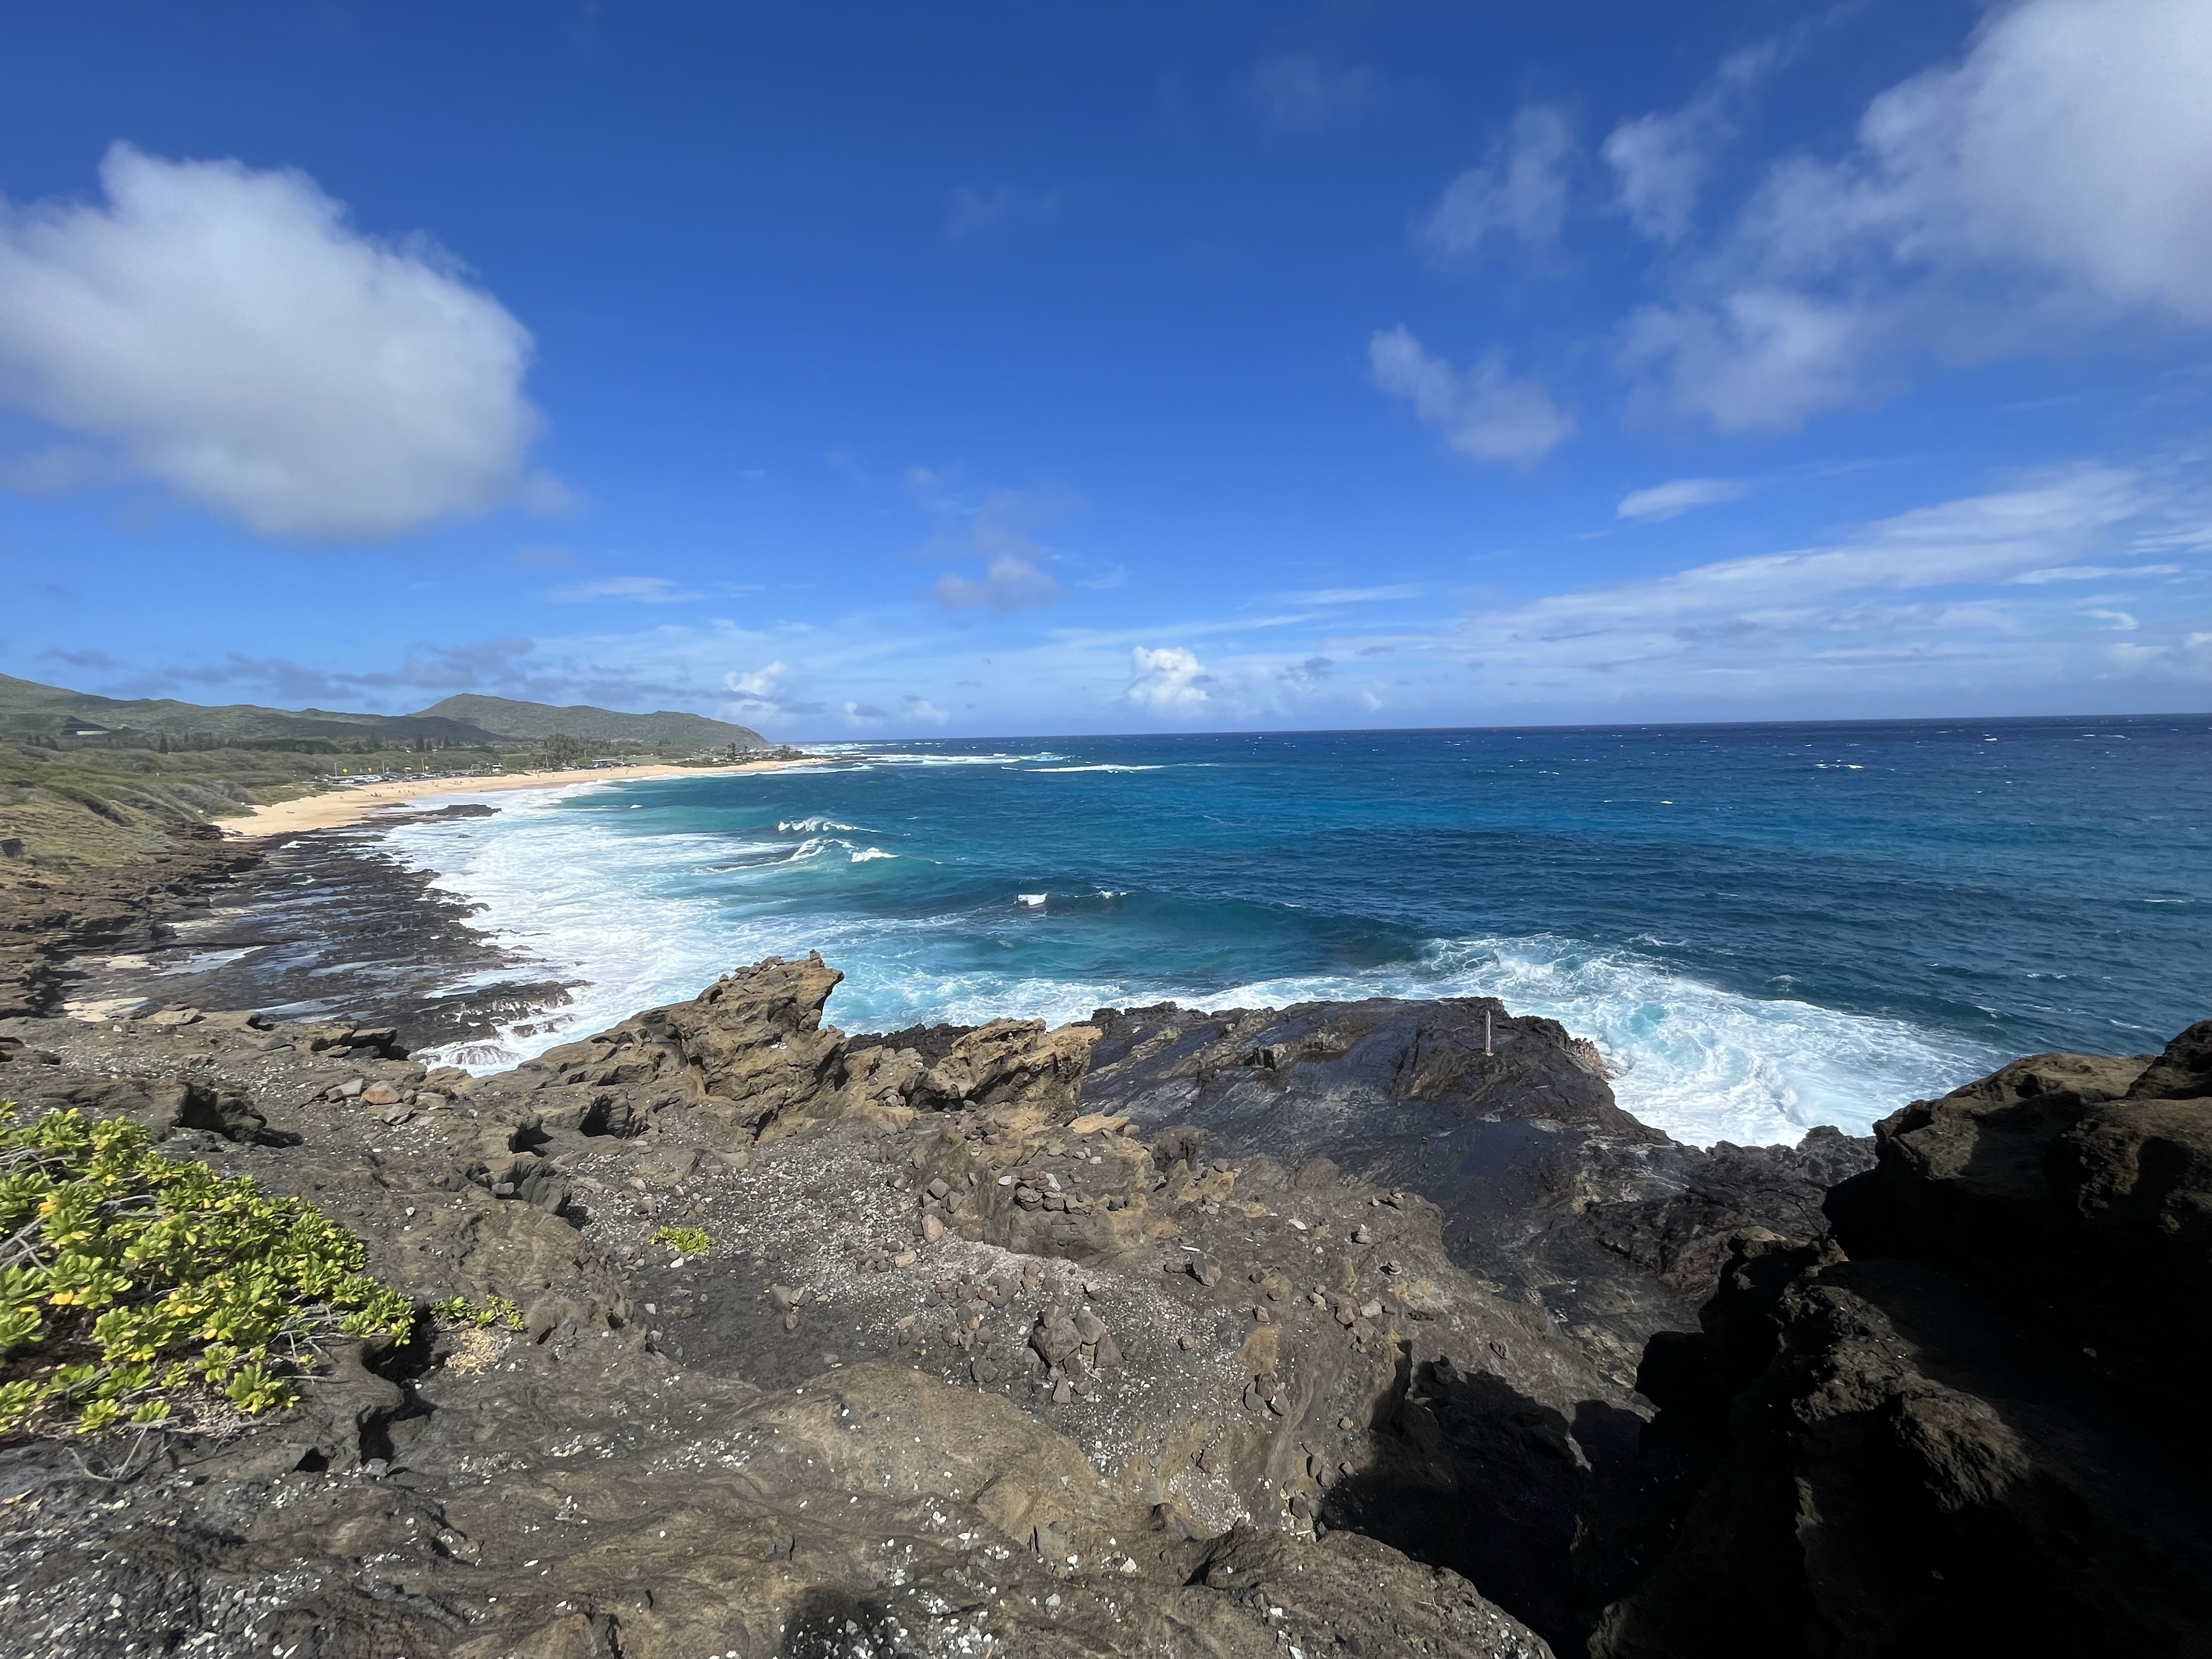
Since you’re on already on the windward side, you can choose to hangout at one of those beaches or head back to Waikiki. If you do decide to hangout here, it’s important to check the swimming conditions before heading over there. That whole side was extremely windy and the water was not safe to swim in when we visited. Always read and follow any signs listed as the ocean can be very dangerous and unforgiving!
Whichever you decide, when you start heading back to Waikiki, you should definitely grab lunch or dinner at bEASTside Kitchen. We stopped during their happy hour (M-F 3pm-6pm) and shared the garlic umami fries, the guava bbq chicken, and garlic umami shrimp. My wife still says this was her favorite restaurant we ate in Hawaii and it was definitely a close second for me!
Day 4: Short Hike
Take a short hike to view the Makapu’U Lighthouse then spend the rest of the day resting on the beach.
Farmer’s Market
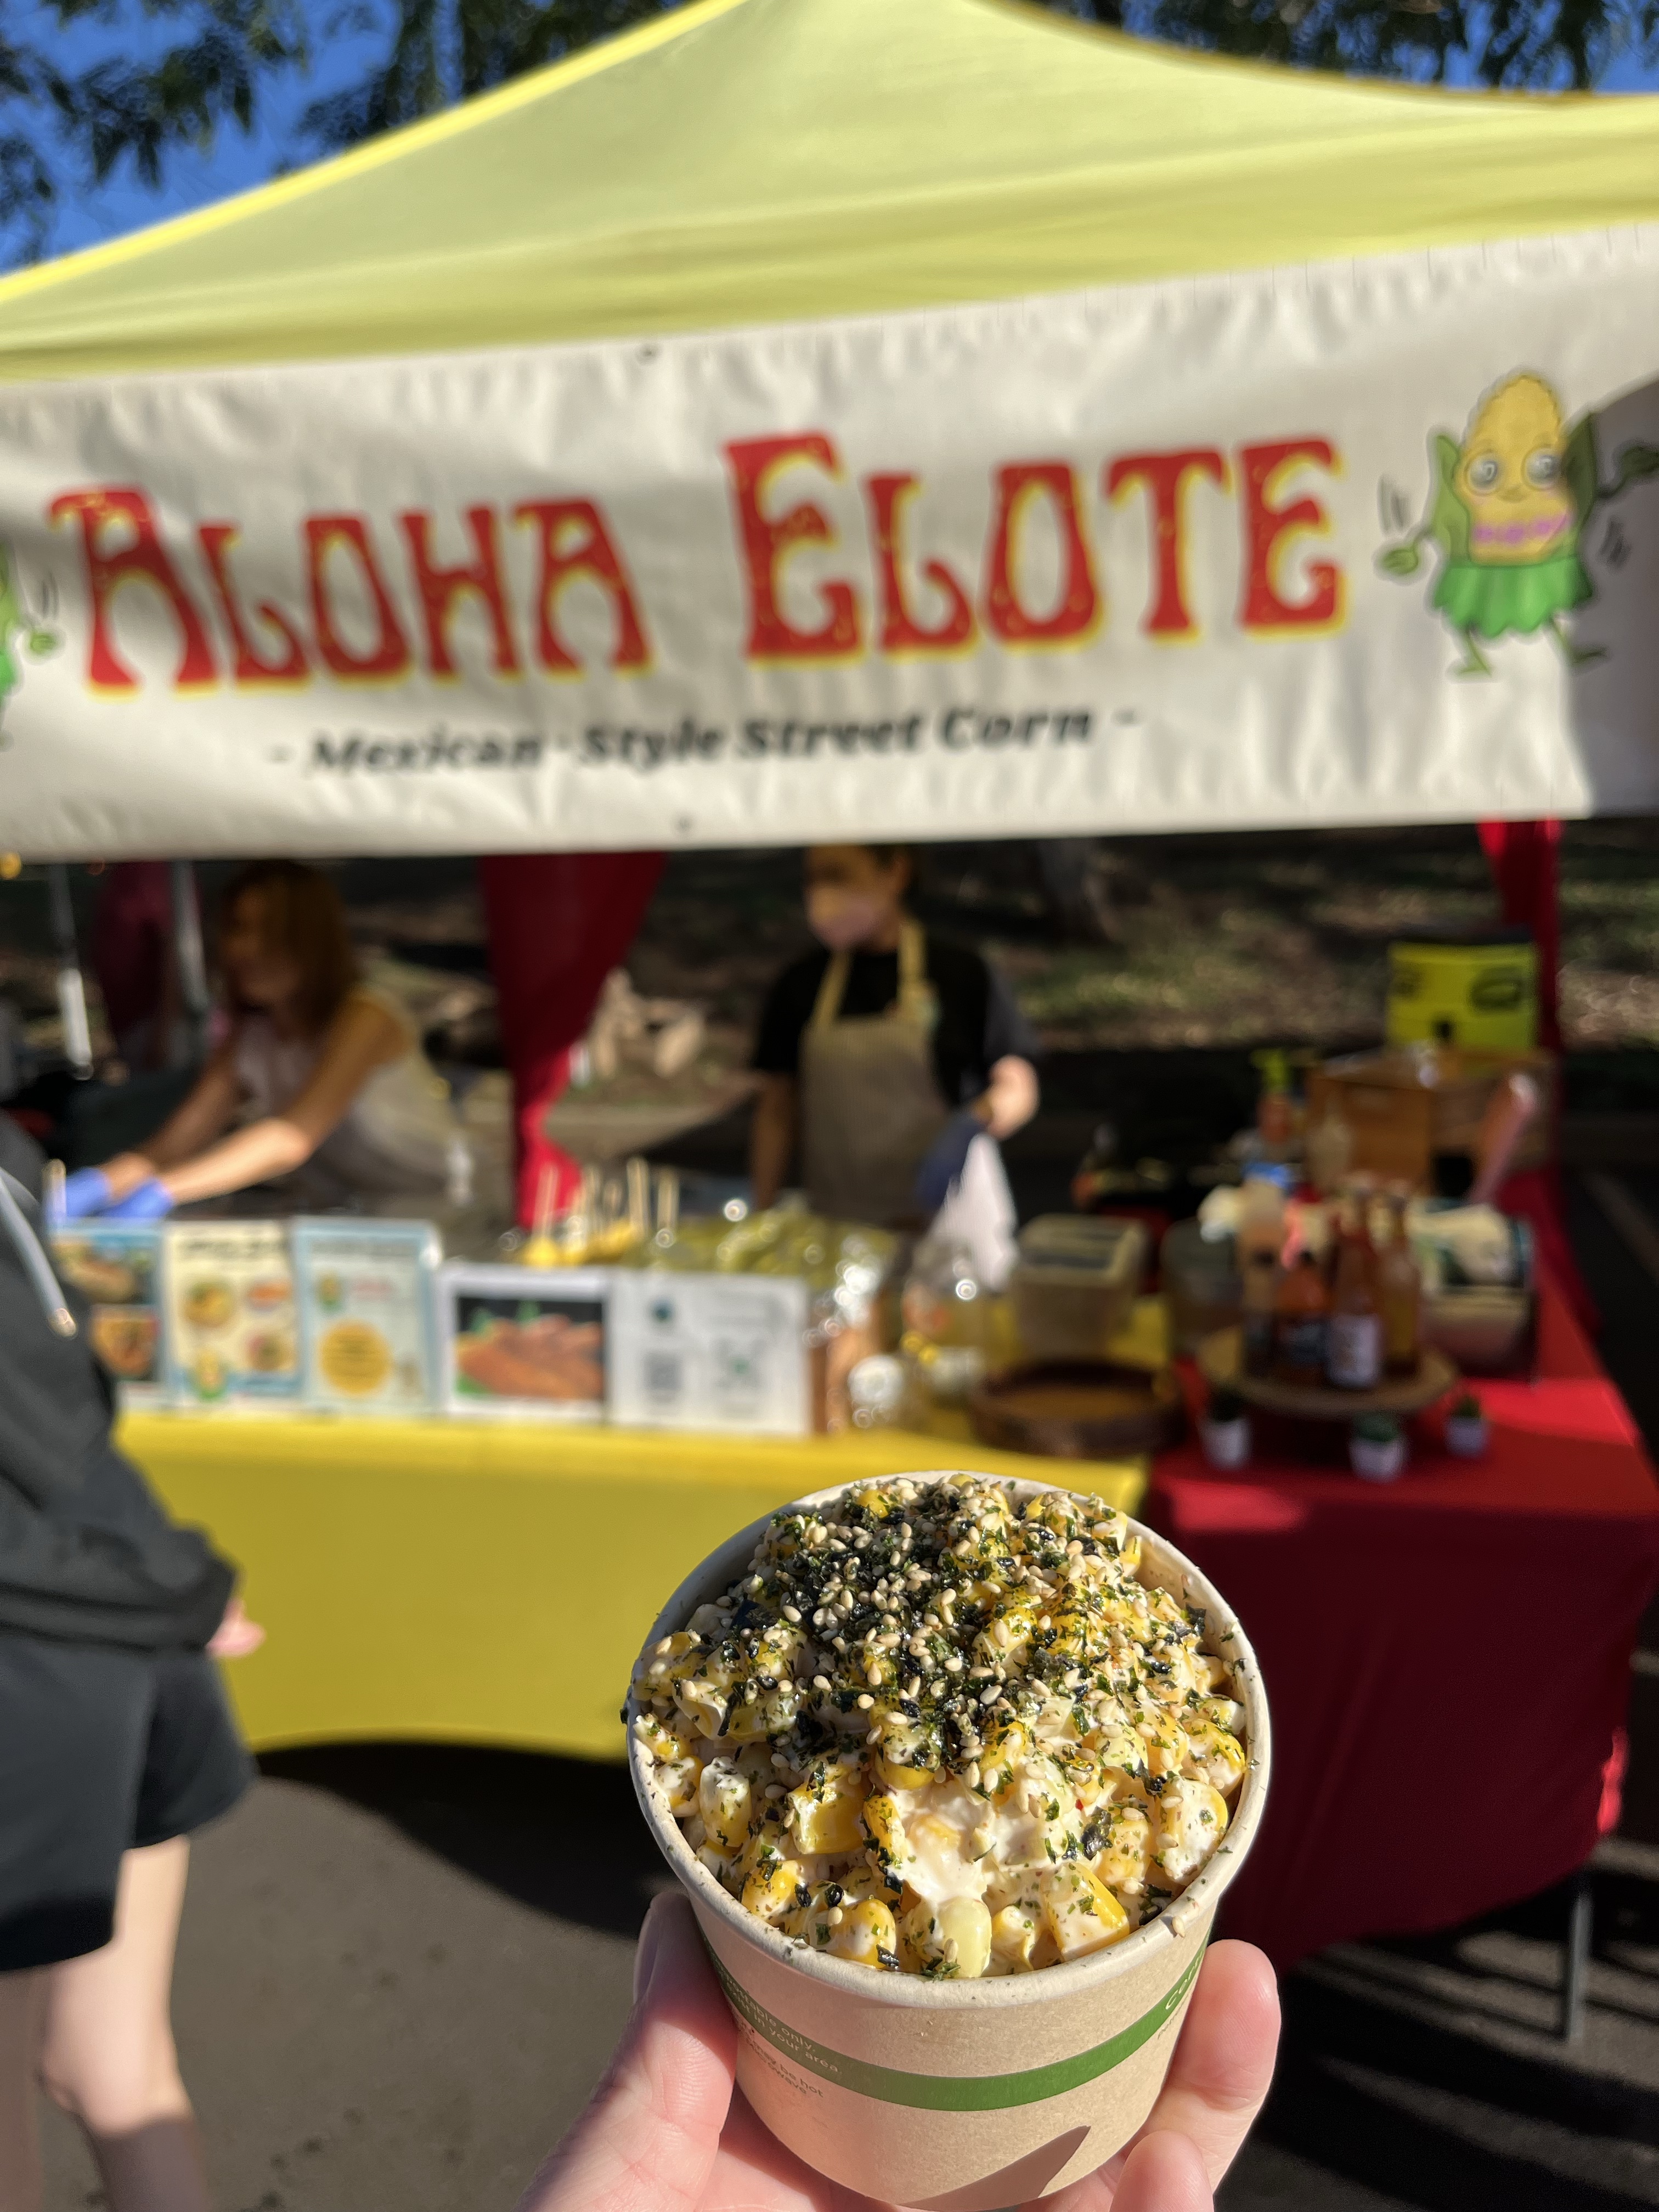
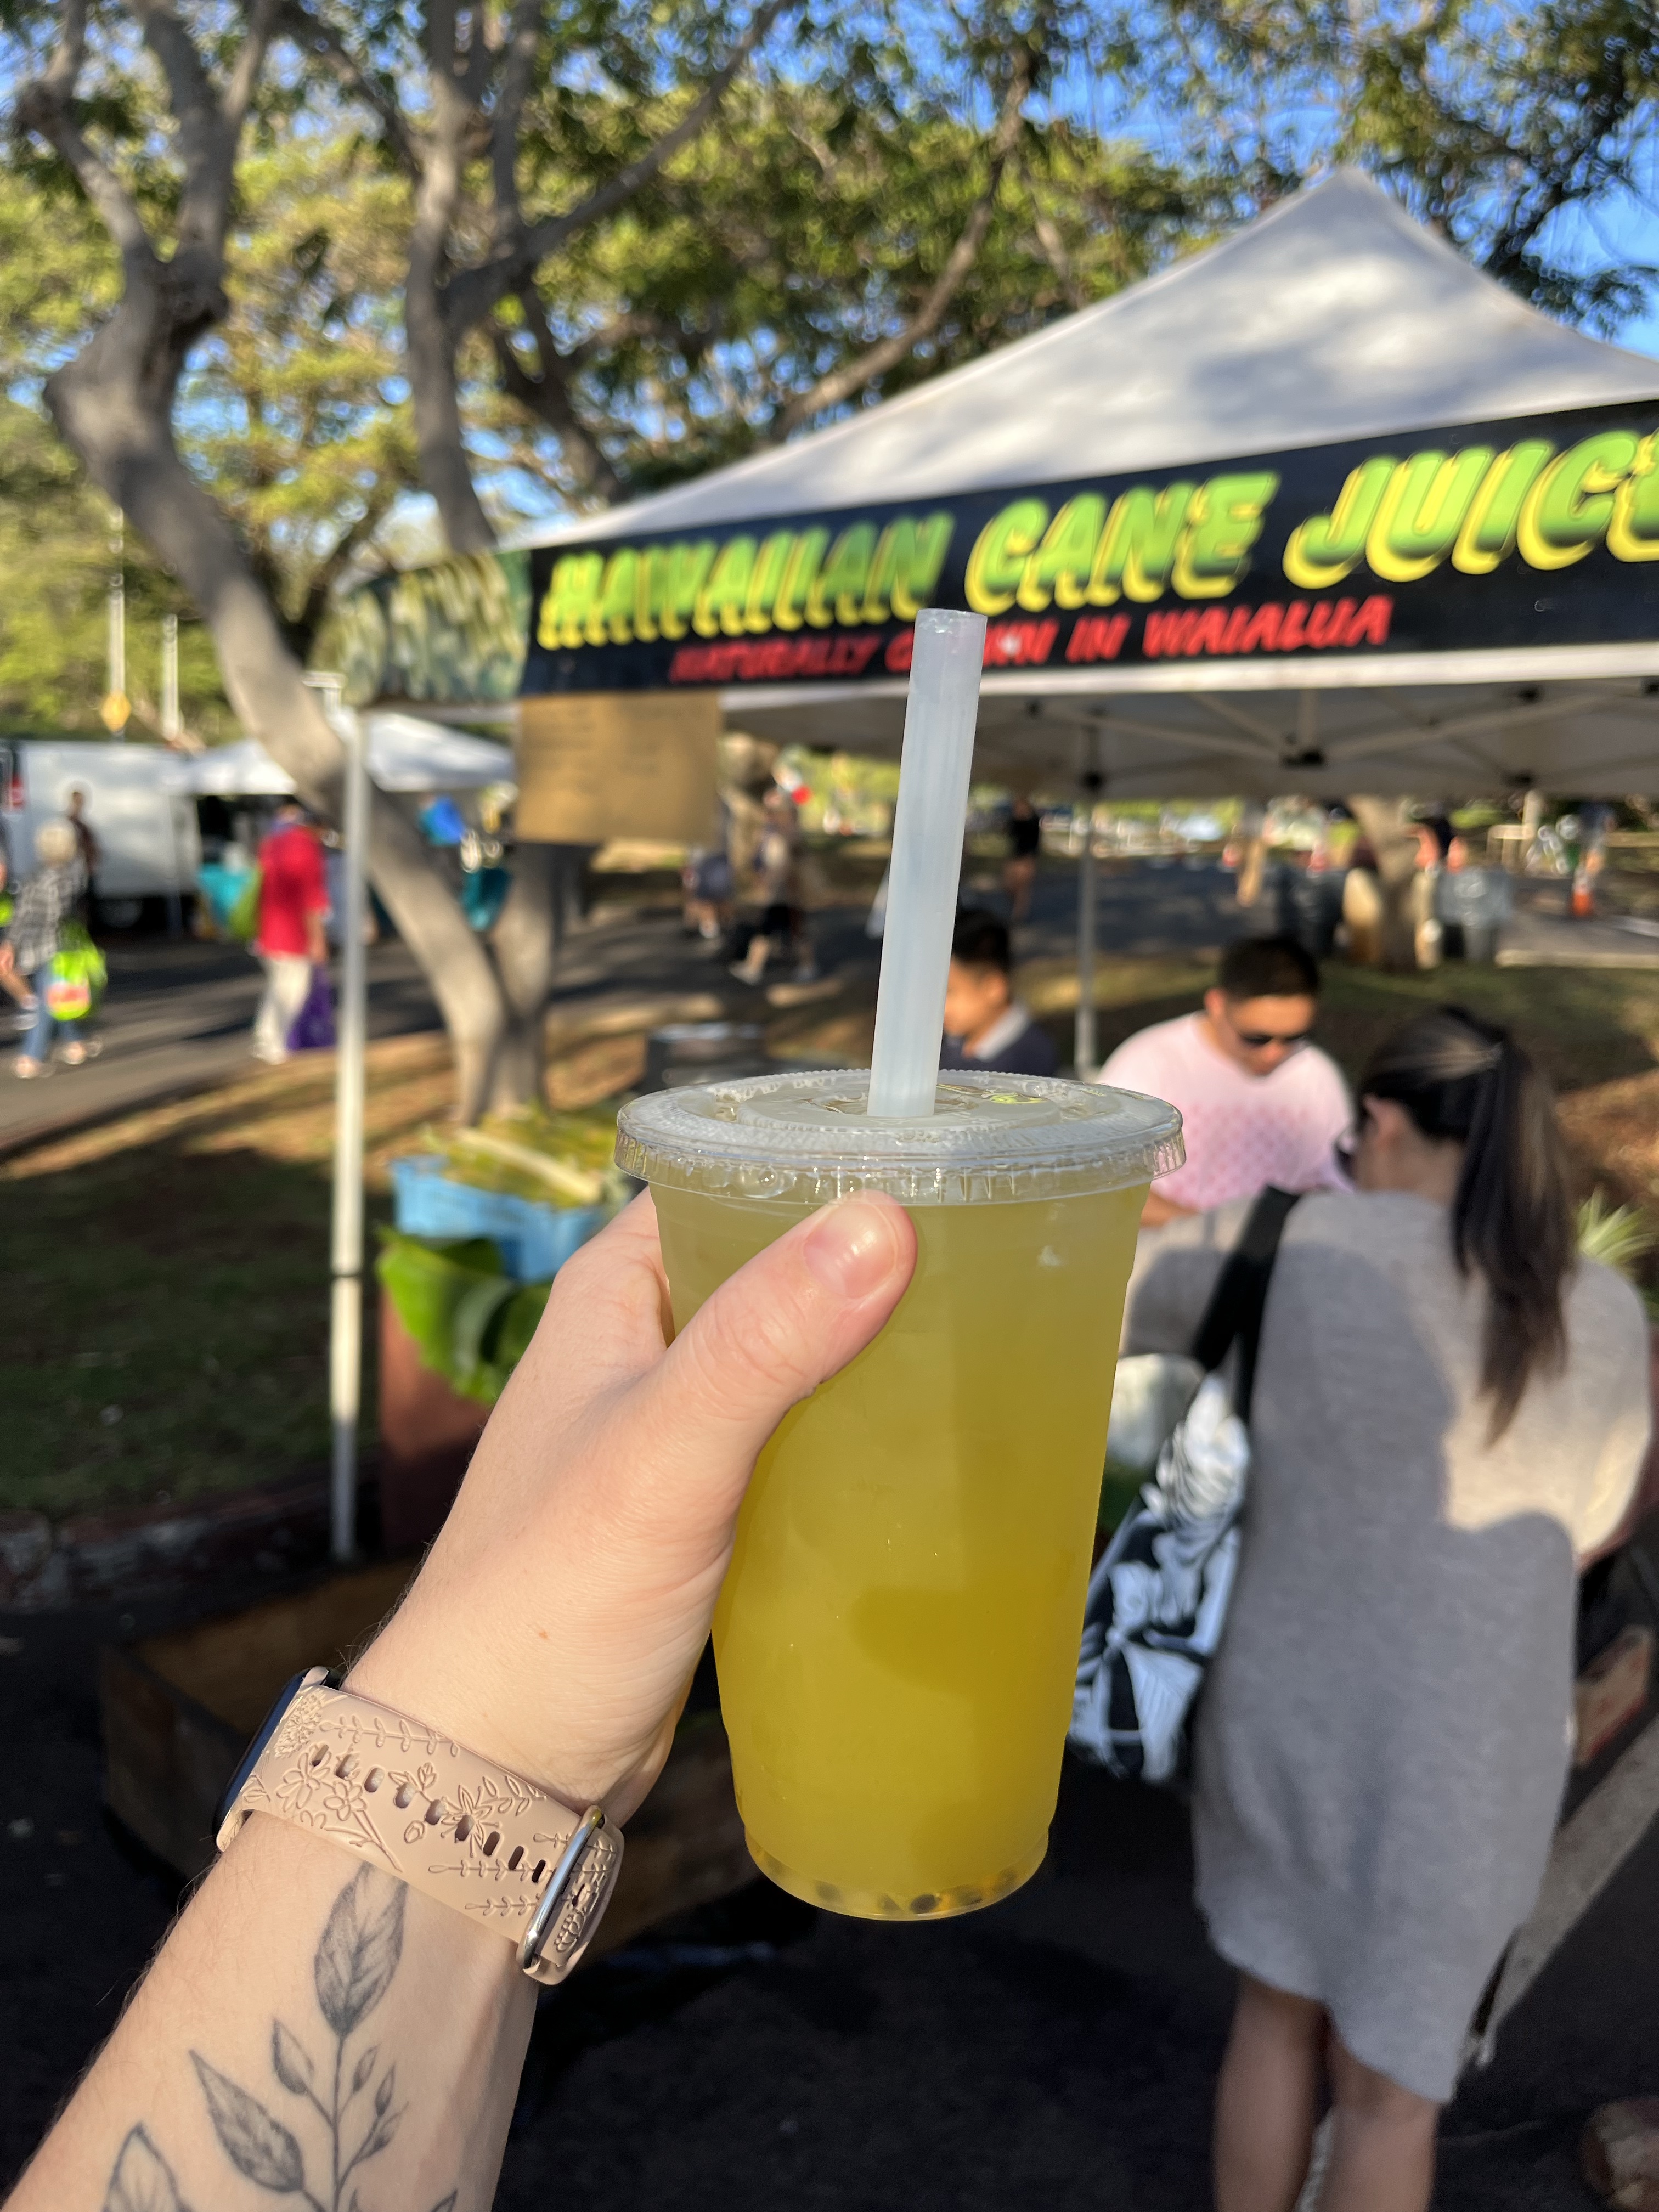
On Saturday, start the morning off early at the KCC Farmers Market, located just outside Waikiki. It opens at 7:30am and I recommend getting there not too long after it opens. We arrived just before 8:00 and it was already pretty busy. There are plenty of vendors to choose from so take your time browsing. They had everything from fresh fruit juice, hot food vendors, plants, jams, and more.
Makapu’U Lighthouse Trail
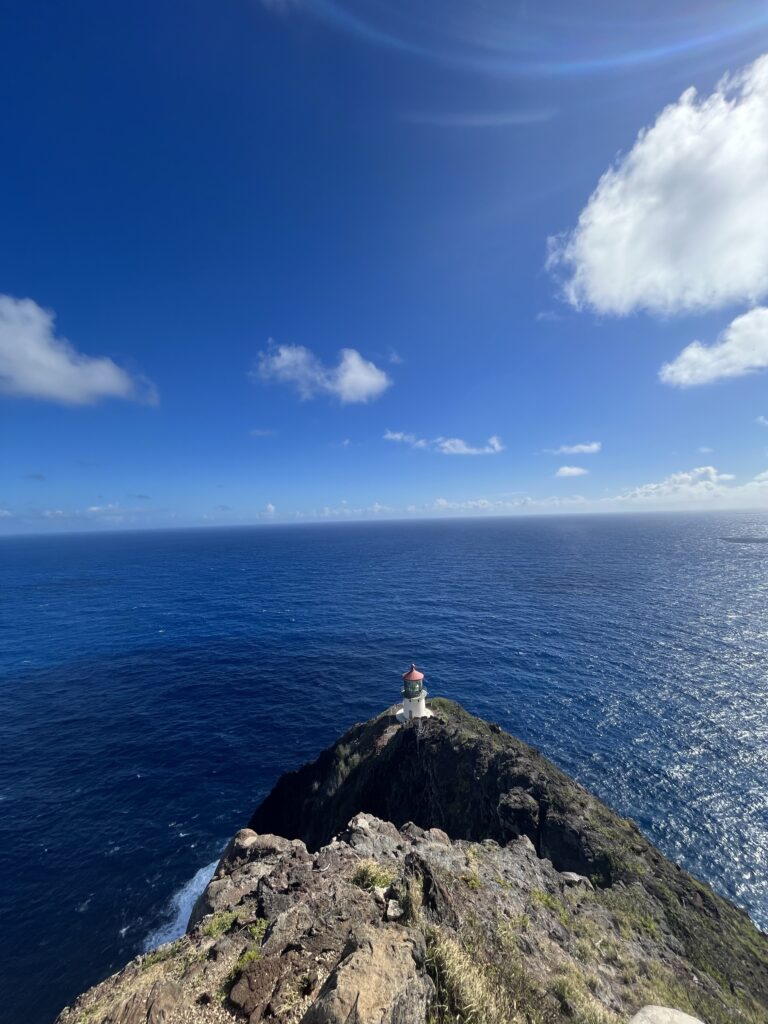
After you finish browsing the farmers market, head over to Makapu’U Lighthouse trail, which is about a 20 minute drive away.
This trail offers amazing views of the coast and lighthouse. It is only 2 miles round trip and gains around 500 feet elevation. Be sure to do this trail earlier in the day because there is very limited shade here.
Lunch & Beach
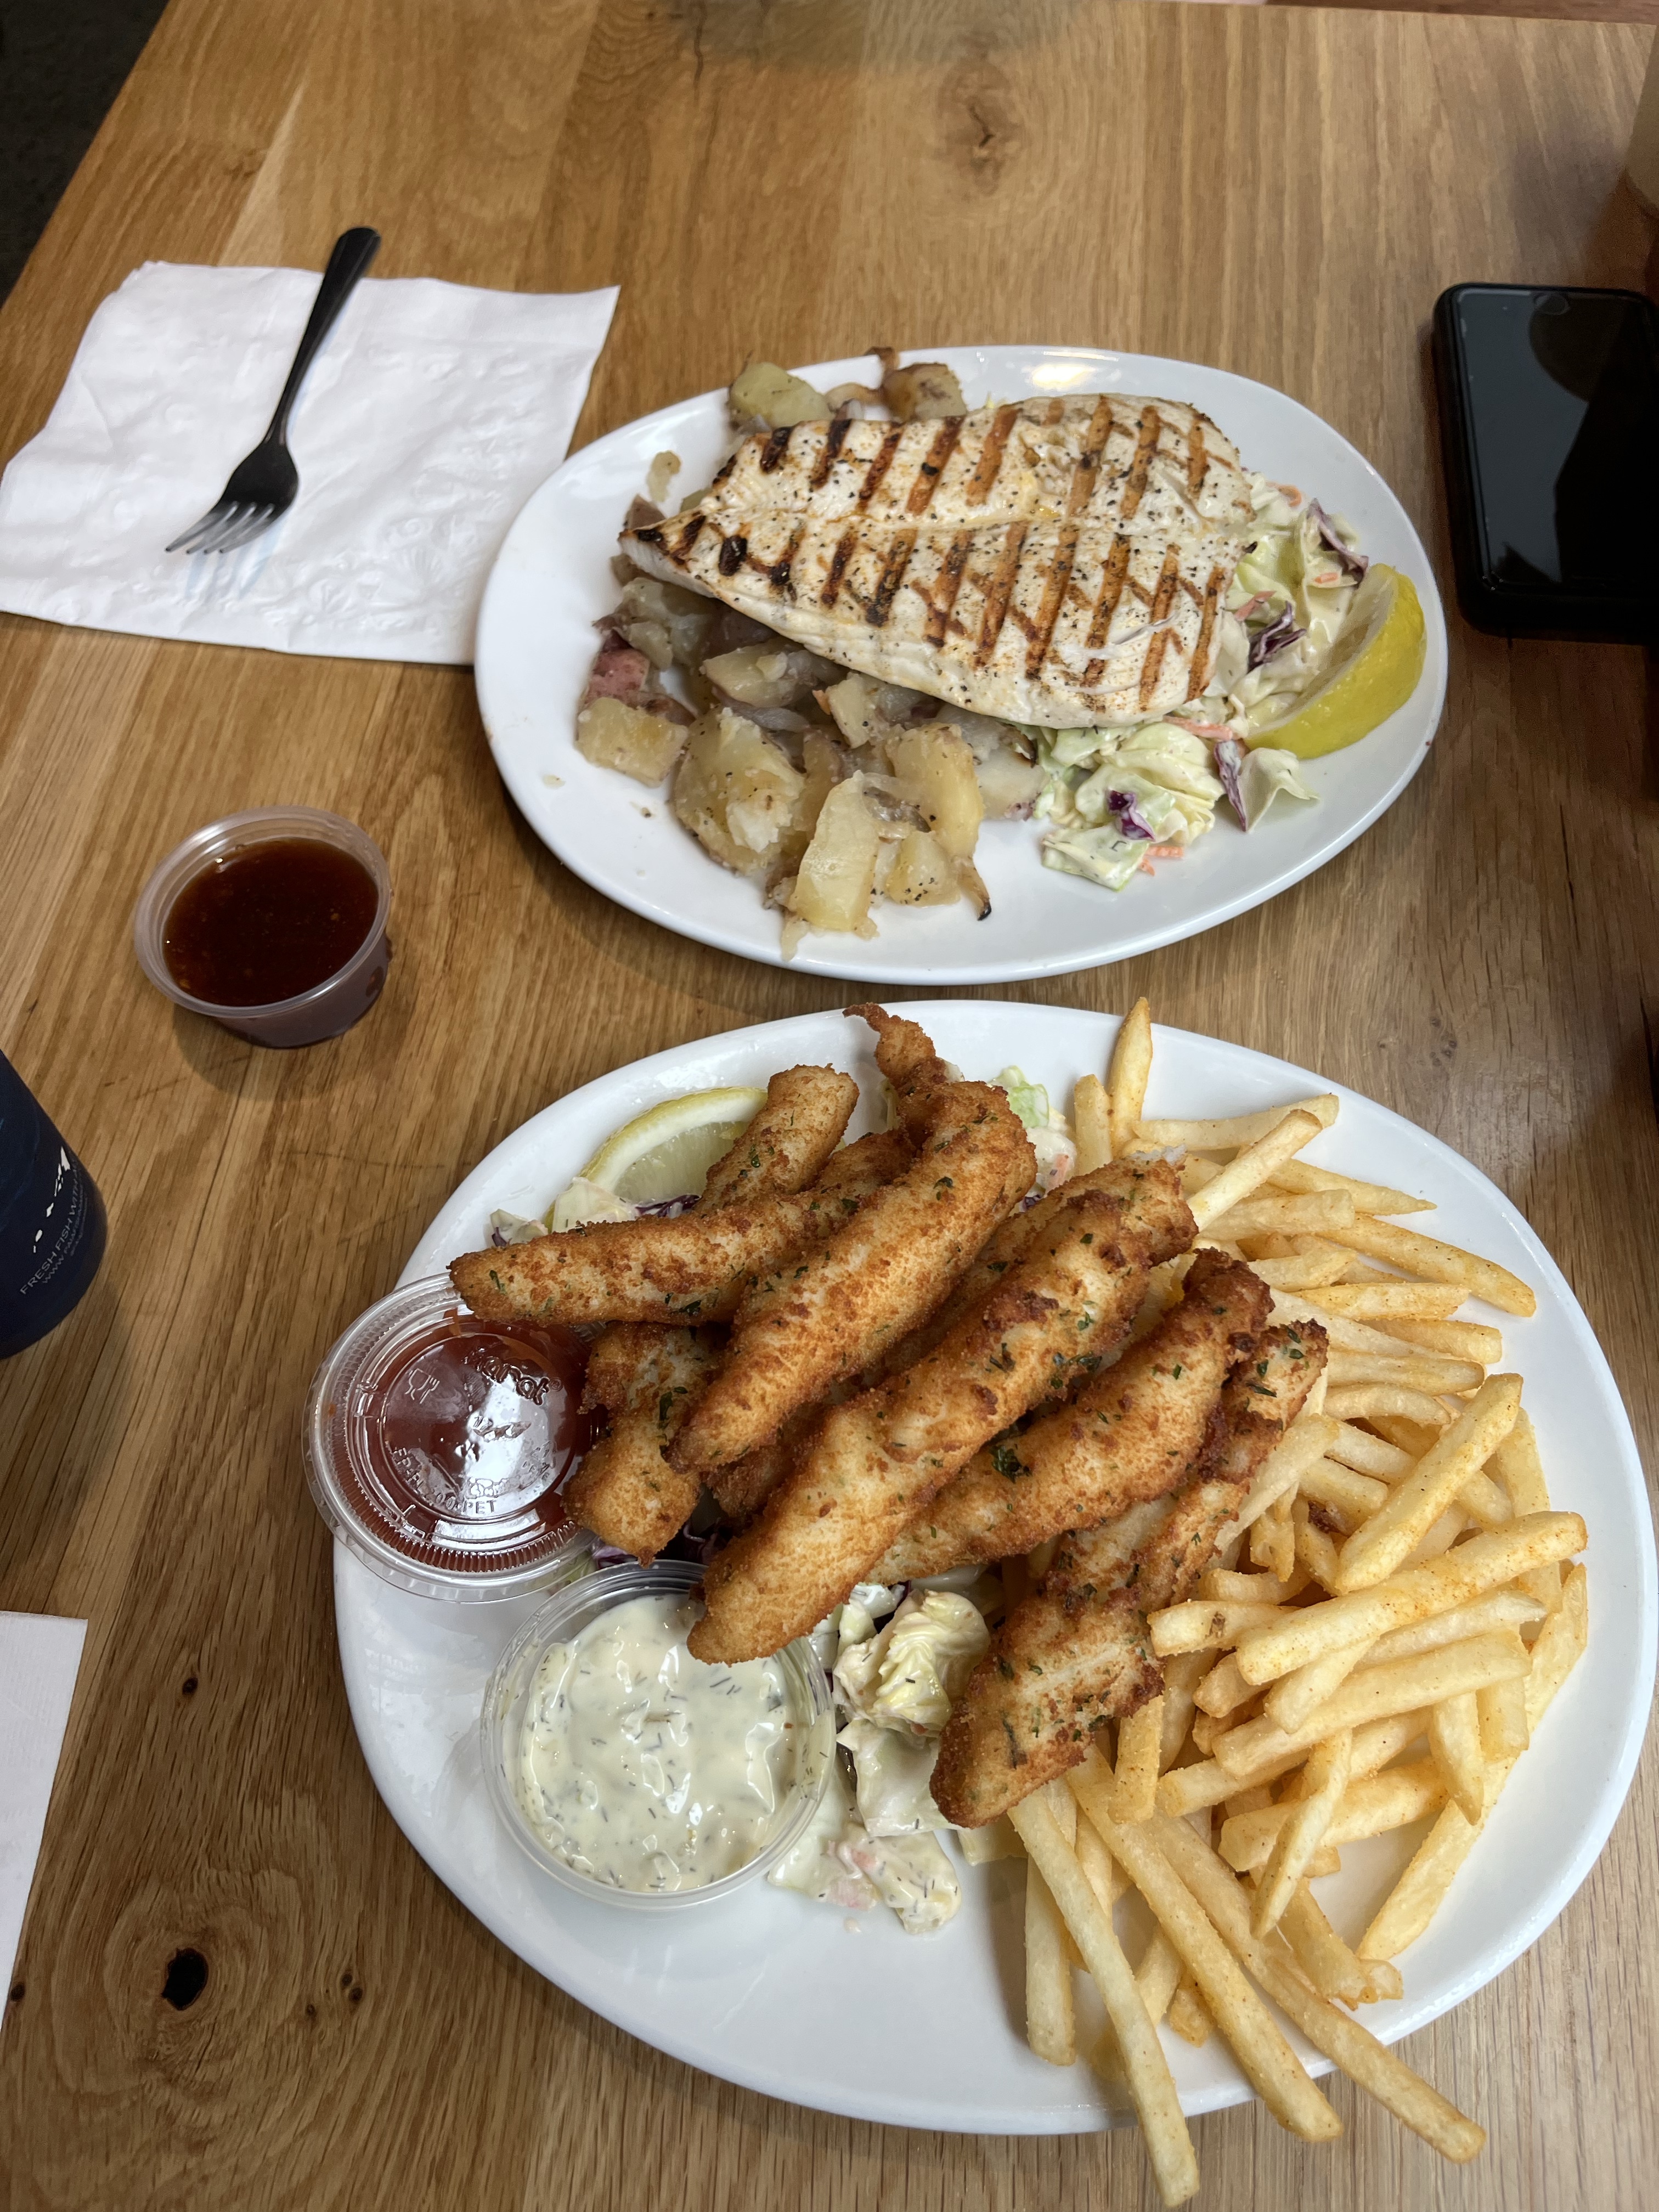
Once you finish the lighthouse trail, grab some lunch at Paia Fish Market in Waikiki. They have some of the best fish in town, you can’t leave without visiting! We enjoyed it so much the first time we had to go back on our last day. After lunch grab your swimsuits and spend the rest of the afternoon at the beach.
Kuhio Beach Hula Show
Around 6:00 PM, make your way to the Kuhio Beach Hula Show, held near the iconic Duke Kahanamoku Statue. This free Hawaiian experience takes place every Tuesday and Saturday from 6:30 PM to 7:30 PM.
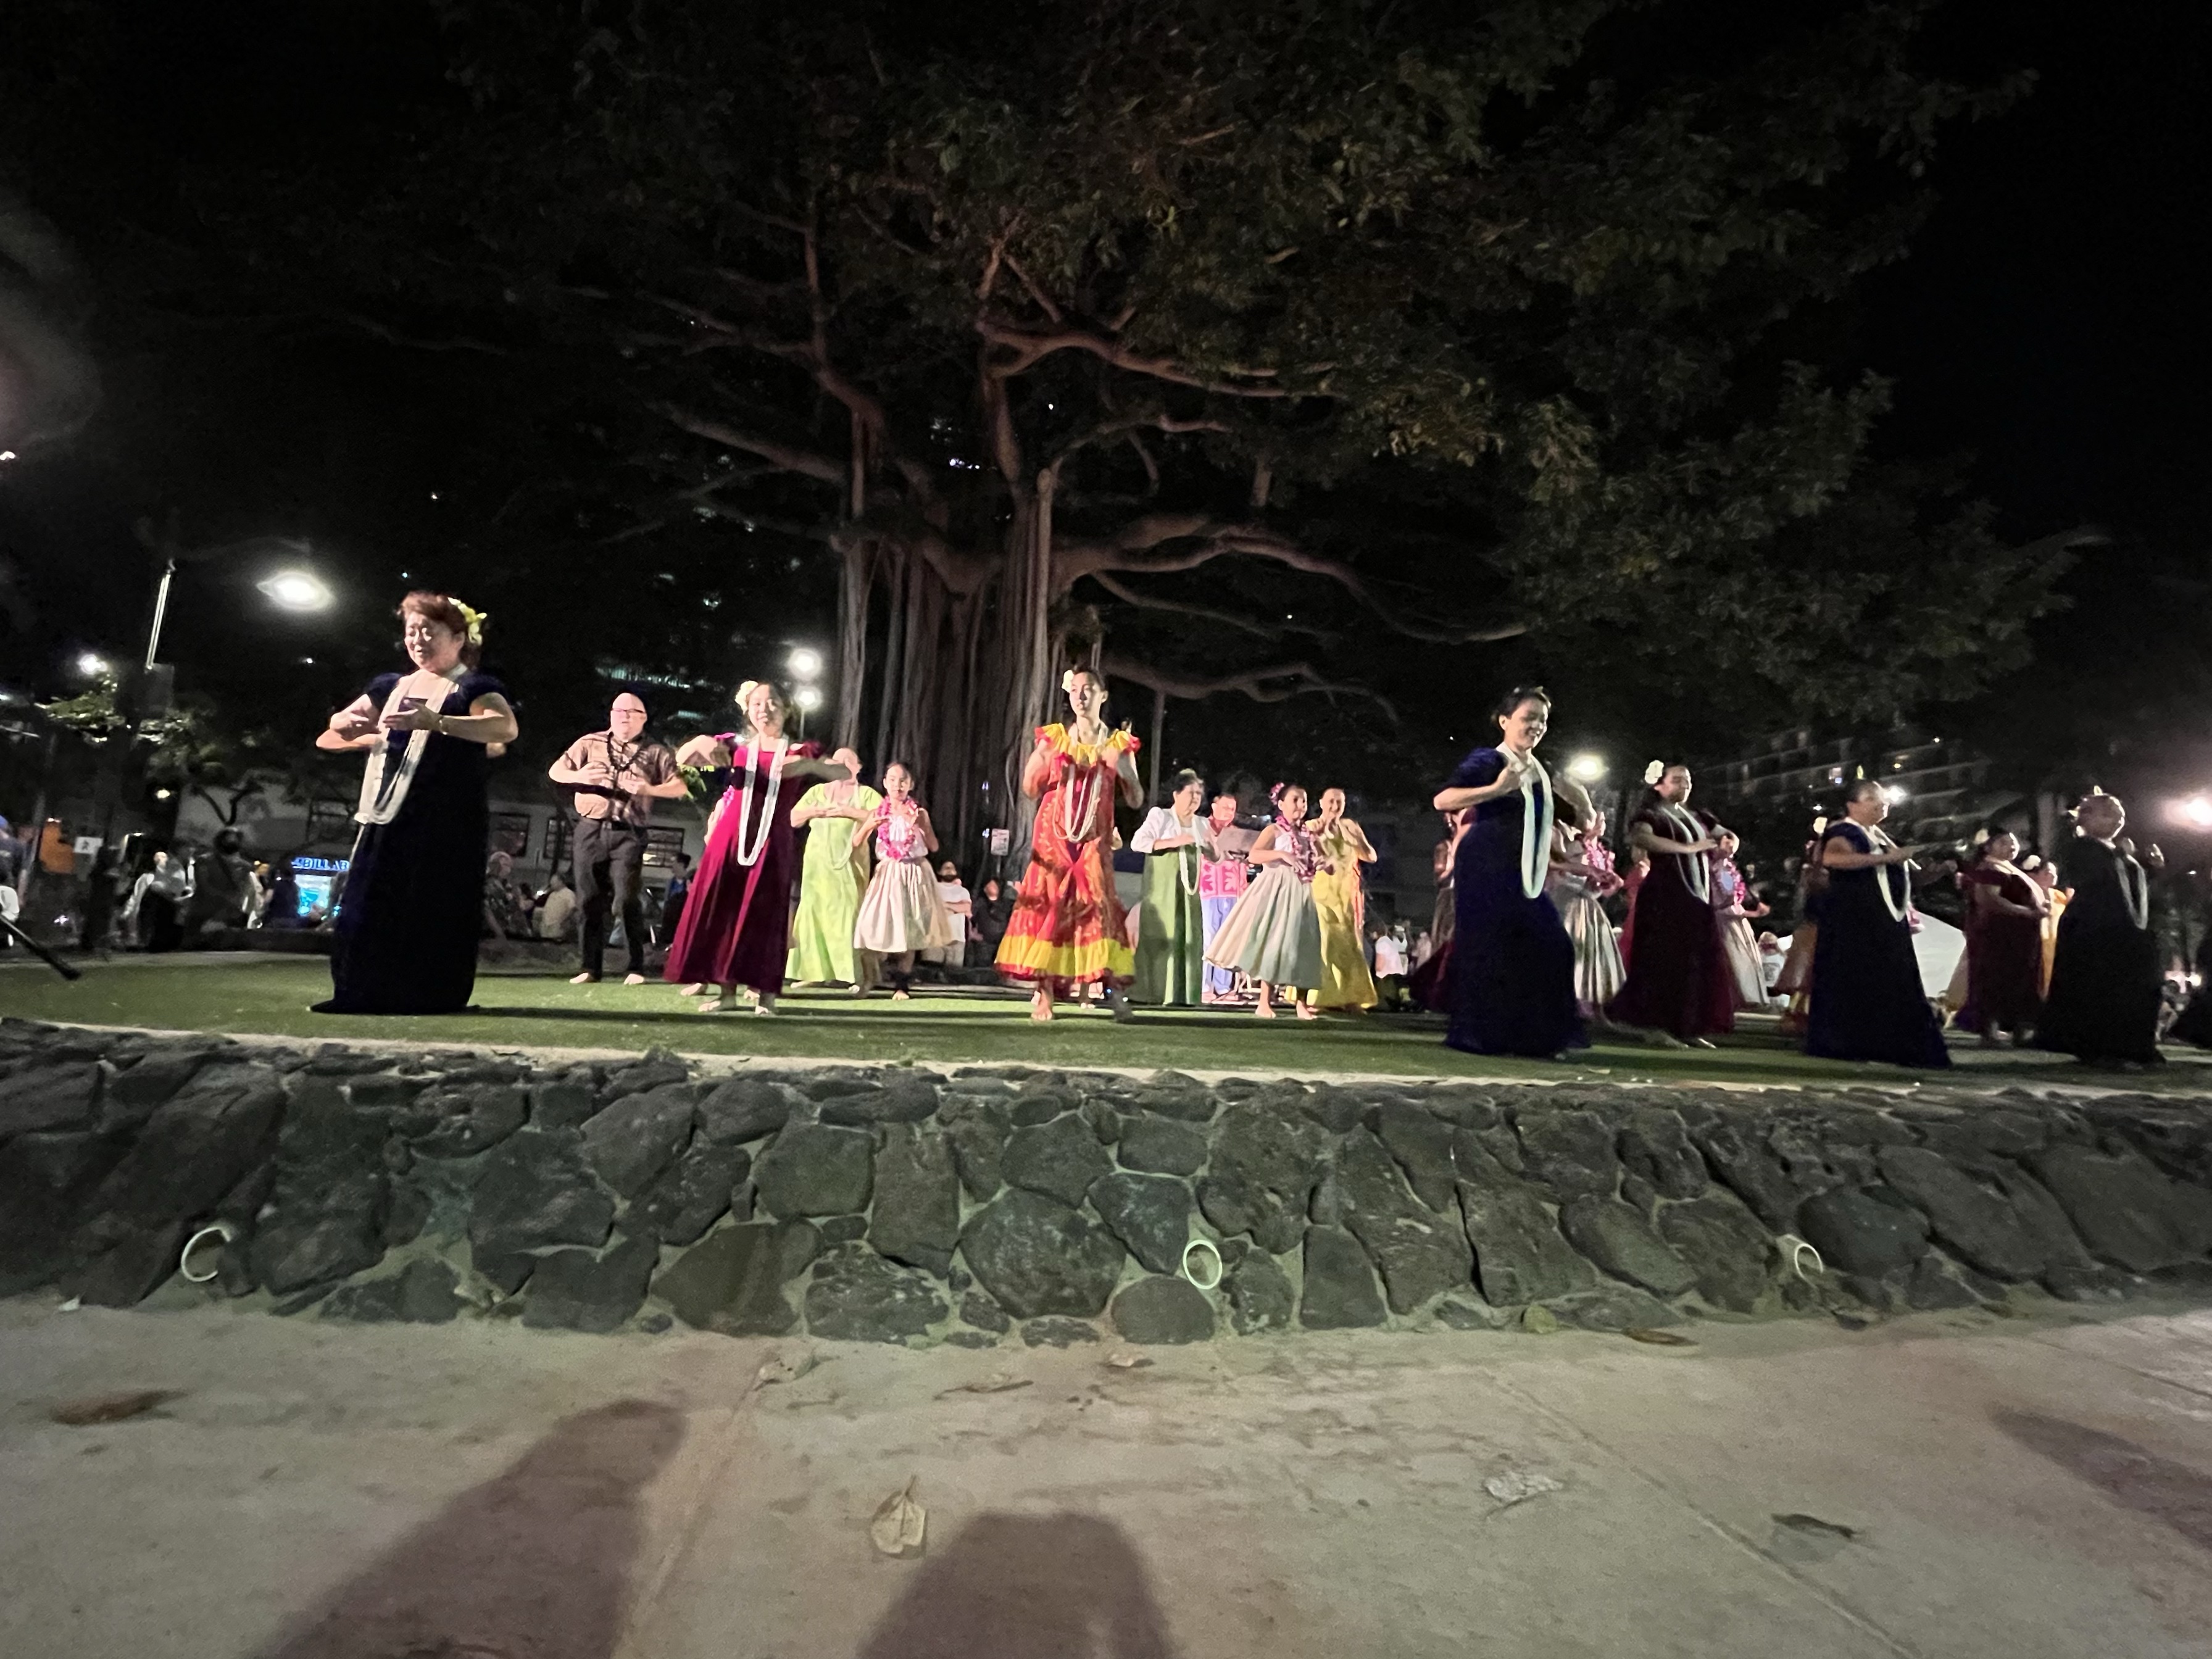
Before your trip, it is worth looking online to see if any events will be happening during your stay. On the Saturday we were there, the Waikiki Festival was going on. They had 4-5 blocks closed off and a ton of vendors, food trucks and more lined along the road. It was a ton of fun and lasted most of the afternoon.


Day 5: Head to the Northshore
It’s time to explore the North Shore! The drive takes about an hour, so consider heading out early to make the most of your day in this beautiful area.
Ehukai Pillbox Trail
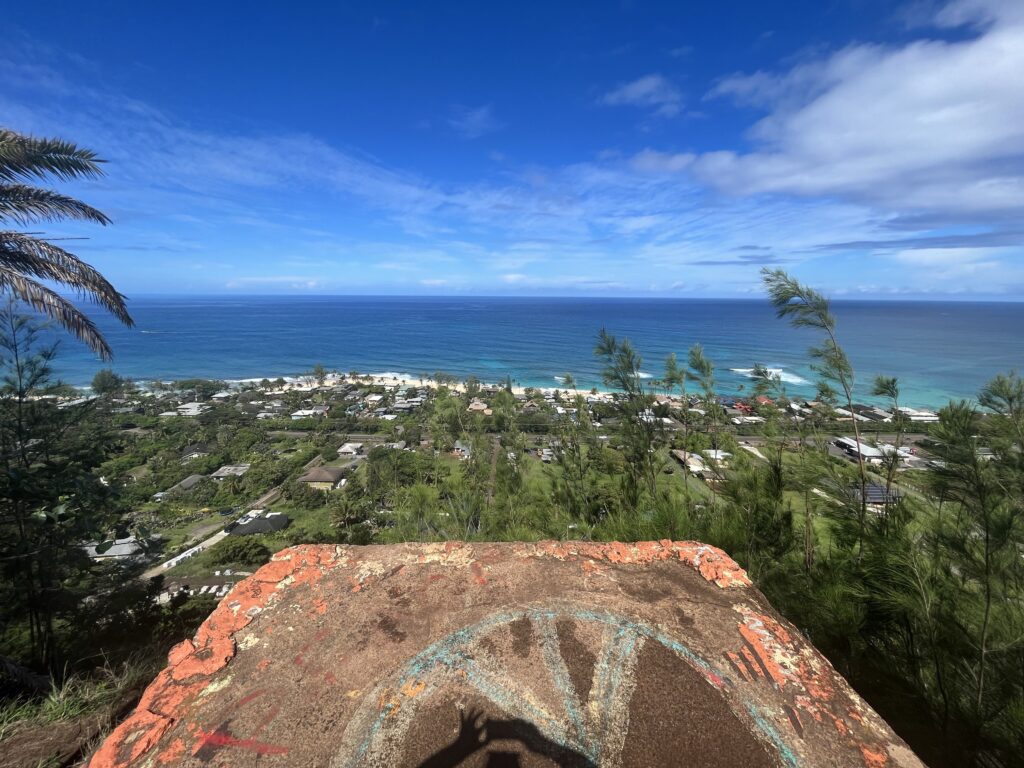
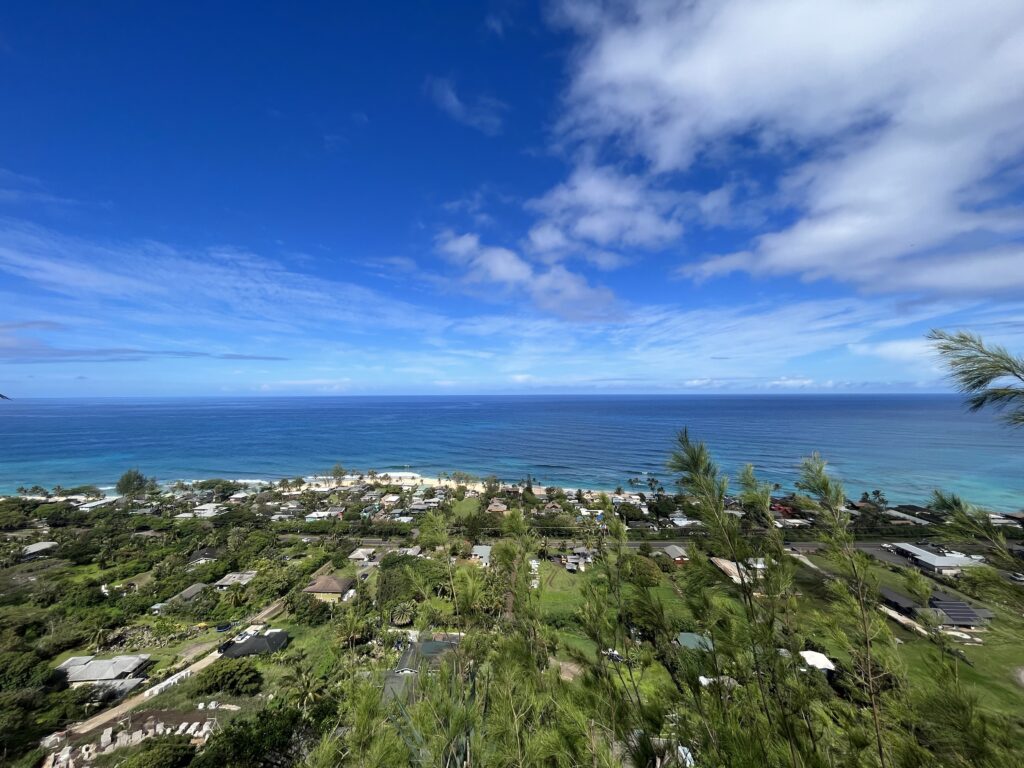
Start your day with a pillbox hike and enjoy some incredible views. Pillboxes are old military bunkers, and the Ehukai Pillbox Hike offers amazing sights of the North Shore coastline.
The trail is 2 miles round-trip and climbs 725 feet. It starts off flat and narrow, then gets a little steeper as you make your way up. You’ll cross over rocks, fallen trees, and tree roots before reaching more stable ground. There are also some ropes along the way to help you get up the tougher spots.
Spend Some Time on the Northshore Beaches
After the hike you can hang out at the beach directly across from the trail head, Sunset Beach. Or you can head over to Laniakea Beach, which is a popular beach for viewing sea turtle in the morning!
Stop by a Food Truck for Lunch
.The North Shore has plenty of food trucks so when you get hungry be sure to check out one. Giovanni’s Food Truck is a popular one, but in that area there are at least 5 or 6 other options if you’re looking for something different. One thing to note is a must food trucks don’t take cards so be sure to bring some cash.
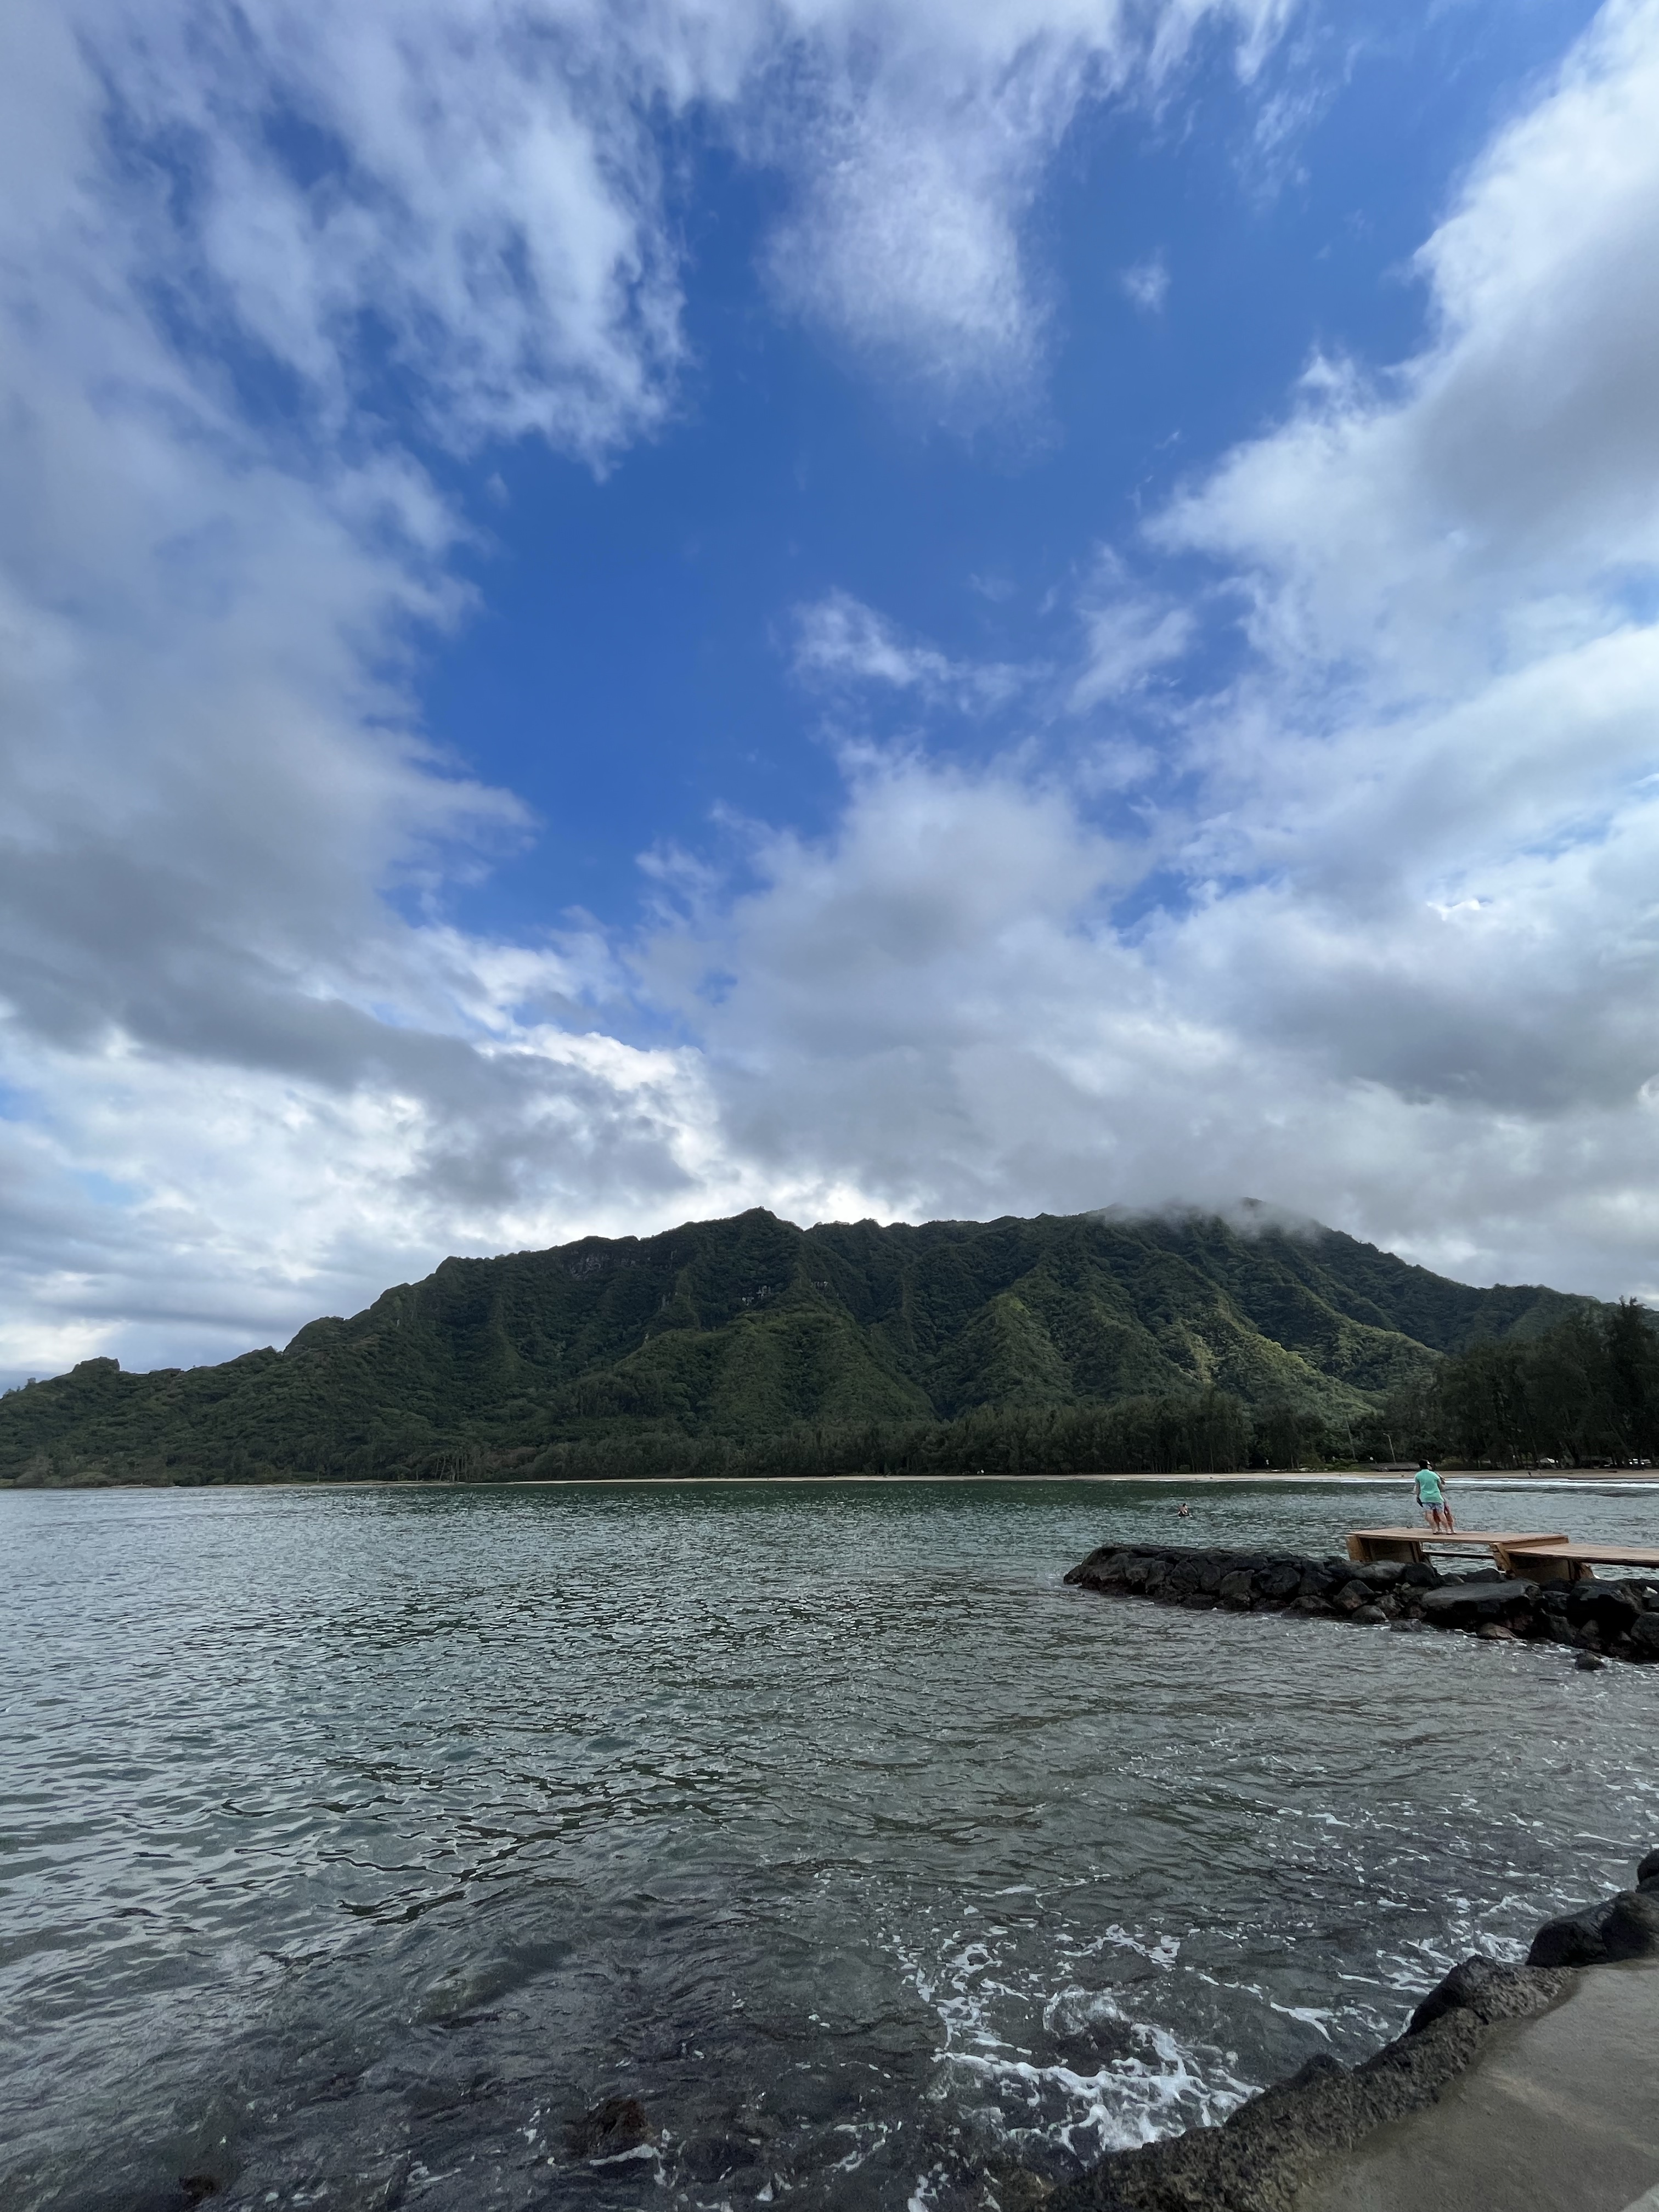
Driving there we took the faster route, through the center of the Island, but on the way back we followed along the coast for a while and the views were so worth it! Be sure to pulled off at Kahana Bay to take in the incredible view.
North Shore Activities
• If you have more time on the North Shore and want to do another activity, check out Jurassic Adventure Tour on Kualo Ranch. This 2.5 hour adventure will take you through Kualoa, Hakipu’u and Ka’a’awa Valleys where the Jurassic Park series was filmed!
• Another popular site on the North Shore is the Dole Plantation, which is known for its history as a former pineapple plantation. It has a garden tour, train tour and pineapple maze.
Day 6: Diamond Head
Time to hike the iconic Diamond Head! After this, spend of the rest of the day relaxing and enjoying the beach.
Diamond Head
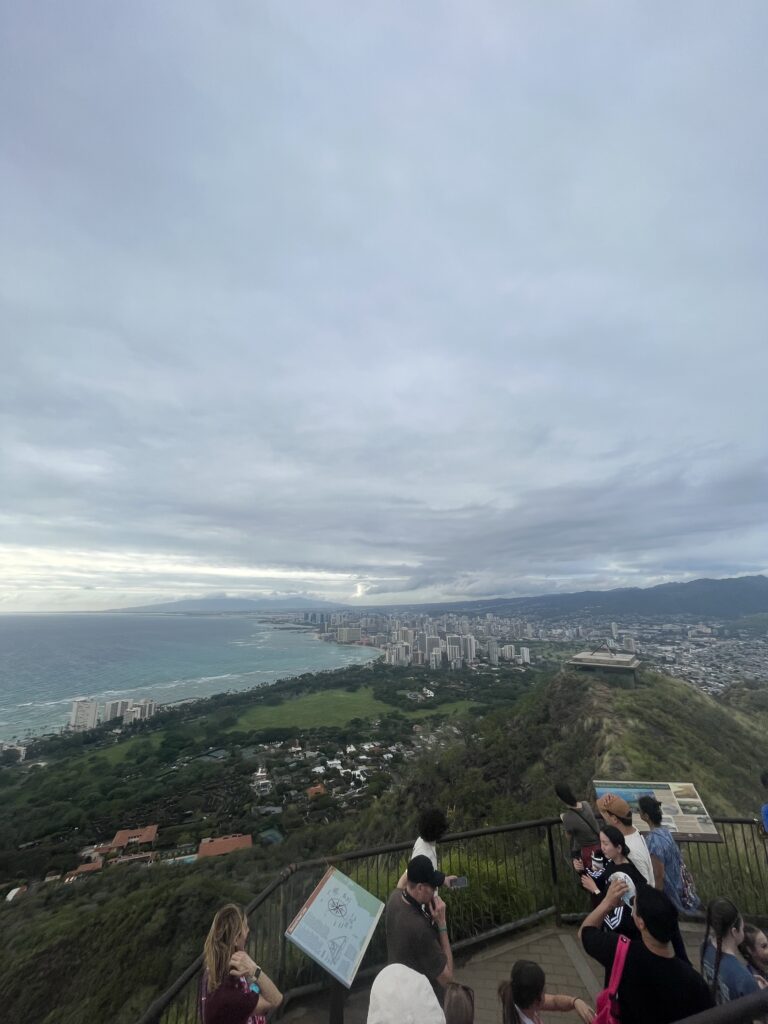
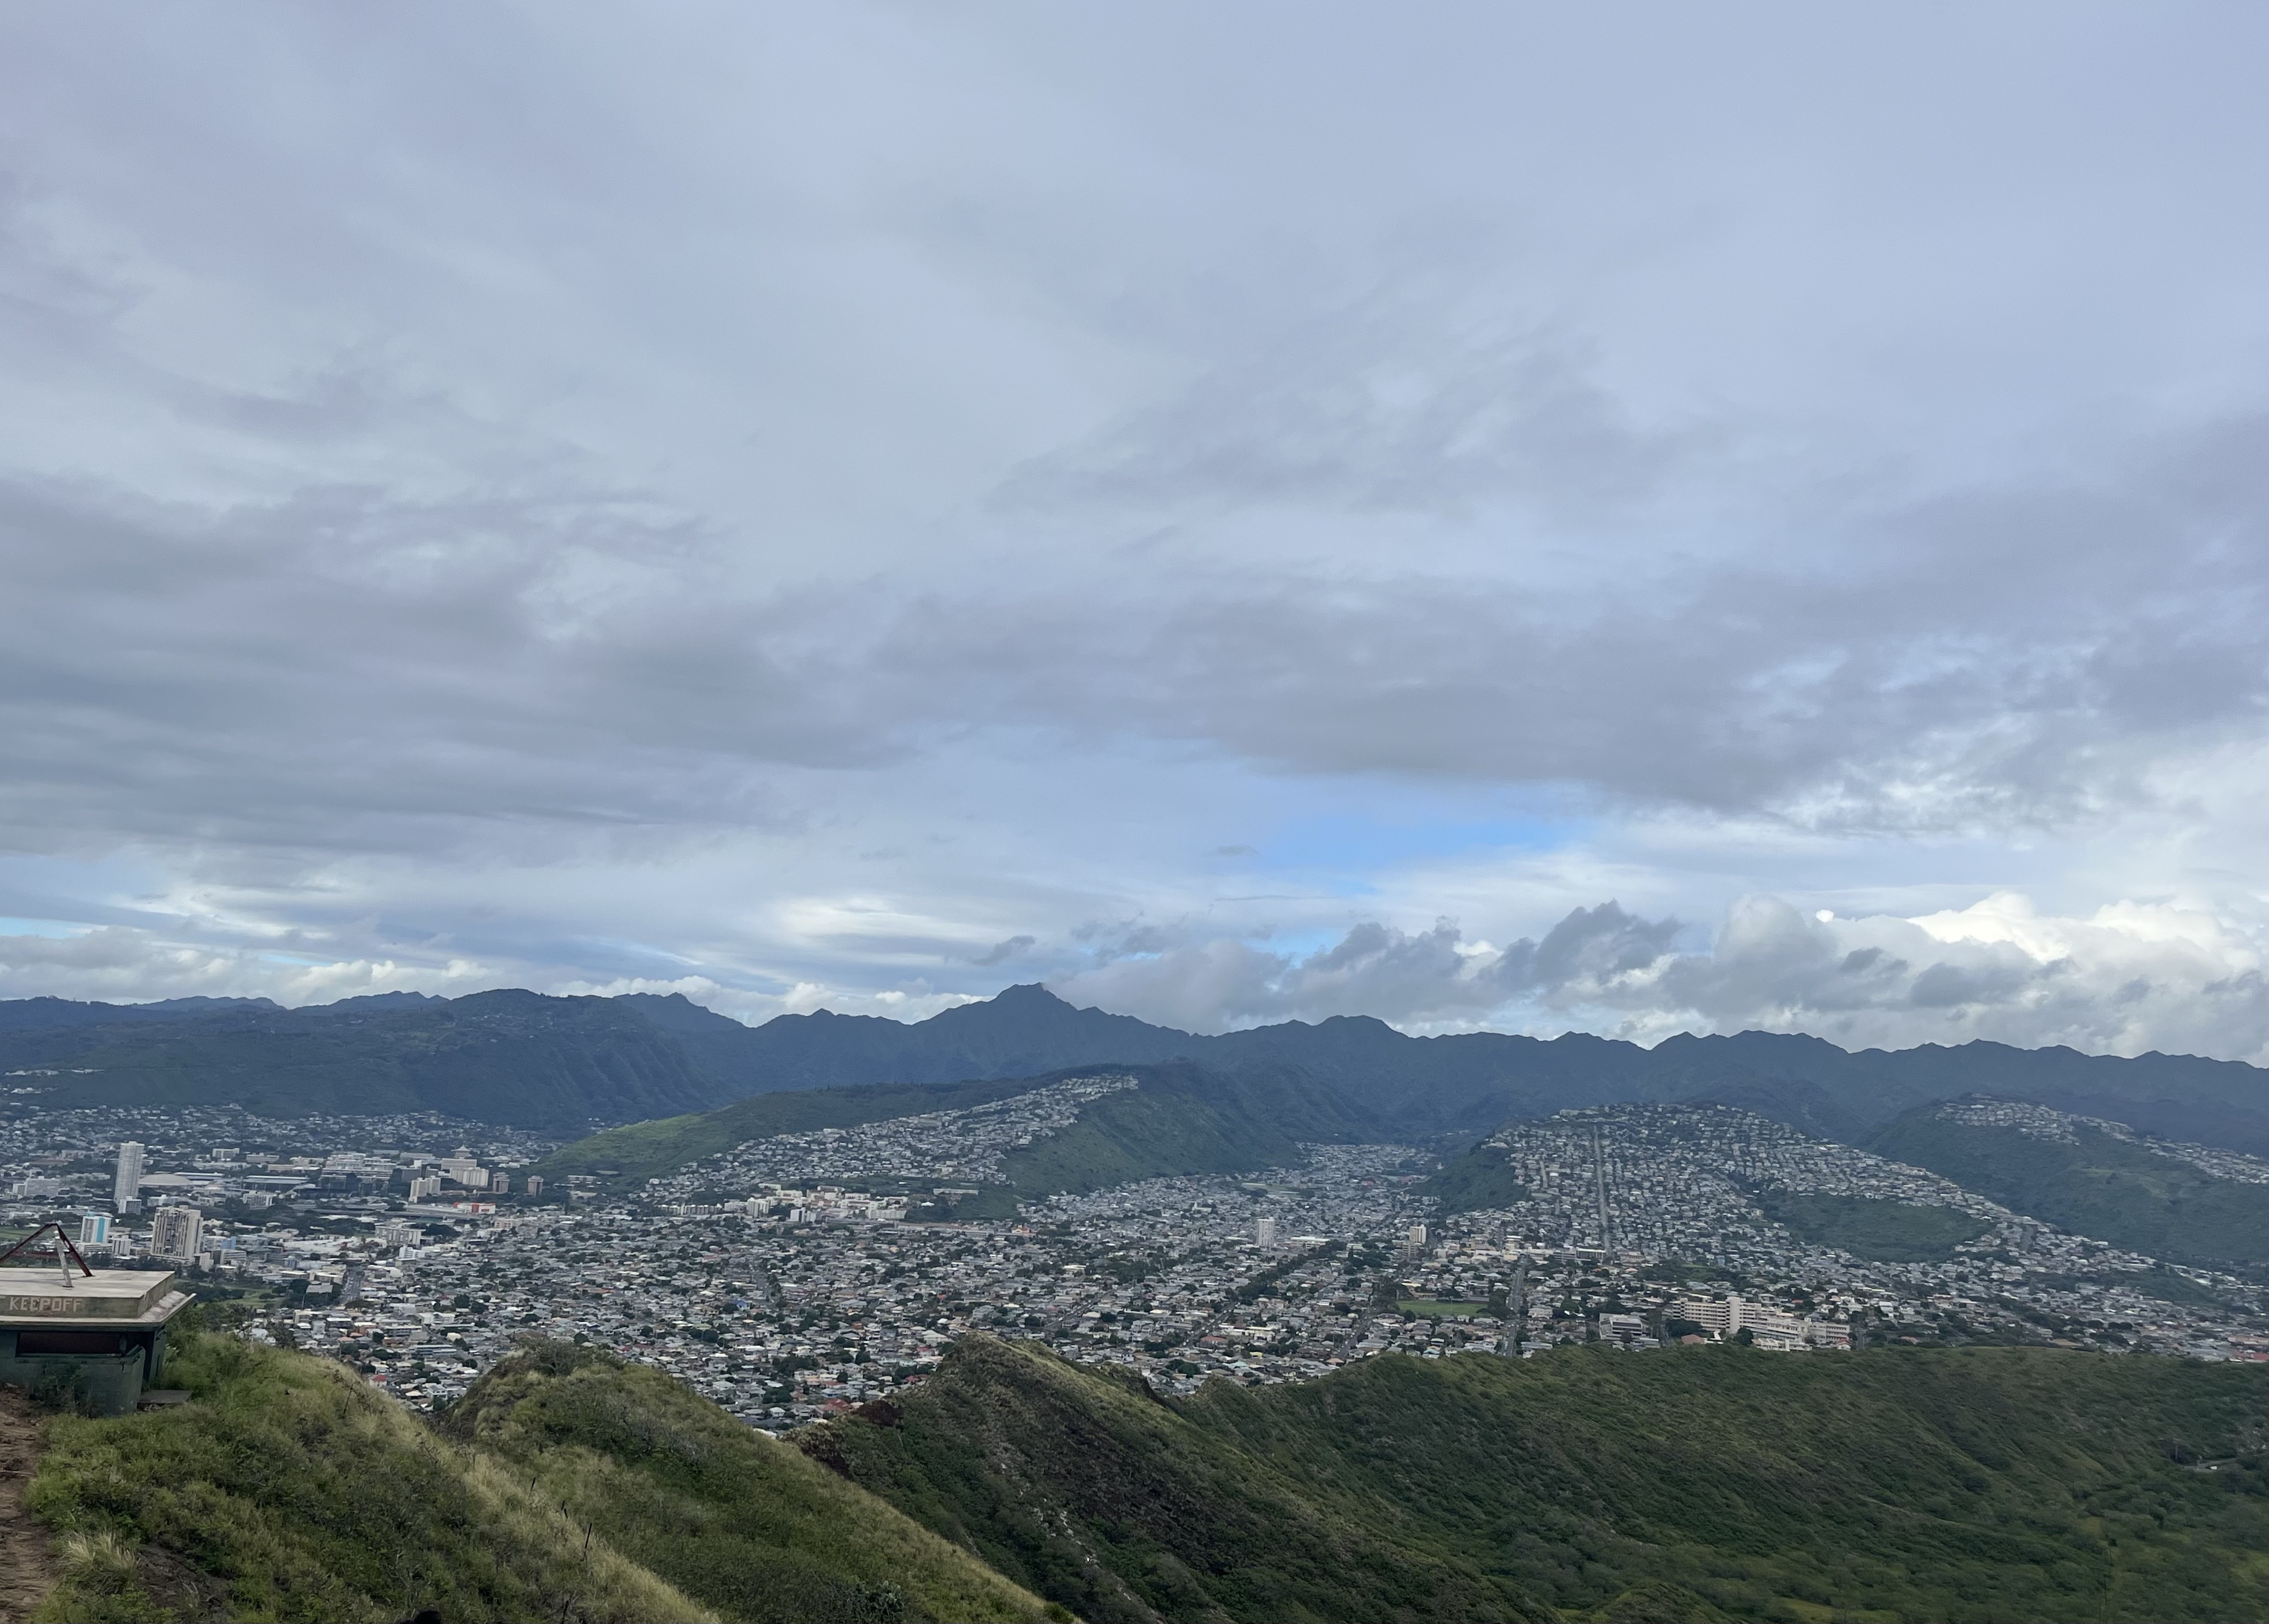
You can’t leave O’ahu without hiking Diamond Head! Diamond Head has become so popular you now need a reservation to hike it. If you plan on hiking in the morning, you should make a reservation a few days in advance because the morning spots do fill up fast. However, we were able to make a reservation for the afternoon the same day. You are allotted 2 hours complete the hike, but odds are it won’t take you that long.
Shop & Relax on the Beach
After hiking Diamond Head, head back to the city to do some souvenir shopping before your trips ends. Waikiki has a lot of shops so you have lots of options to browse through.
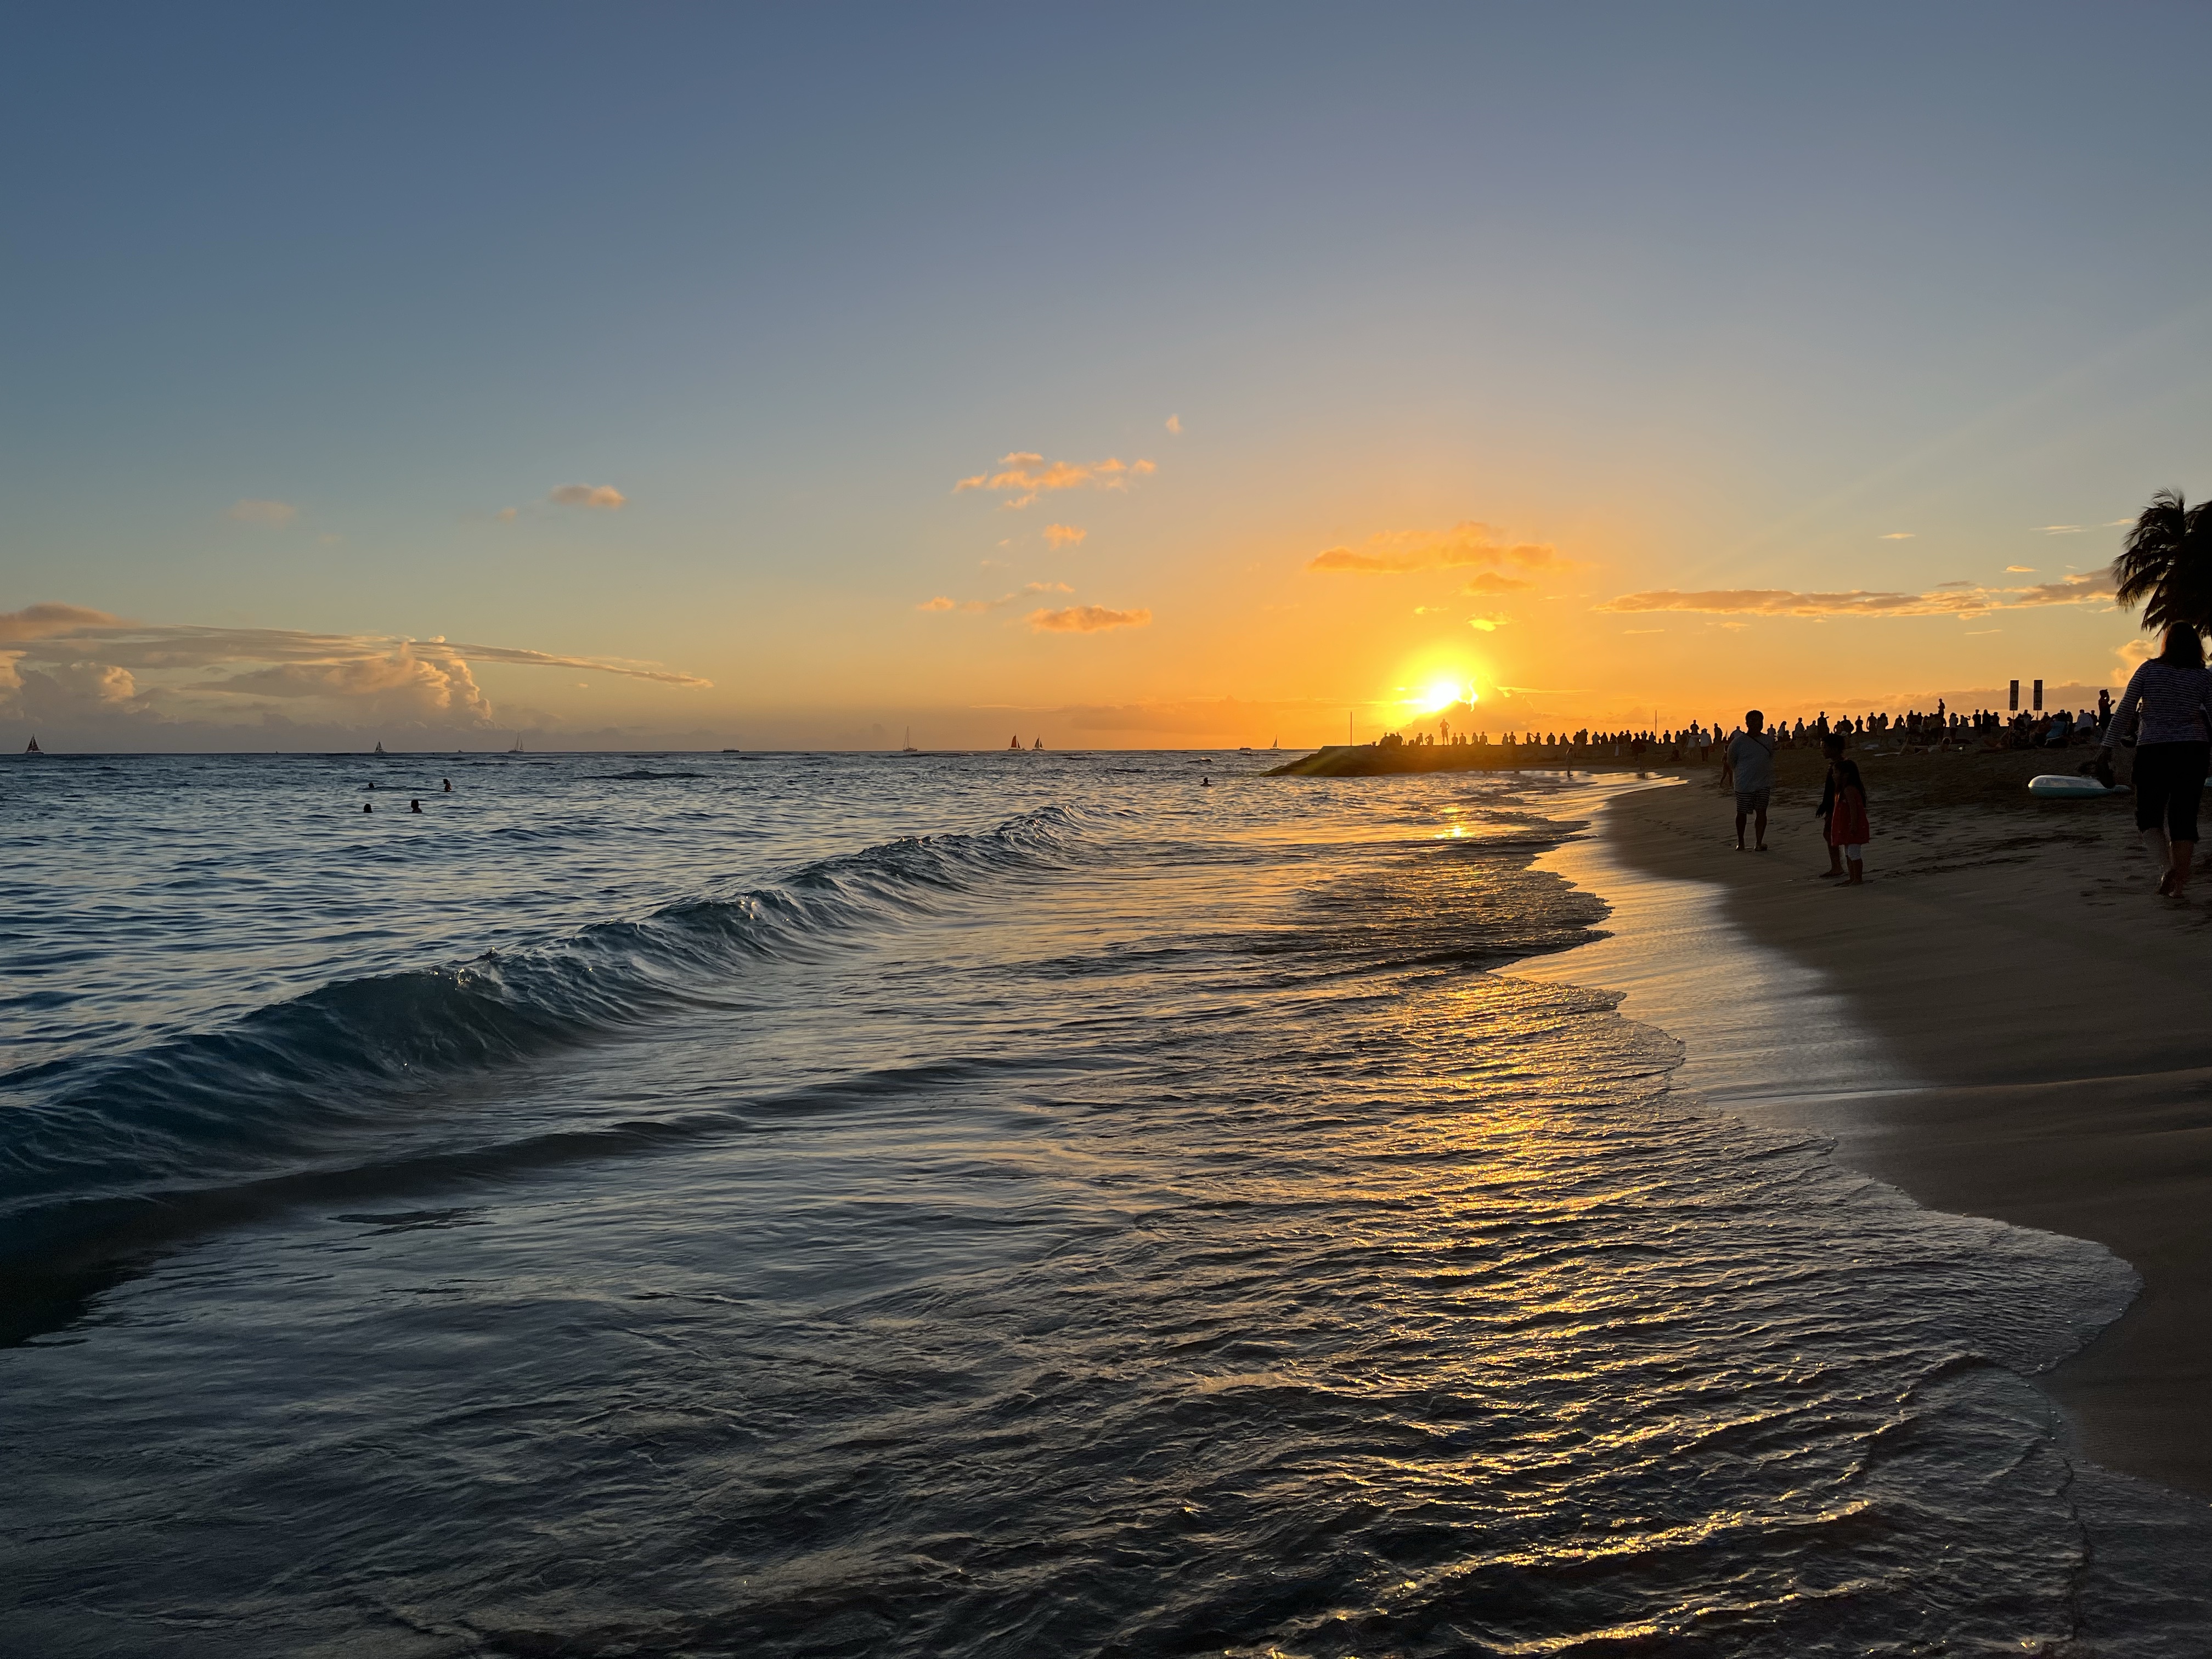
Spend the rest of the afternoon swimming and soaking up sun on the beach. I’d recommended staying until sunset because there is something so magical about watching the sunset on the beach.
Day 7: Zip Lining
You might want to spend the last day just hanging out and relaxing on the beach- and that is completely fine! However, we decided to spend the last day back on the North Shore, zip-lining at Keana Farms. They have a few different time options but we choose the 12pm tour- giving us plenty of time to head over.
Leonard’s Bakery
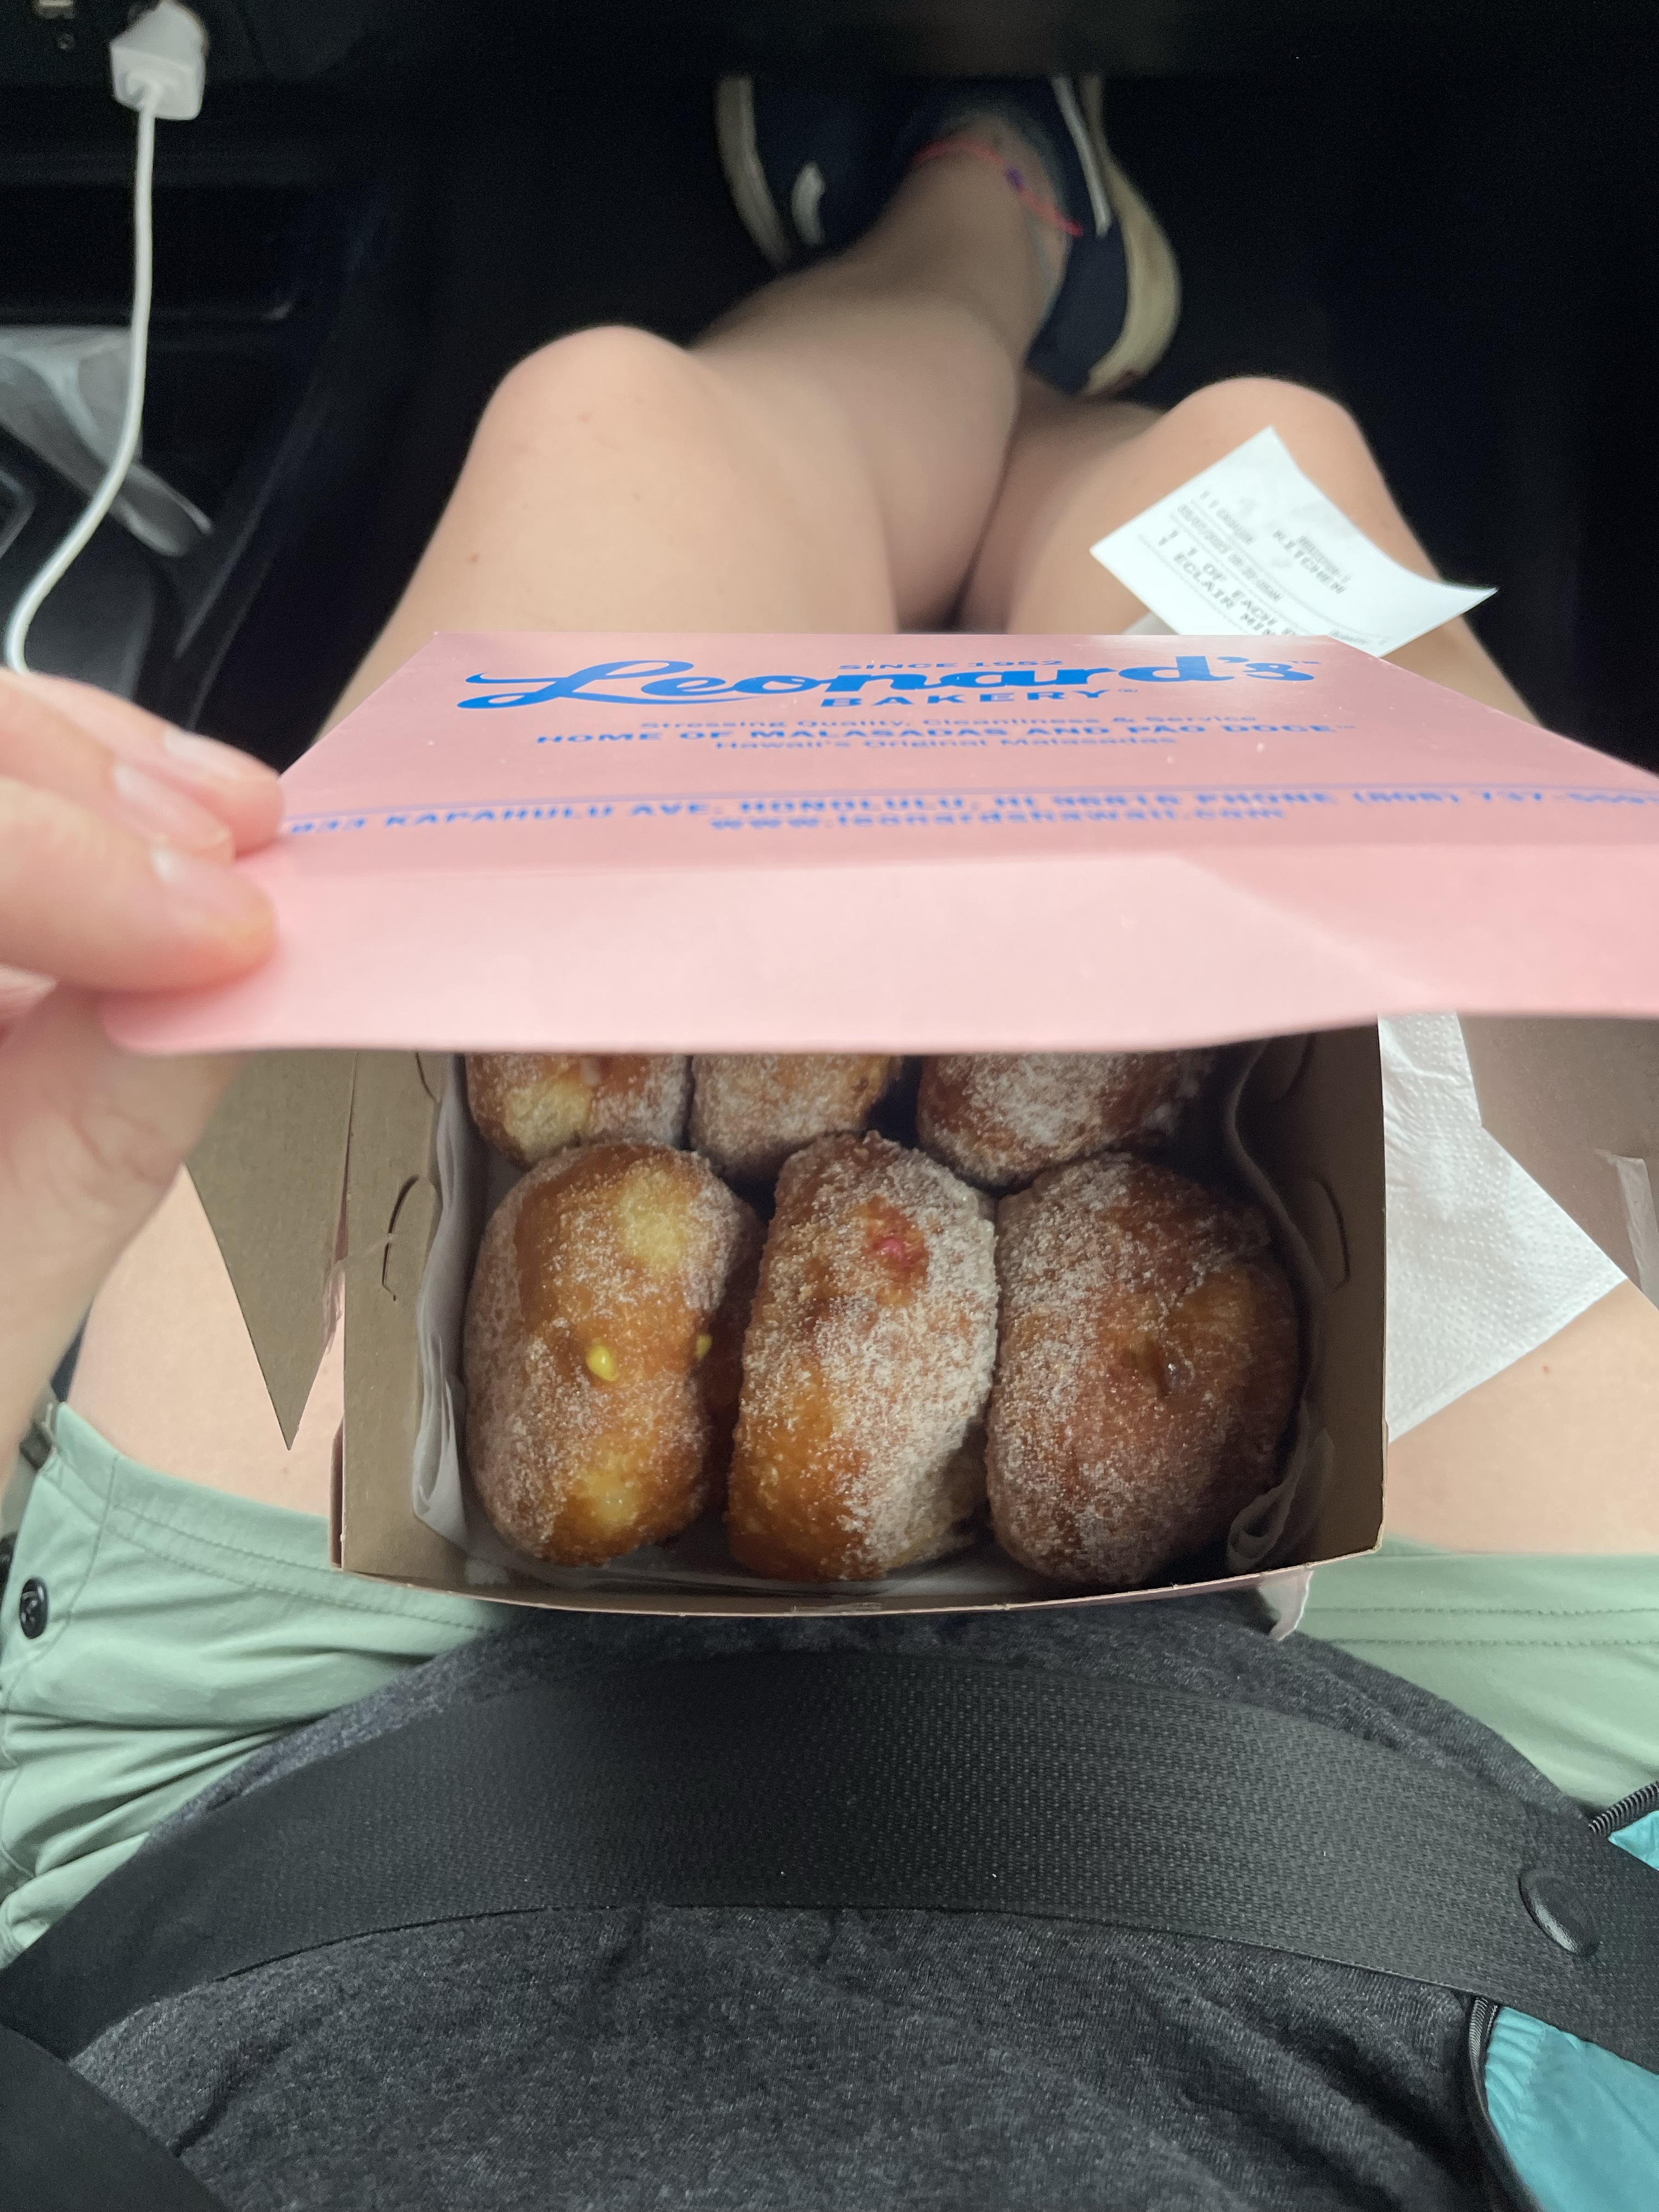
Stop by Leonard’s Bakery for one of their famous Malasadas on the way. A malasada is a Portugese doughnut without a hole. They are fried, tossed in sugar, and can be filled with different flavor custards.
You’ll find Malasada bakeries all over O’ahu, so even if you don’t stop at Leonard’s be sure to checkout another one while you’re there! We also had Penny’s Malasadas in the Royal Hawaiian food court and they were just as tasty.
Kualoa Regional Park
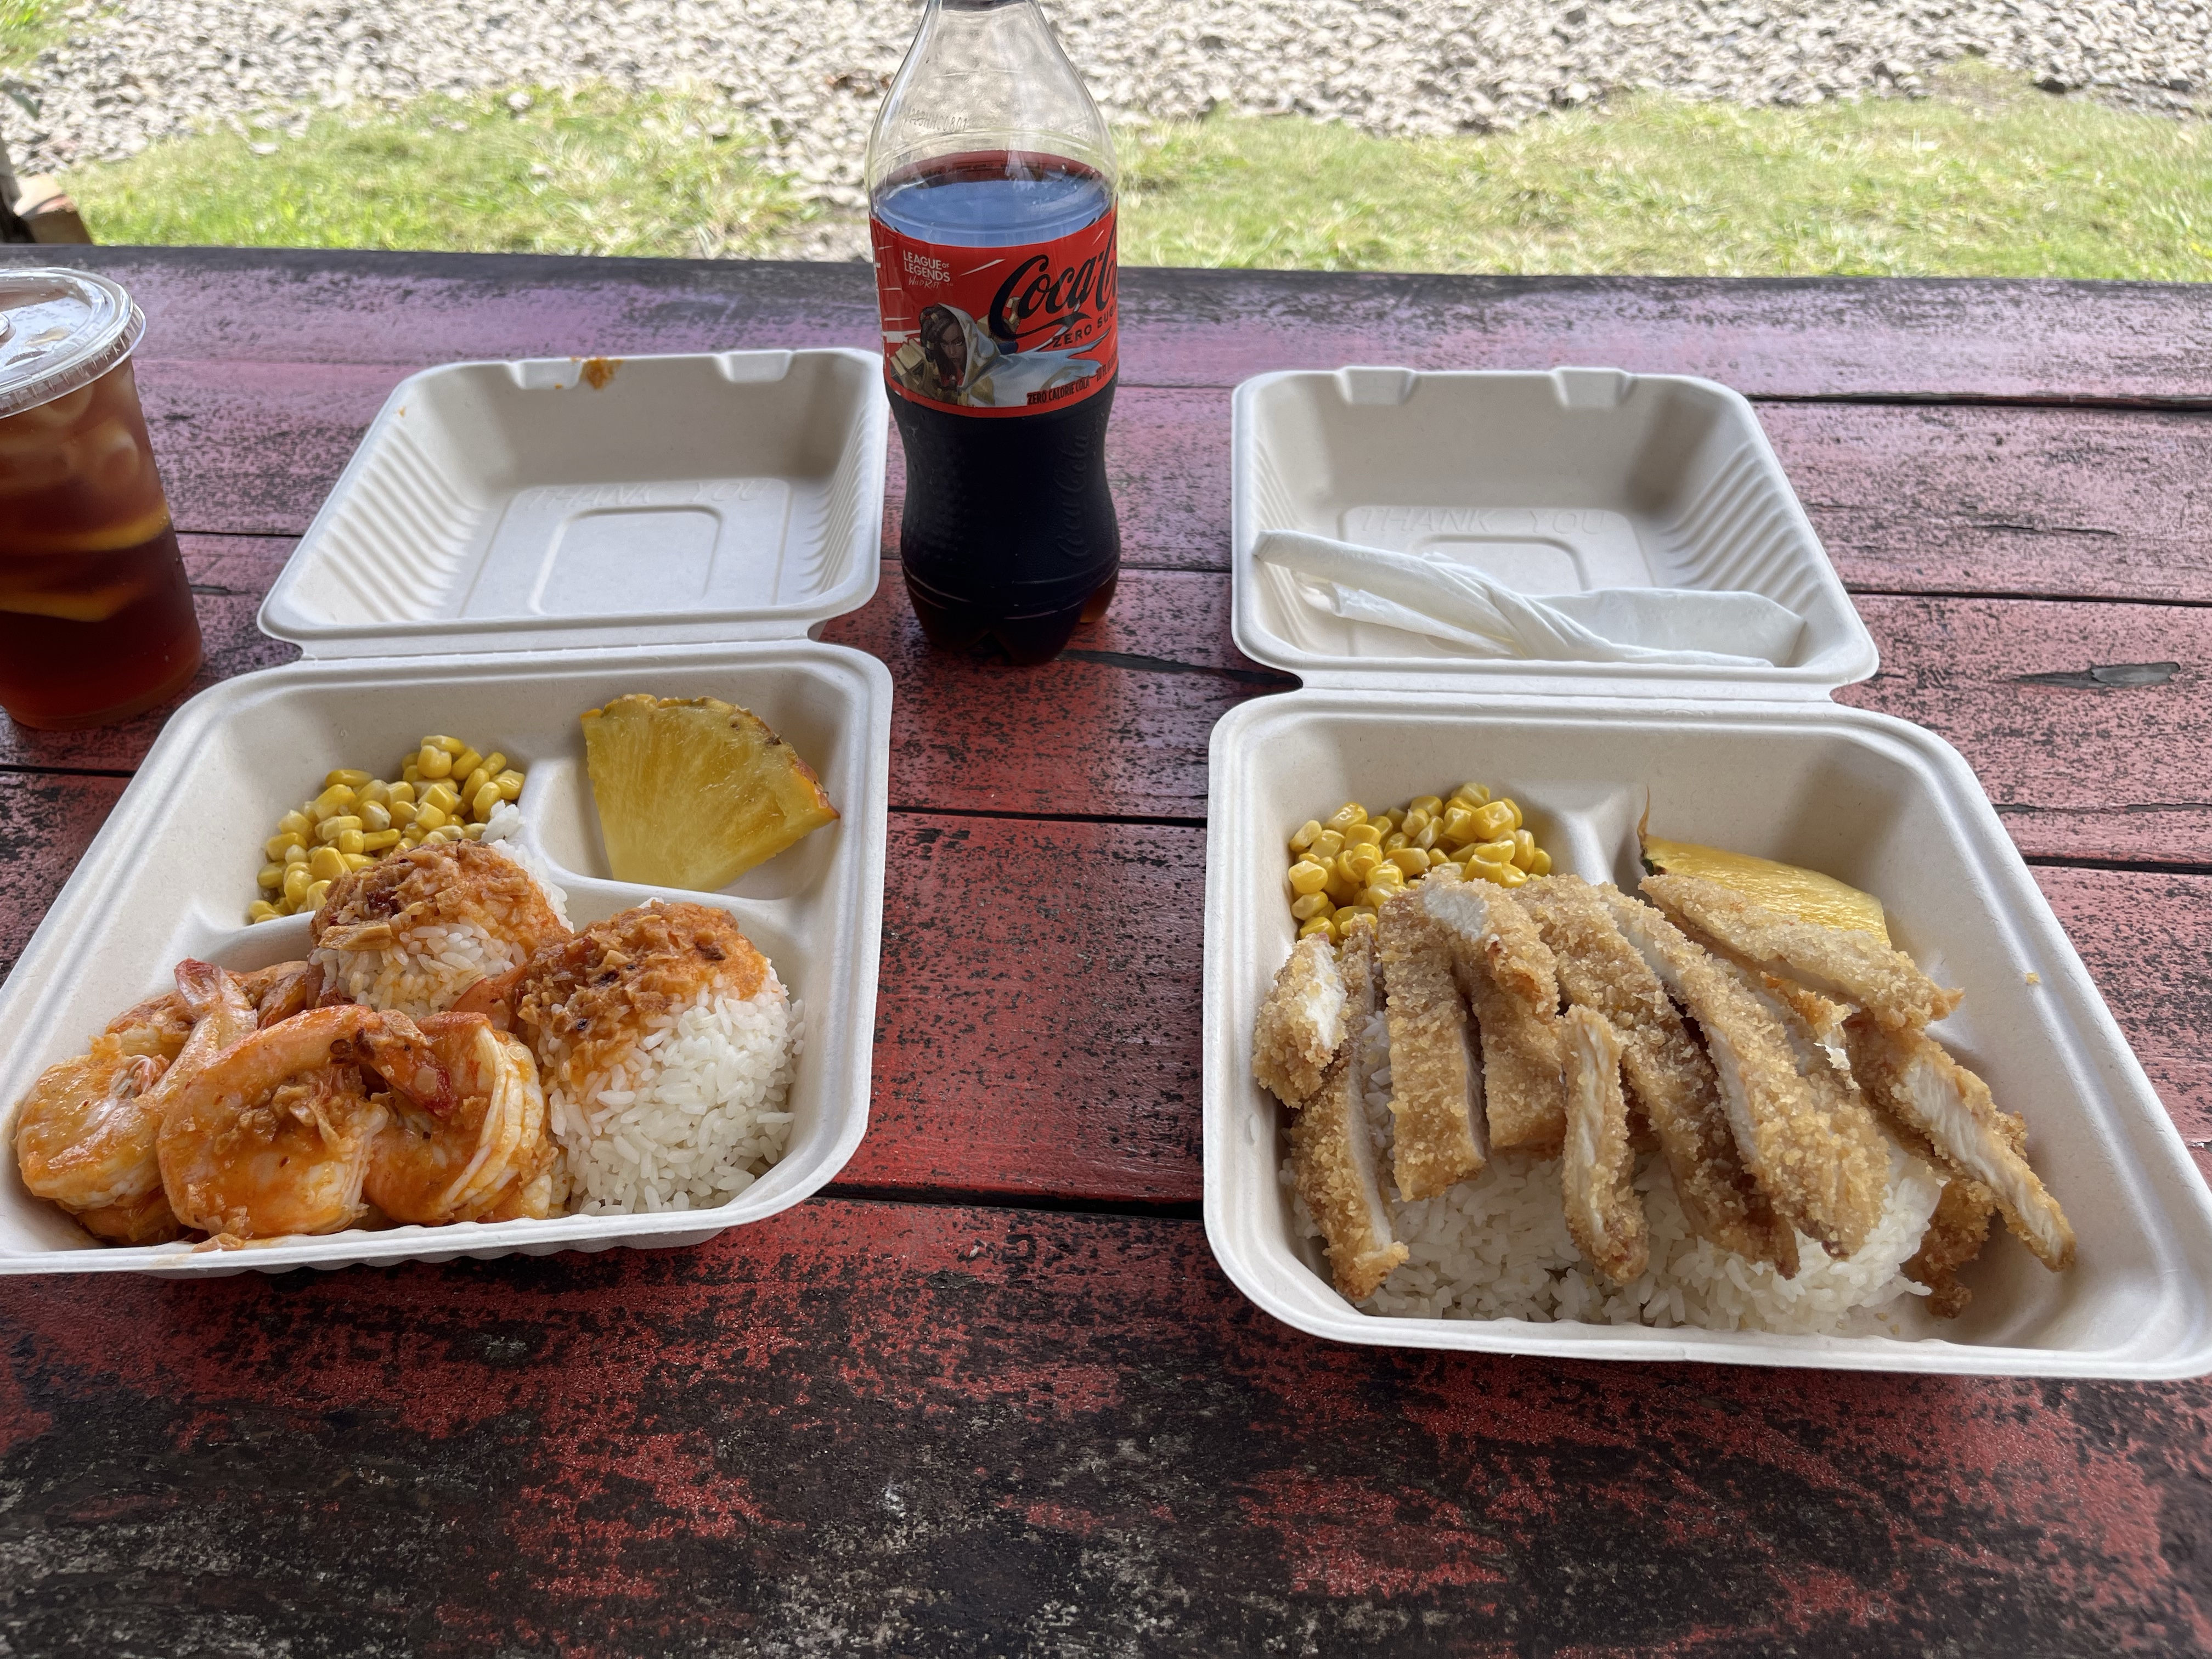
After picking up up malasadas, we spent the morning at Kualoa Regional Park. This park gives you great views of Chinaman’s Hat and the Koolau Mountains. Before zip-lining we grabbed lunch at Aloha Shrimp food truck. The spicy garlic shrimp was to die for!

Zip-Lining
I definitely recommend the Keana Farms Zip-Lining Tour. Its about 2.5 hours long with 8 zip-lines and offers amazing views of the island! Not to mention the tour guides were so knowledgeable about the island and its history, it was all around a great experience.

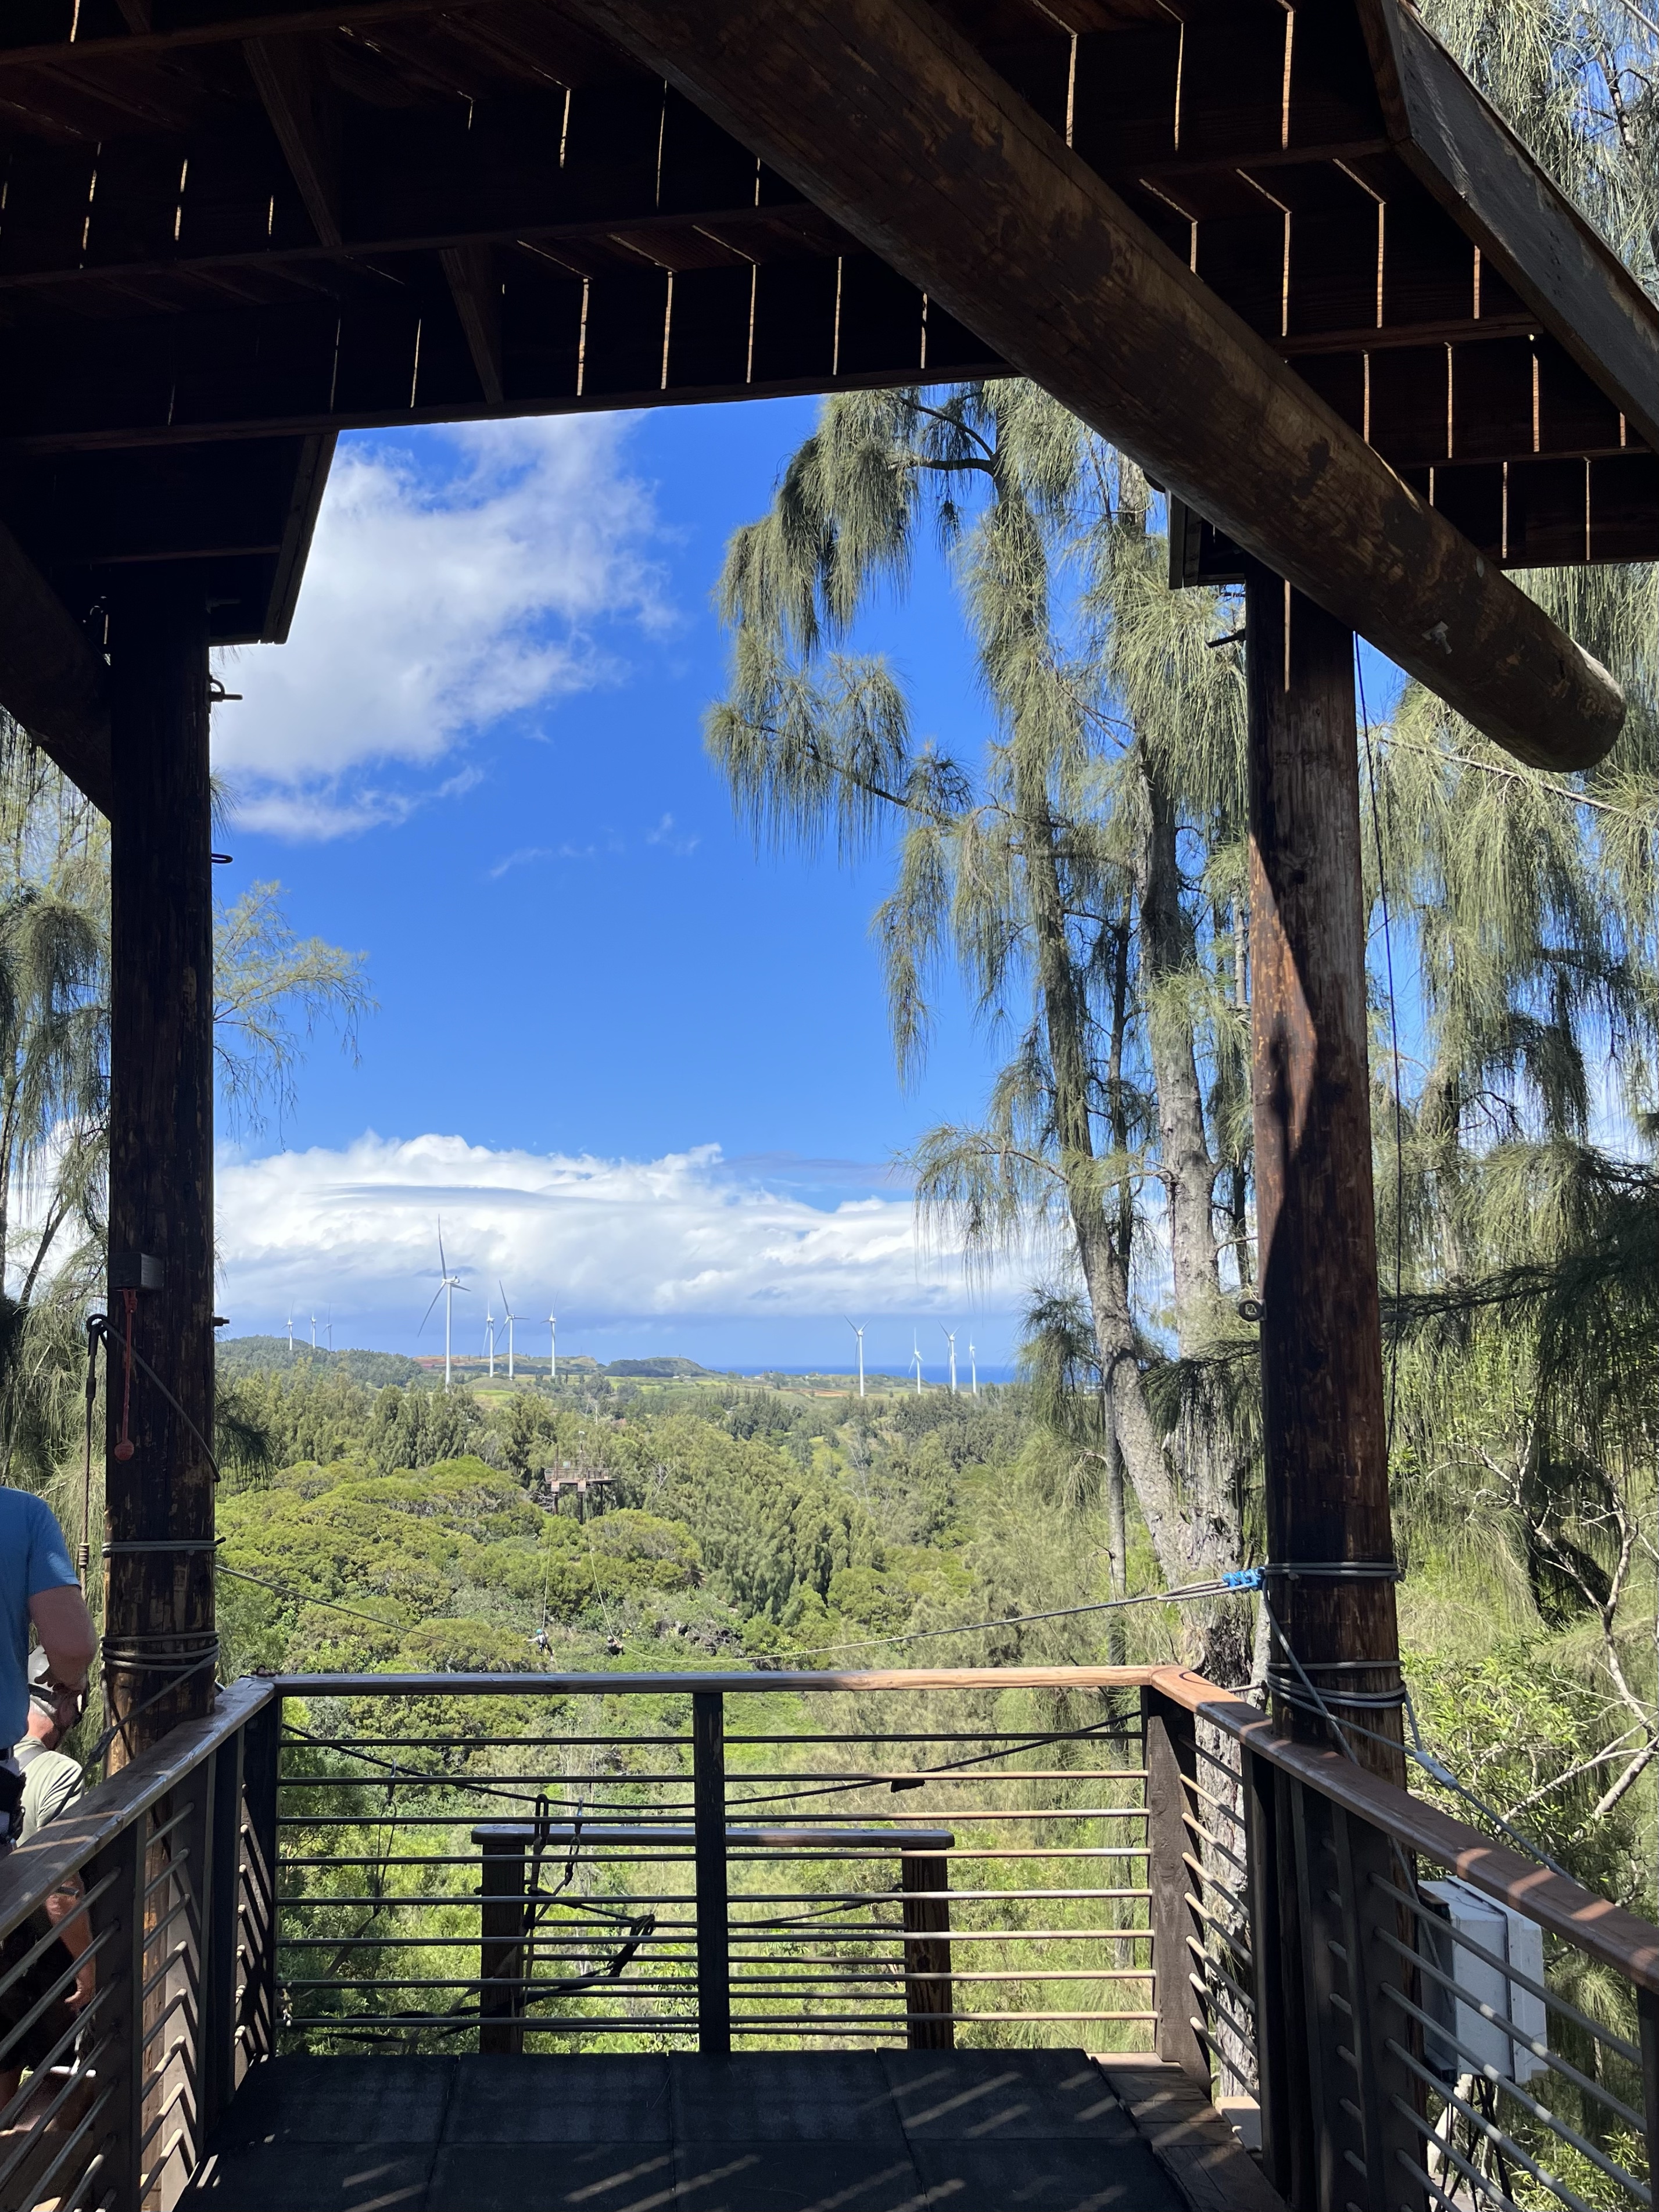
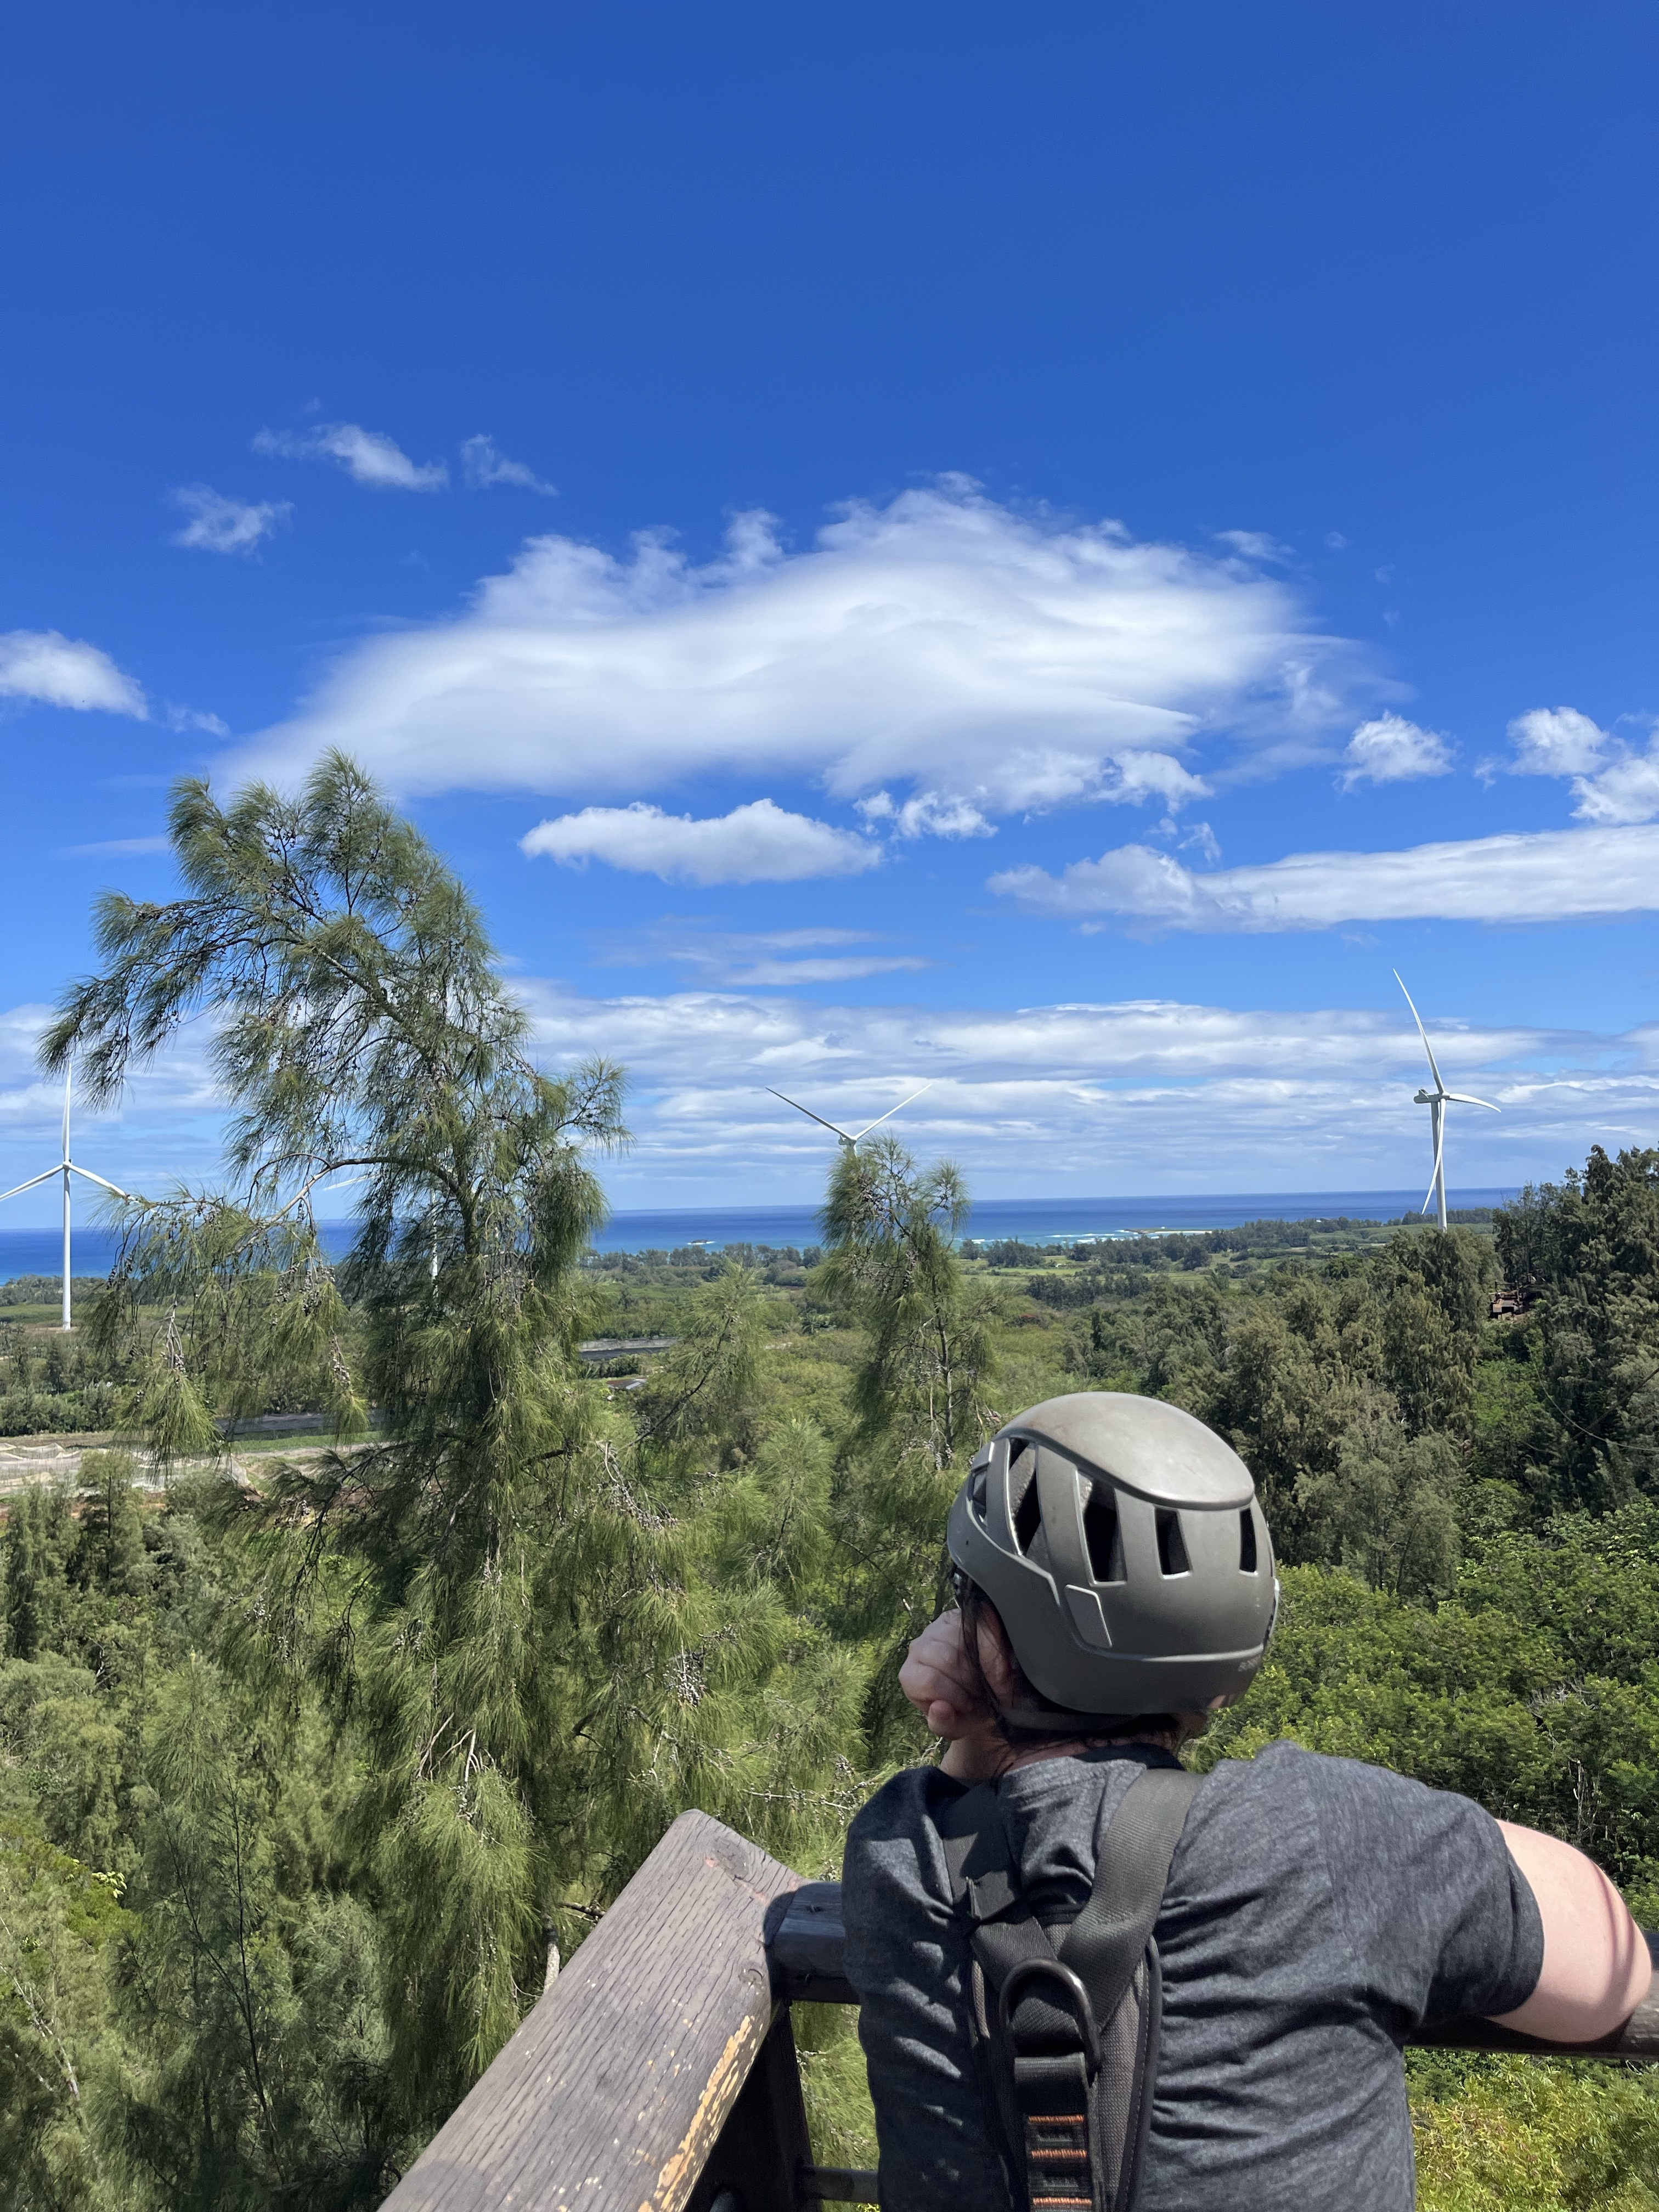
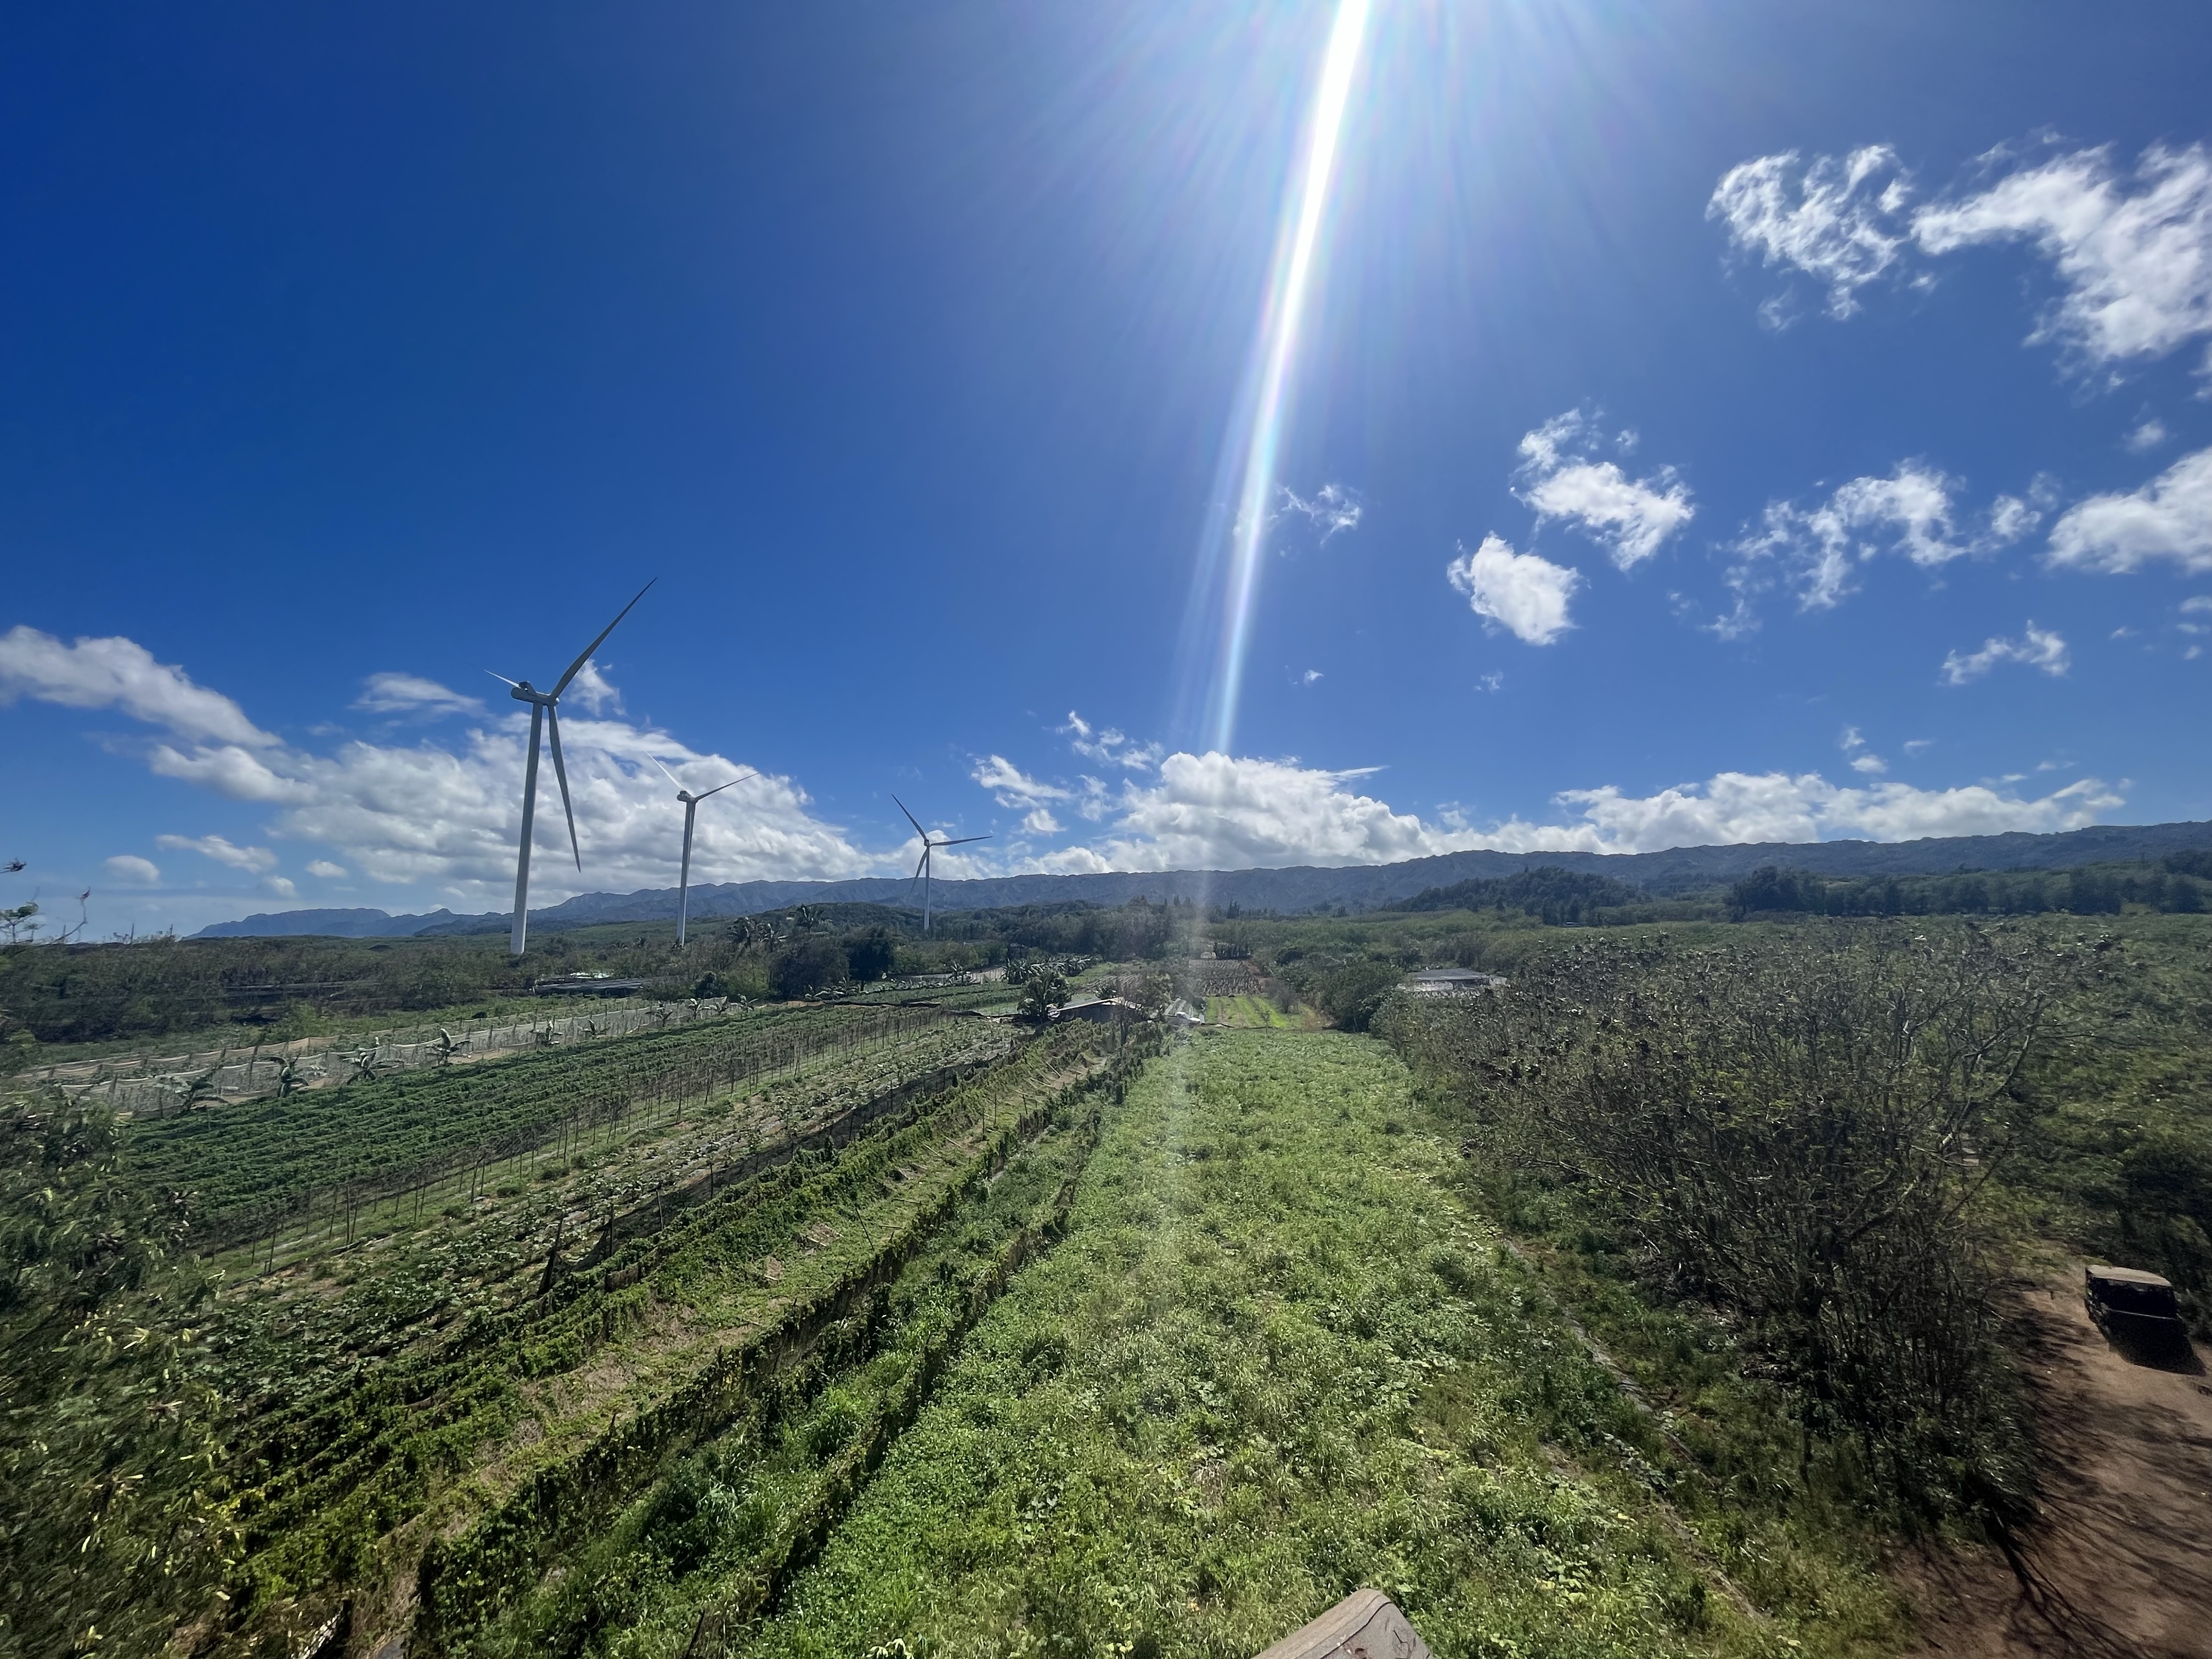
Once the tour ended, we made our way back to Waikiki, turned in our rental car, and spent the rest of the night enjoying the city and the beach.
Saying Goodbye to Oahu
We were technically there 8 days, our last day being a half day while we waited for our flight back home. We spent the last day reading on the beach, eating one last meal in Waikiki, and just feeling grateful for our time on this amazing island.
Getting Around Oahu
Since the snorkeling cruise offered free transportation, we didn’t rent a car for the first two days to save some money, and since we weren’t needing it. We opted not to rent a car through the typical enterprise, etc. Instead we rented from Getaround and Turo, sites that allows you to rent from locals. This was honestly so much better than renting from traditional options since it came with a parking pass to a central located parking garage. The garage ended up being directly across the street from our hotel which was amazing.
If you prefer renting from a traditional car company, I recommend checking out Discover Cars, which finds you the best rates on rental cars in the area. We’ve used Discover Cars a few times when they had better prices than Turo.
There’s very limited street parking in Waikiki and most hotels don’t offer free parking. Our hotel was valet only and it was 49$ a night. Just something to keep in mind as you’re renting a car and choosing a hotel.
Oahu Itinerary: Things to Know
Aloha really is a state of mind the locals live by. They are on island time so do not expect to drive anything over 55 miles per hour, drive slow and appreciate the view. Be respectful and kind to everyone you meet. And, most importantly, be respectful of the land. Do not go off trail, take anything from nature (including rocks), or leave any trash behind. If you follow these things, then you’ll have no issues with this Oahu itinerary!
Not sure what to pack? Checkout this Hawaii Packing List so you don’t leave anything behind.


